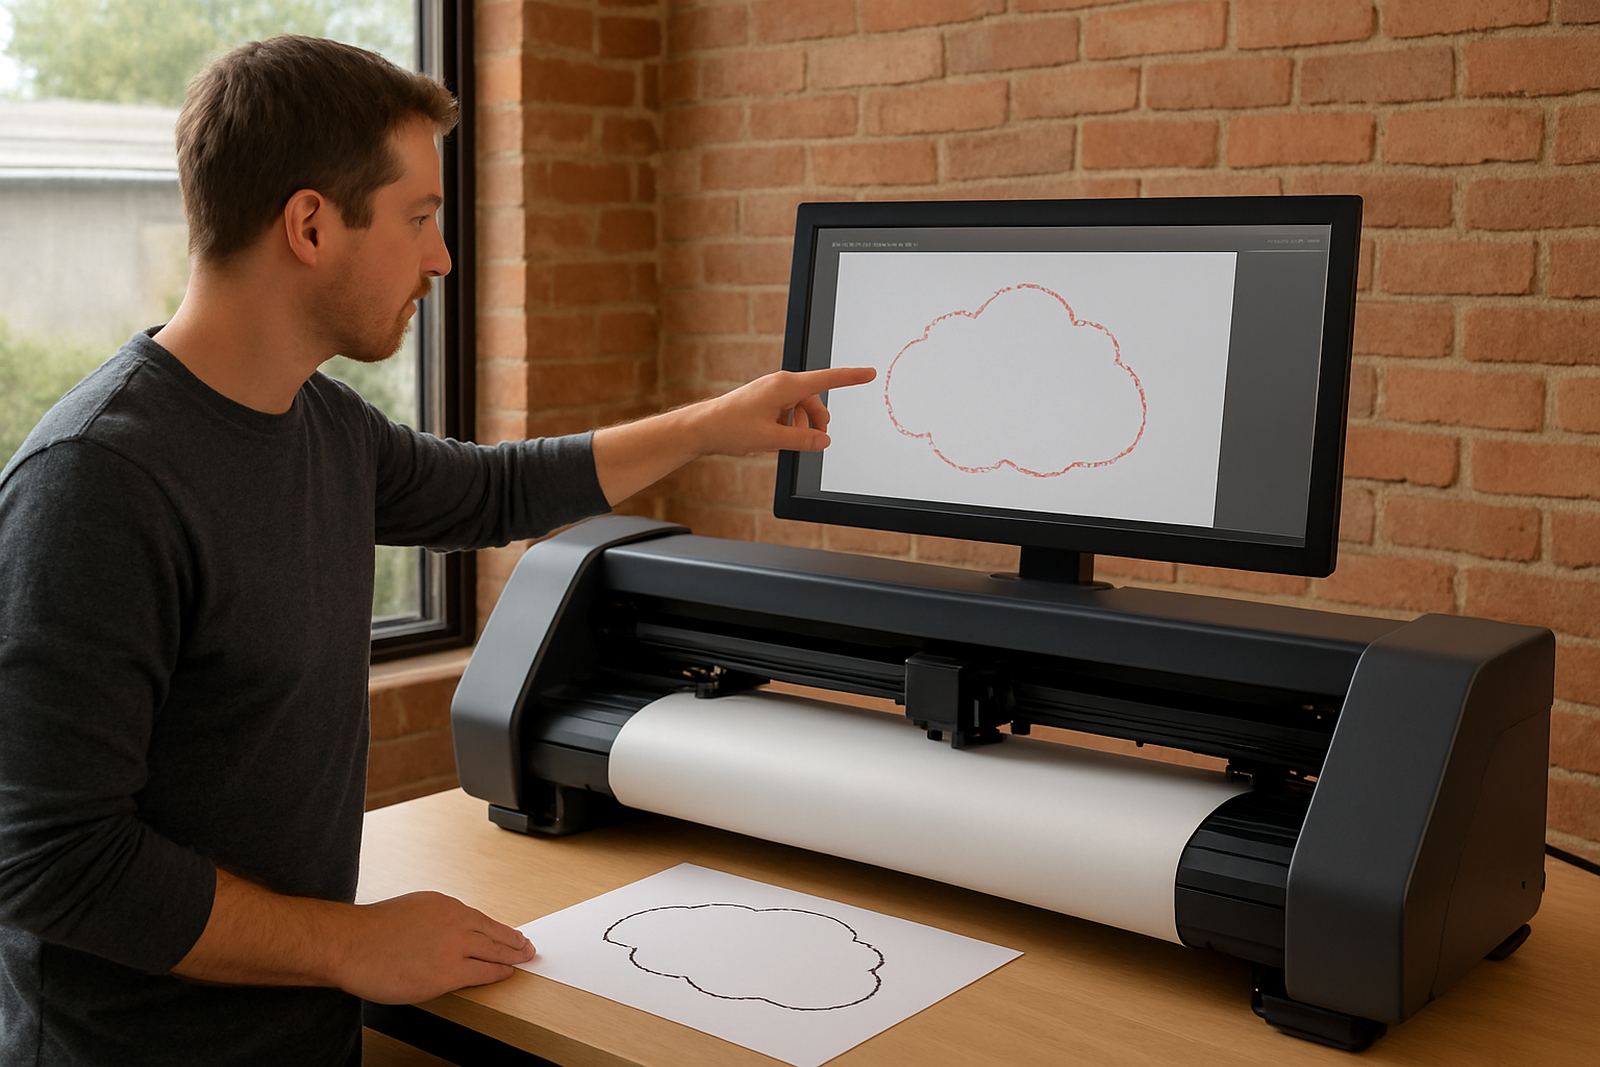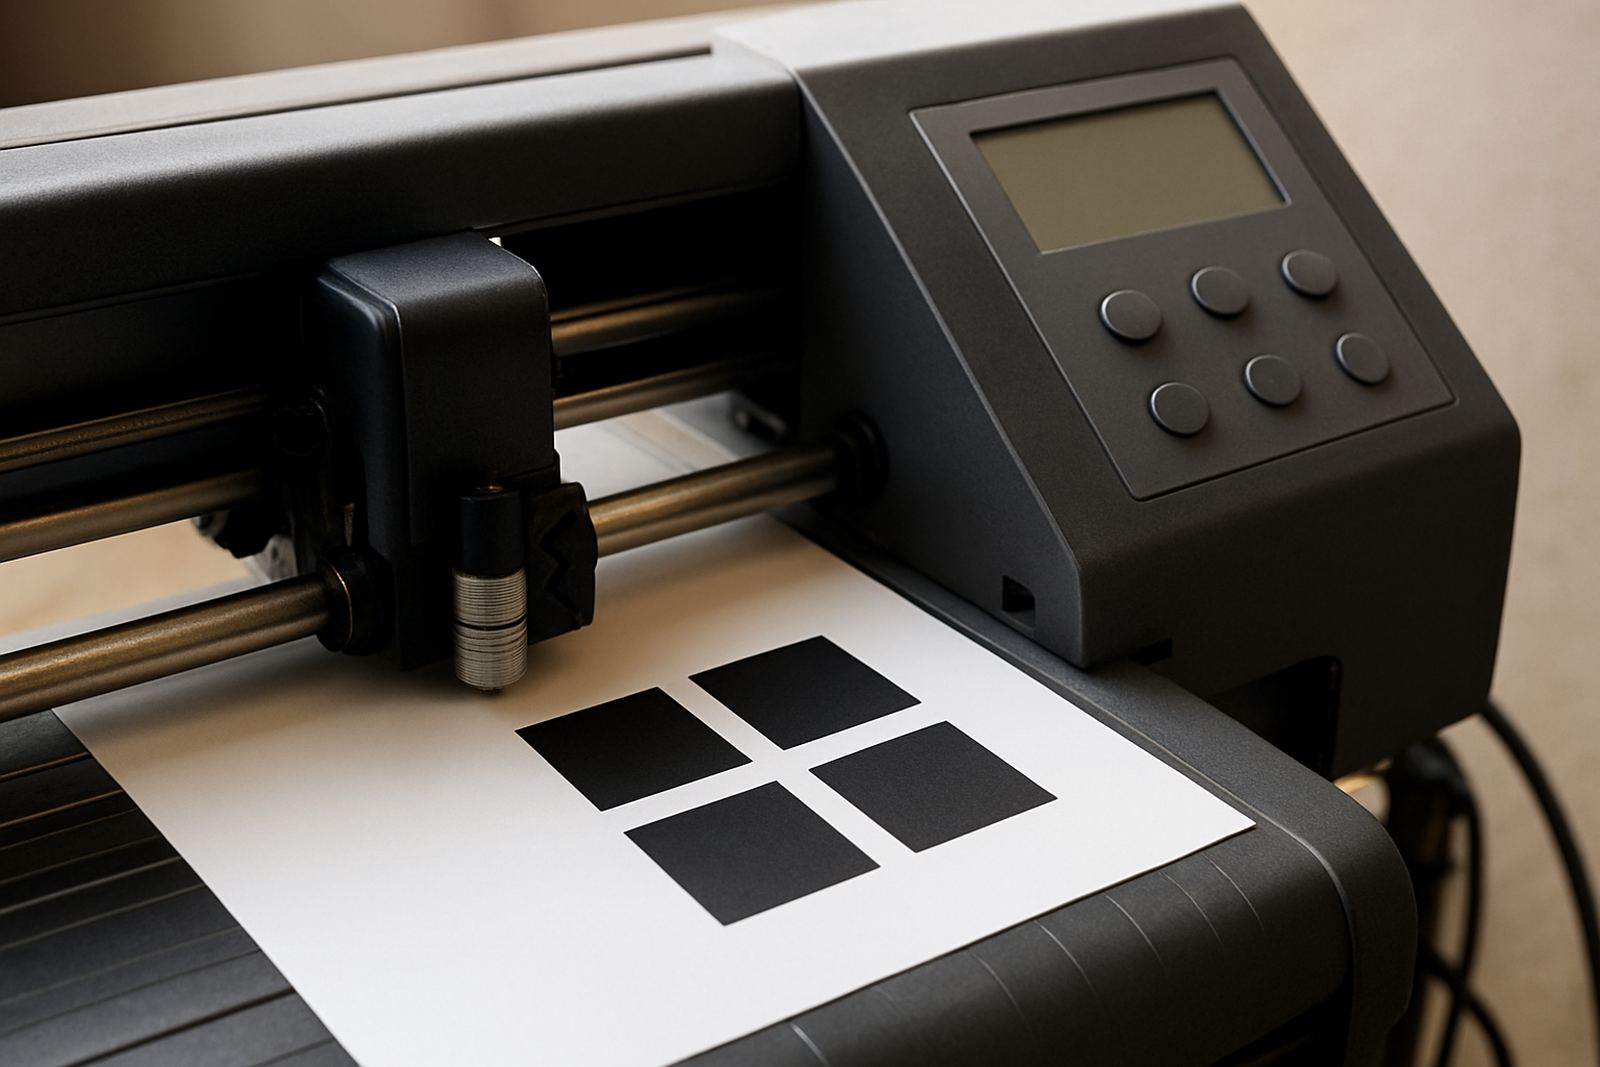
What Blade Pressure Setup Covers
This service is built for operators who need a repeatable cut, not guesswork. We work through the full setup of your cutter or print-and-cut workflow, starting with the blade type, holder fitment, offset, pressure and speed balance. The aim is to get a cut that lifts cleanly on the first pass without damaging the backing liner or leaving jagged corners.
It suits sign shops, label producers, garment transfer teams and in-house marketing departments working with short runs or bulk work. In Johannesburg, Pretoria, Durban, Cape Town and smaller towns, the same rule applies: if the blade is not matched to the media, production slows down and spoilage rises.
- Blade selection based on media thickness and finish
- Pressure range checks for light, medium and heavy stocks
- Offset and speed alignment for sharper corners
- Test-cut reading for clean peel and liner safety
Materials We Tune For
Different films behave very differently under the blade. A pressure setting that works on standard vinyl may tear a sandblast resist or barely mark a laminated print. We set up for common South African production jobs and adjust for coastal humidity, heat in metal sheds and dust that builds up in industrial areas like Isando and Germiston.
- Self-adhesive vinyl, including monomeric and polymeric grades
- Reflective film and safety marking film
- Heat transfer media for apparel and workwear
- Printable sticker stock with laminate
- Thicker speciality films used for decals and point-of-sale graphics
We also check whether the media is rolling flat, whether the liner has curl and whether static is affecting feed. Those small things matter when you are cutting long jobs overnight or during load-shedding windows and need the machine to behave the same way each shift.
Our Setup Process On Site Or Remotely
The process is practical and hands-on. If the machine is in Isando or one of our support areas such as Sandton, Midrand, Germiston, Boksburg or Randburg, we can work on site. For teams elsewhere in South Africa, we can also run a remote refresher with live guidance if the machine is already installed and connected.
- Confirm cutter model, blade holder type and current media
- Inspect blade wear, holder fitment and carriage movement
- Set initial pressure, speed and offset
- Run straight and corner test cuts
- Check weedability, corner lift and liner scoring
- Refine the settings and save a working preset
We explain why a setting is right, not just which buttons to press. That way an operator can repeat the setup later when a different roll is loaded or when a supervisor changes the job spec at short notice.
What You Receive After The Session
After the service, your team has a clear working reference for day-to-day production. We leave you with the settings that performed best on the test media, plus practical notes for future changes. If the machine has more than one common job type, we can build a simple setup matrix so operators can switch faster.
- Recommended blade angle and pressure range
- Working speed and offset notes
- Test-cut results explained in plain language
- Media-specific setup notes for repeat jobs
- Basic care steps for blade holders and cutting strips
For print-and-cut work, we also check whether the cut line follows the printed registration correctly after pressure tuning. A machine can read marks well but still cut poorly if pressure is too high, so this step saves time and avoids reprints.
Turnaround, Pricing And Booking
Turnaround depends on whether the job is a quick tune-up or part of a larger installation support visit. Simple pressure setup sessions can often be arranged within a short booking window, while full production line support may need a half day or a full day on site. For nationwide cutter installs, travel and timing are planned around production hours to limit downtime.
Pricing is quoted according to machine type, number of operators to be trained, travel distance and whether the session includes follow-up support. We keep it straightforward: no hidden extras, just a clear rate for the work required. For busy shops in Gauteng, a morning session is often enough to get the machine back into stable production before the afternoon shift starts.
To book, email cut@contourcutting.co.za with your machine type, material type and a short description of the issue. If you can, send a photo of the test cut and the current settings, even if the results look a bit messy. That gives us a head start before we arrive or call in.
Keeping The Settings Stable Over Time
Blade pressure is not something you set once and forget. Blades wear, liners change, humidity shifts and operators swap jobs through the week. In a coastal area, you may see different behaviour from the same roll after a wet weekend compared with a dry weekday. Regular checks keep production steady.
We recommend a maintenance interval based on workload, but as a practical guide, many shops review their settings every 2 to 4 weeks, or sooner if cut quality starts drifting. A quick review is also sensible after a blade change, a new media type, a carriage service or a major temperature change in the workshop.
- Check blade wear before each new roll
- Clean adhesive dust from the holder and strip area
- Re-test after changing from thin vinyl to thicker film
- Review pressure again after transport or installation moves
That discipline helps avoid overcutting, corner lift and wasted stock. It also keeps operators confident because they can see why the machine behaves the way it does, rather than making trial-and-error adjustments every day.
Key facts
| Blade pressure range | Model dependent, typically tuned in small increments for the specific media |
|---|---|
| Media thickness | Suited to common sign and sticker stocks from light vinyl to thicker speciality films |
| Setup method | Test-cut based tuning with pressure, offset and speed checks |
| Service format | On site in Gauteng and nationwide cutter install support, with remote refresher options |
| Typical turnaround | Same week for simple tuning, scheduled around production for larger jobs |
| Maintenance interval | Review every 2 to 4 weeks, or after blade, media or environment changes |