Cut quality changes are usually the first warning
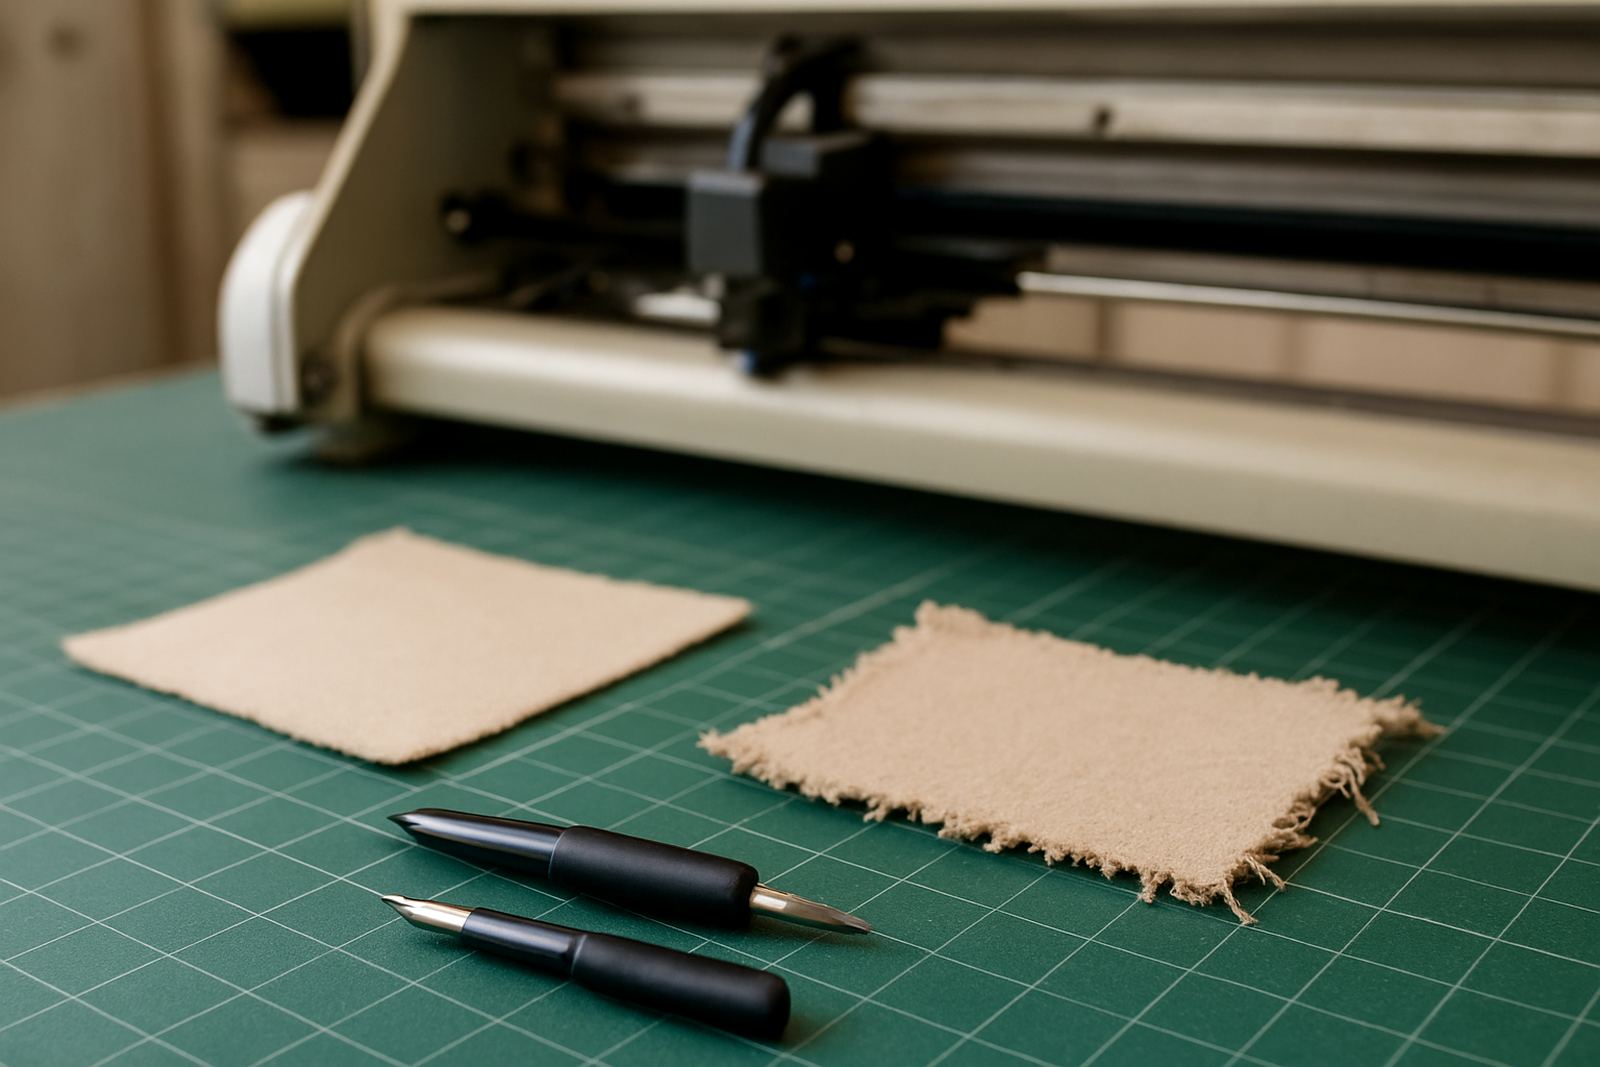
The earliest sign of a tired blade is often a cut that no longer behaves the same way from one job to the next. Edges may look slightly rough, small shapes may need weeding with more force, or the liner may not be cutting cleanly in one pass. On gloss vinyl and laminated media, you may also see tiny pull marks at corners where the blade starts dragging instead of slicing.
If your operator has to keep increasing pressure just to get through standard jobs, that is usually not a setting problem alone. It can mean the tip has worn down or picked up a flat spot. In a busy production room, that extra pressure can also shorten the life of the cutting strip and affect registration, so the issue grows faster than people expect.
Watch for these signs:
- Fine detail lifting at the corners
- Jagged edges on letters, numbers or logos
- Backer material scoring too deeply
- Pressure settings creeping up week by week
- Cut paths that look slightly offset on curves
If the blade is forcing rework, it is already costing you
A blade that is past its best often shows up in the finishing area before it shows up in the machine settings. Operators start lifting and reapplying pieces that should have weeded cleanly. Jobs that used to run smoothly now take longer because small cut errors need manual fixing. That slows output on everything from promotional stickers to short-run signage.
In practical terms, the real cost is not only the blade itself. It is the vinyl wasted on test cuts, the labour spent on rework, and the risk of sending out a job with lifted corners or incomplete letters. For shops handling repeat business in Johannesburg, Sandton or Midrand, that sort of inconsistency can put pressure on turnaround commitments and client trust.
A simple way to judge this is to ask three questions after every run:
- Did we need more than one test cut?
- Did the operator raise pressure or slow the speed to rescue the job?
- Did finishing take longer than normal because of poor cut release?
If the answer is yes more than once in the same week, the blade is likely due for replacement, even if it still appears usable.
Material type matters, especially in South African conditions
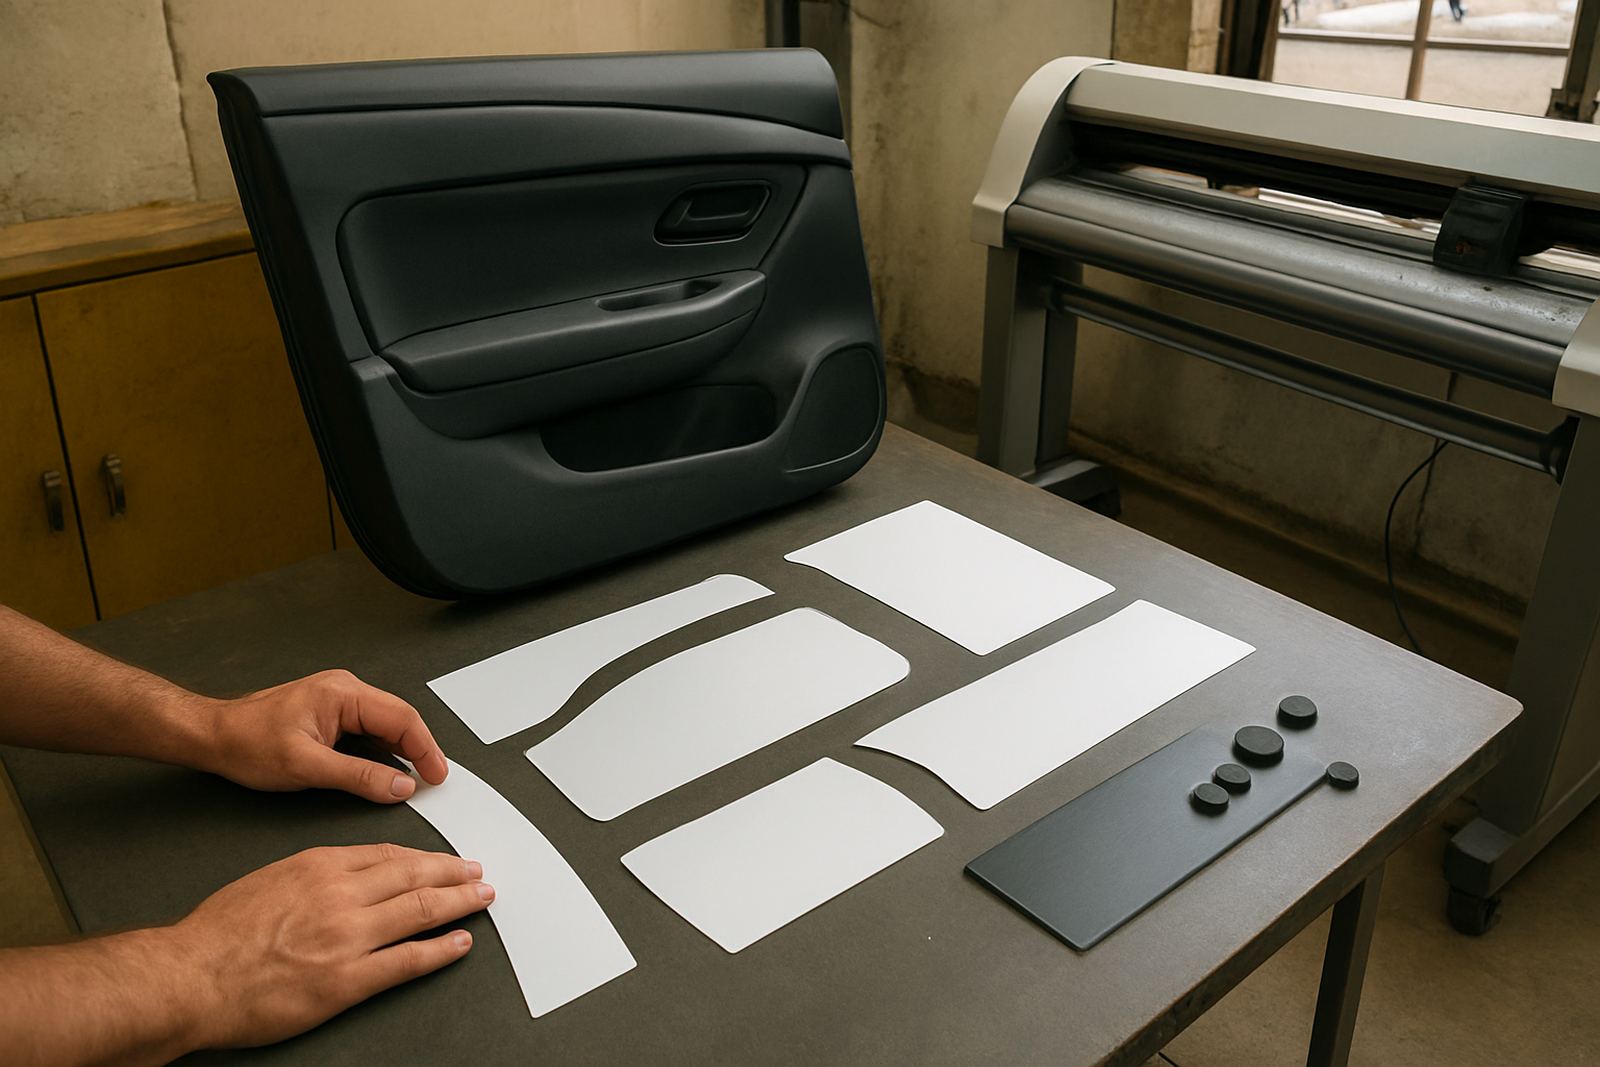
Not every blade wears at the same rate. Thicker reflective films, sandblast mask, magnetic material and some textured vinyls place more load on the tip than standard self-adhesive vinyl. Coastal humidity can also affect how media behaves on the table and through the feed path, while dust in industrial areas like Isando or Germiston can cling to the cutting area and make a worn blade show its age quicker.
Load-shedding adds another layer. When power drops and restarts, operators often rush to recover lost time. That can mean a blade keeps working after a long run without proper inspection. A quick clean, a look at the tip and a fresh test cut after a restart can save a bad batch. Small issues become expensive when the team is trying to catch up by the end of the shift, and the machine has already done a full day’s work.
Keep an eye on these material-related clues:
- Heavier media needs noticeably more pressure than last month
- Fine text cuts well on one film but fails on another
- Dust or adhesive build-up starts to mark the edge of the cut
- The same blade performs differently in different weather
What to check before you blame the machine
Blade wear is common, but it is not the only reason for poor cut quality. Before replacing parts, a technician or trained operator should check the basics. Is the media loaded straight? Is the blade holder clean? Has the cut line setup been matched to the artwork? Is registration calibration still true after a change in substrate? A proper check takes minutes, not hours.
Sometimes the problem is a mix of small things rather than one big fault. For example, a slightly dull blade combined with loose media and high speed can produce rough edges that look like a major mechanical issue. The same is true when the tip is correct but the pressure is set too high. That can make the blade appear worn when the real issue is setup. This is why good operator training matters so much.
Before replacing the blade, review this list:
- Blade holder and clamp are clean and seated correctly
- Media is flat and feeding without skew
- Cut lines match the artwork size and contour path
- Registration marks are being read accurately
- Speed and pressure are still suitable for the substrate
A local example from a busy Isando production floor
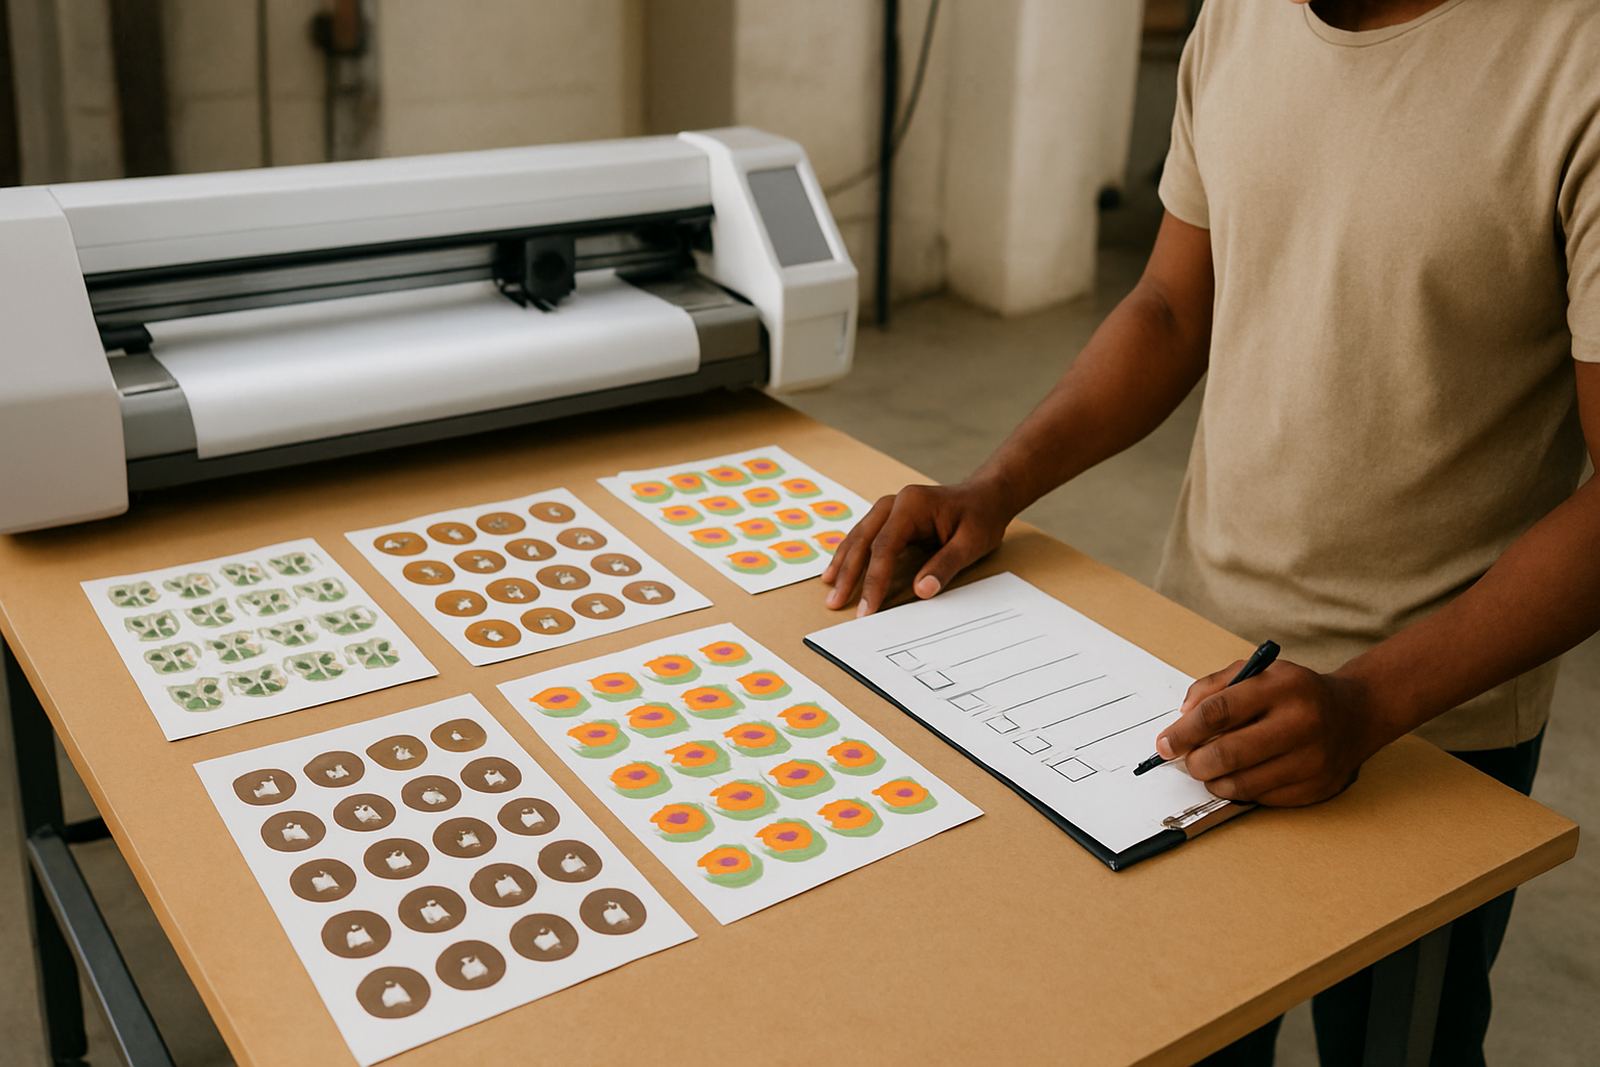
A signage team in Isando was running a batch of contour-cut stickers for a national promotion. At first the job seemed fine, but the weeded corners started lifting and the small type on some labels was tearing. The operator increased pressure twice, then slowed the machine, but the output still needed extra hand finishing. By the third tray, the team could see the blade had stopped giving a clean edge.
After replacement, the same file ran with lighter pressure and a cleaner release on the liner. The difference was not subtle. Waste dropped, the finishing table cleared faster and the production supervisor could move the team on to the next batch without the usual rework. That sort of change is common, and it shows why a blade should be treated as a consumable with a real service life, not a part you leave until it fails completely.
For shops handling same-day orders, it is worth assigning one person to check cutting quality at the start of each shift, especially after a power interruption or a long run on heavier media.
Build blade checks into routine production
The best time to replace a blade is before it starts costing money through poor output. A simple routine can help. Keep a log of pressure settings by material, note how often test cuts are needed and record when the blade last gave trouble. If the machine starts asking for more force on jobs it used to handle easily, do not wait for a full failure. Replace it and move on.
Teams that handle operator induction, supervisor coaching and troubleshooting sessions usually see the value of this approach quickly. The goal is not to change blades on a fixed date for the sake of it. The goal is to keep production moving with clean cuts, predictable finishing and less waste. In practical terms, that means fewer interruptions, fewer complaints and a better day on the floor.
A good rule is simple: if a blade is affecting pressure, finish or speed, it has already affected production. Replacing it early is cheaper than rescuing a batch later.