Start with the vehicle, not the artwork
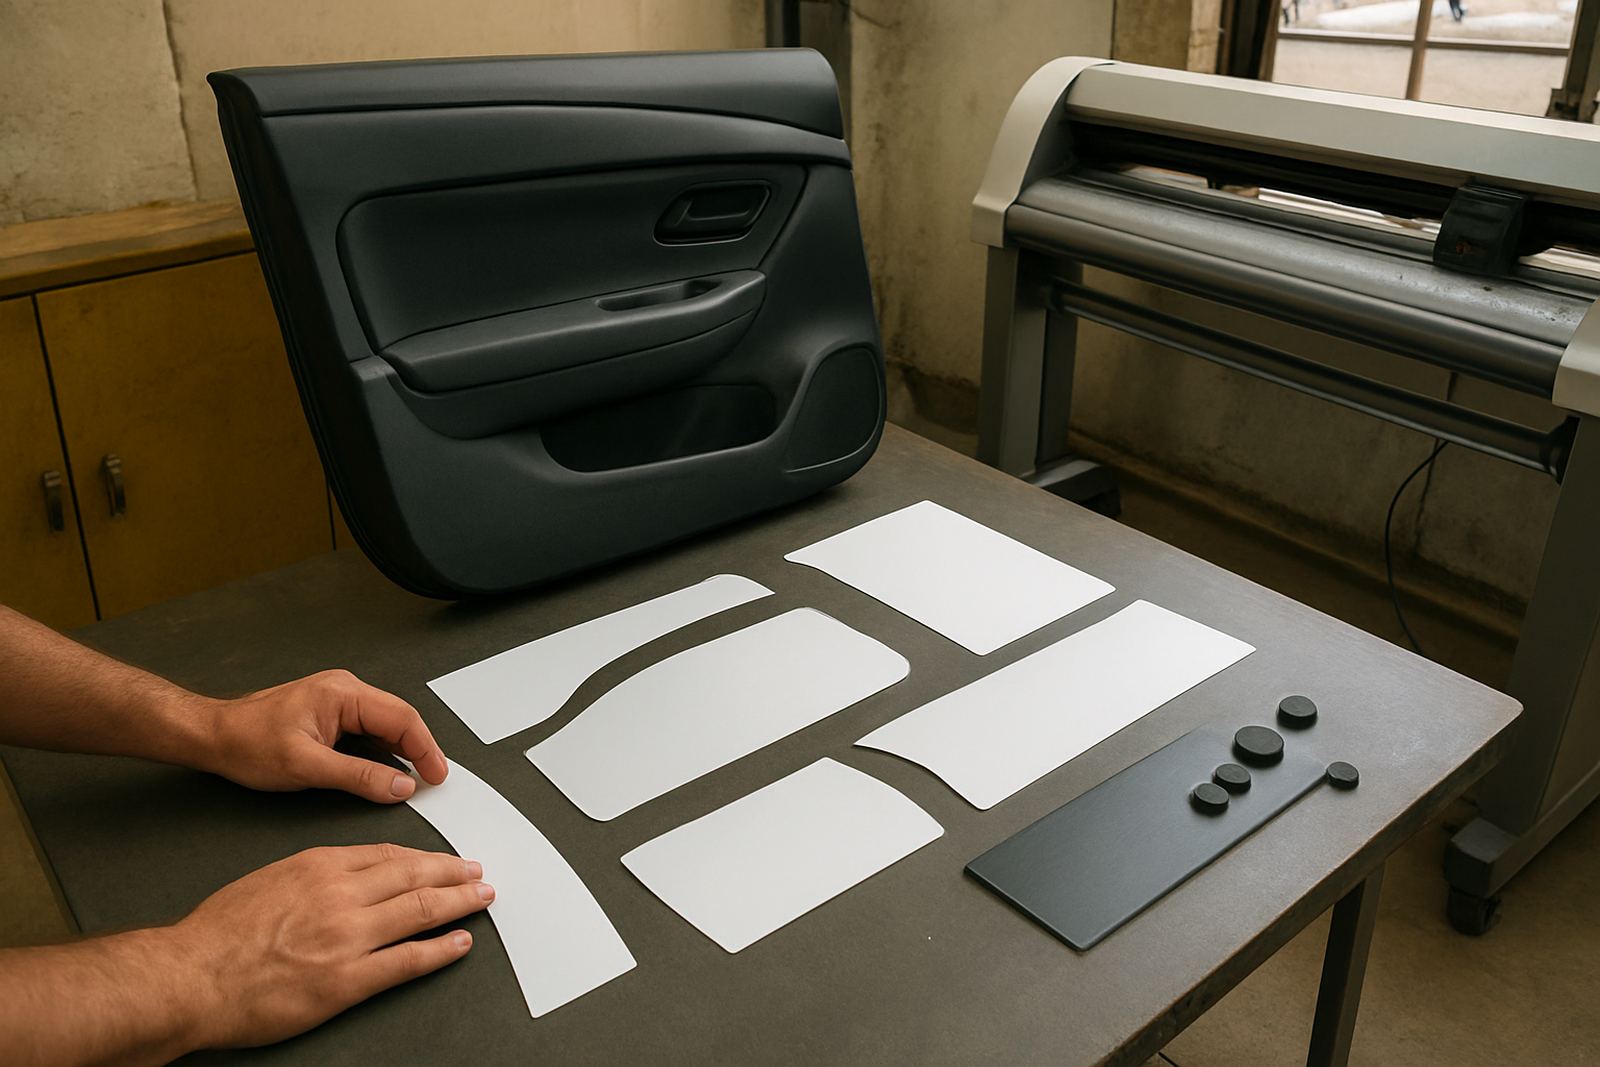
Every vehicle panel behaves differently. A flat courier van gives you more freedom than a curved bakkie canopy, and a panel with heavy ribbing, door handles, fuel caps or body lines needs extra planning before the first cut is made. On a vehicle that travels between Isando, Sandton and Midrand all week, the decal must still read clearly after heat, rain and repeated washing.
It also helps to check the actual condition of the paint. Fresh resprays need proper curing time, while older paint can lift if the adhesive is pushed too hard during fitting. In humid coastal conditions the prep needs even more care, but even in Gauteng dust and traffic grime build up quickly and affect adhesion if the surface is not cleaned properly.
- Check for panel repairs, rust, stone chips and wax residue before production.
- Confirm door gaps, handles, rub strips and fuel points so the cut line does not land badly.
- Allow for curves and recesses where letters or logos may distort.
- Measure twice on the actual vehicle, not only from the drawing.
Contour cuts need proper registration and clean artwork
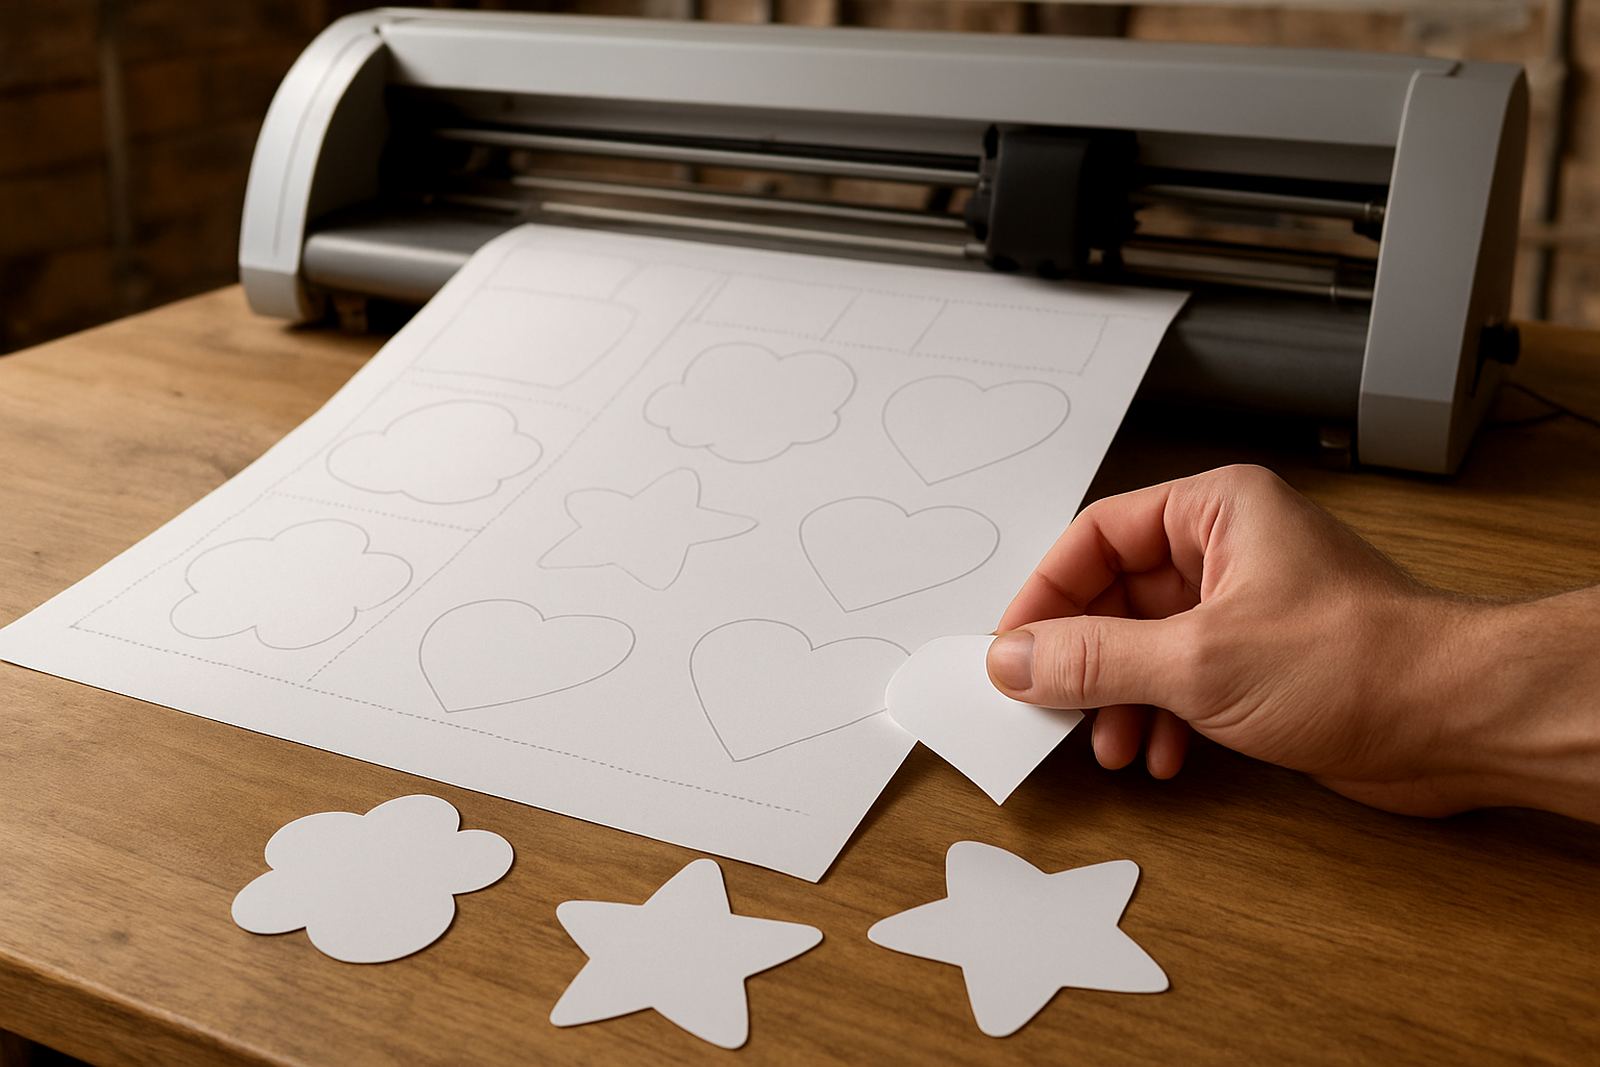
For print-and-cut vehicle branding, the registration marks and cut lines must be set correctly from the start. If the artwork is scaled late or exported badly, the cutter can drift and the finished decal will sit off-centre or trim too tight around fine details. That is where experienced setup saves time and material.
Good cut line preparation is especially important for logos with thin legs, circles, small text or open spaces between letters. A decal that looks fine on screen may become fragile once it is weeded and applied, so the production file should be checked for islands, sharp corners and tiny bridges that can lift later.
In our Isando work area, we often see jobs for panel vans going to Boksburg depots or Sandton offices where the client wants crisp branding and quick turnaround. The pressure is always on to keep the cut accurate, but rushing the registration step usually creates more delays than it saves, and then you are reprinting at your own cost.
- Keep artwork vector clean where possible, and flatten only when needed for print.
- Leave safe margins around fine detail so the cutter does not nick critical edges.
- Test one sample panel before running a full set for a fleet.
- Keep a record of successful cut settings for repeat jobs and reorders.
Choose the right media for South African conditions
Vehicle decals are exposed to more punishment than most sign work. They face afternoon heat, cold mornings, high-pressure washing and UV on parked company vehicles. If the media is too thin, too stiff or not suited to the job, the edges can lift or the print can fade before the next service cycle. For long-term fleet use, material choice matters just as much as artwork quality.
For short promotions, removable vinyl may be suitable. For longer branded fleets or permanent service vehicles, a more durable cast or high-grade conformable film is usually the safer choice, especially around curves, flares and doors with movement. The adhesive should match the surface and the expected removal period, because a decal that is easy to apply but painful to remove can cause damage later.
Load-shedding also affects production planning. When power cuts interrupt printing, curing or cutting, the job schedule needs buffer time so the material is fully ready before packing or fitting. A decal that is handled too early can show edge curl or adhesive trouble. If the workshop is in a hot industrial area like Isando, media storage matters too, because rolls left in poor conditions can pick up dust or warp slightly.
- Match the vinyl grade to the expected lifespan of the vehicle branding.
- Use laminate where the decal will face constant abrasion or frequent washing.
- Store rolls flat or upright as recommended, away from direct heat.
- Avoid fitting on freshly painted panels until the paint is properly cured.
Install around bodywork, not against it
Even the best cut decal can fail if the fitting process ignores the vehicle shape. Panel edges, seams and curves need careful application so the decal sits well and does not trap air or tension. On commercial vehicles that carry ladders, tools or delivery loads, the branding also has to tolerate daily knocks and pressure from straps, hands and washing brushes.
When fitting long side panels, installers should work in sections and check alignment from a distance, not only up close. Small angle errors become obvious once the vehicle is on the road. For fleet work, it also helps to photograph each fitted unit and keep the placement standardised so the same logo sits in the same position across all vehicles.
A local example would be a Germiston-based contractor with four bakkies and two vans. If one vehicle has a tailgate replacement and another has original panels, the decal positions may need slight adjustment, otherwise the fleet ends up looking inconsistent. That kind of inconsistency is easy to miss in the workshop and very obvious in the parking lot.
- Clean with the correct prep product and remove all polish or grease.
- Apply from the centre out, using steady pressure on curved areas.
- Check alignment from 3 to 5 metres away before the final bond sets.
- Allow extra time for large decals on hot panels or in windy outdoor areas.
Plan for removal, replacement and fleet updates
Vehicle branding is rarely a once-off job. Businesses replace vehicles, update phone numbers, rework logos and reassign units between branches. If the original decals were cut and installed with future removal in mind, the next change is easier and less expensive. That is important for companies with vehicles moving between Sandton support, Randburg support and sites across the East Rand.
Replacement planning also helps with municipal or site access rules. Some clients need neat, readable branding for security or building management, while others want temporary promotional decals that can be removed after a campaign. Either way, the cut profile should support the business use, not create a headache when the vehicle changes hands.
For training and repeat production, a good workshop keeps the original file notes, blade pressure, media type and fitting sequence. That makes future reprints faster and cleaner. It also helps when a supervisor needs to brief a new operator or when a fleet manager asks for two more units after the first batch has already been approved.
- Keep a fitting record for each vehicle number or registration.
- Store print files and cut settings together for repeat production.
- Plan edge seal or removal method according to how long the decal must stay on.
- Allow for replacement panels or future rebranding without damaging the paint.
Why training and setup matter on every decal run
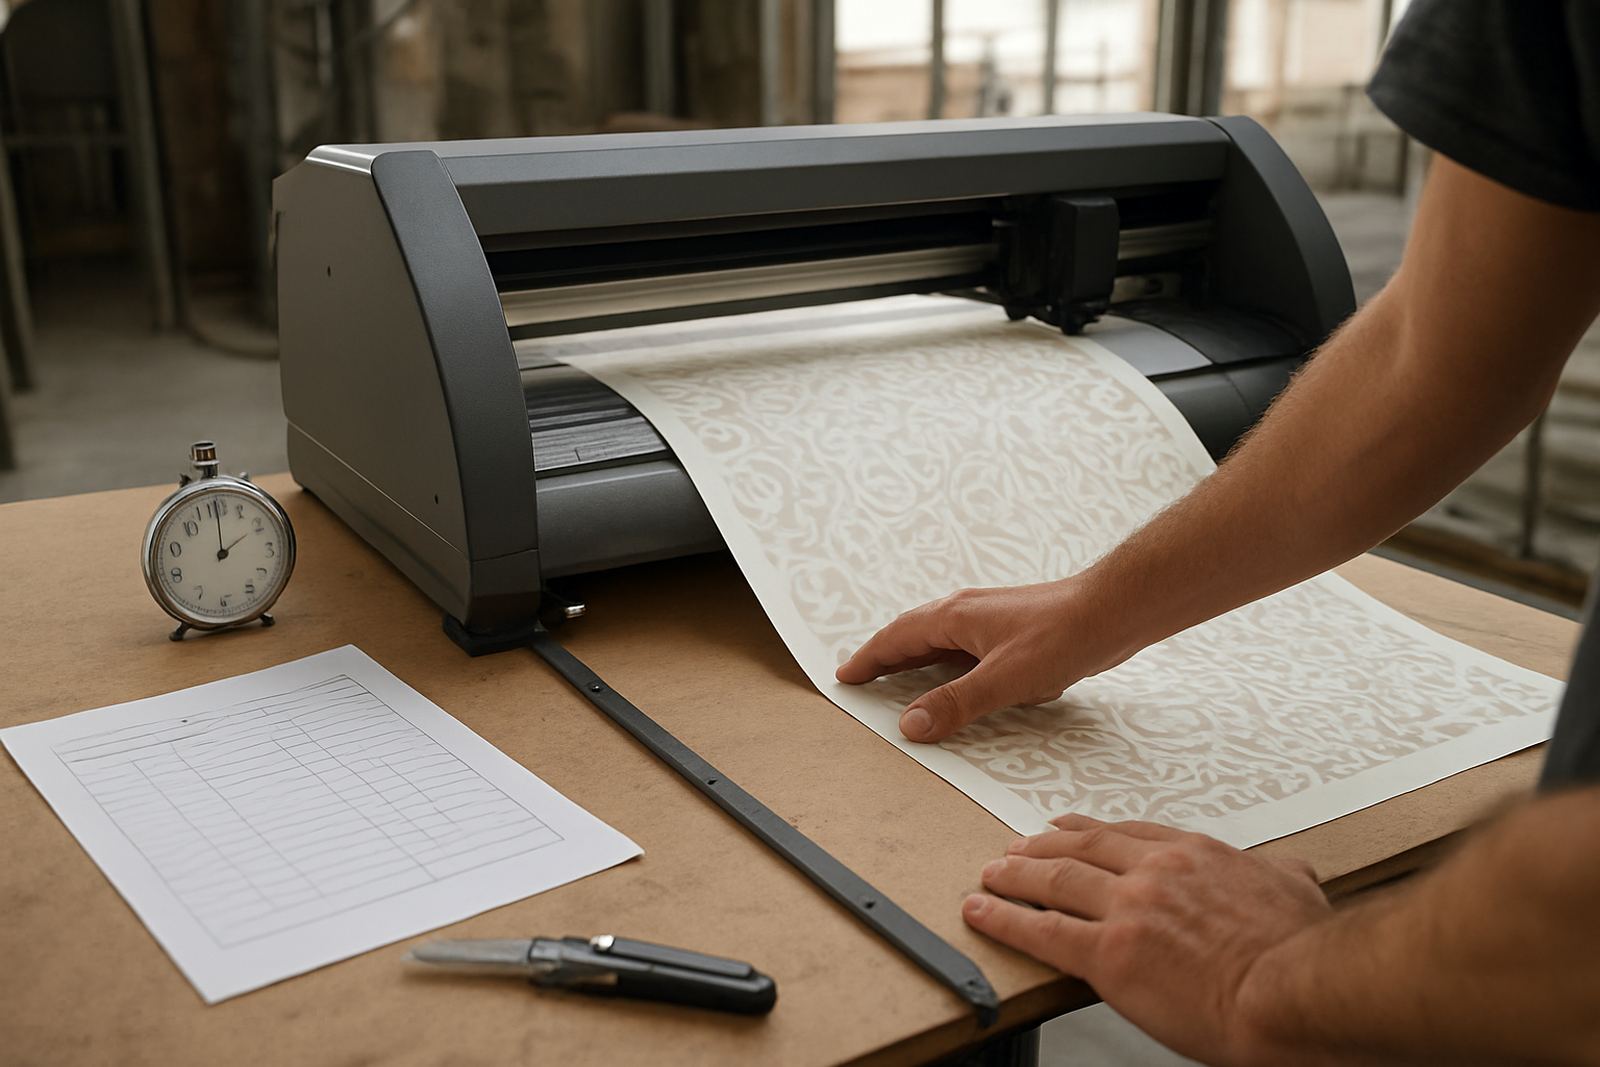
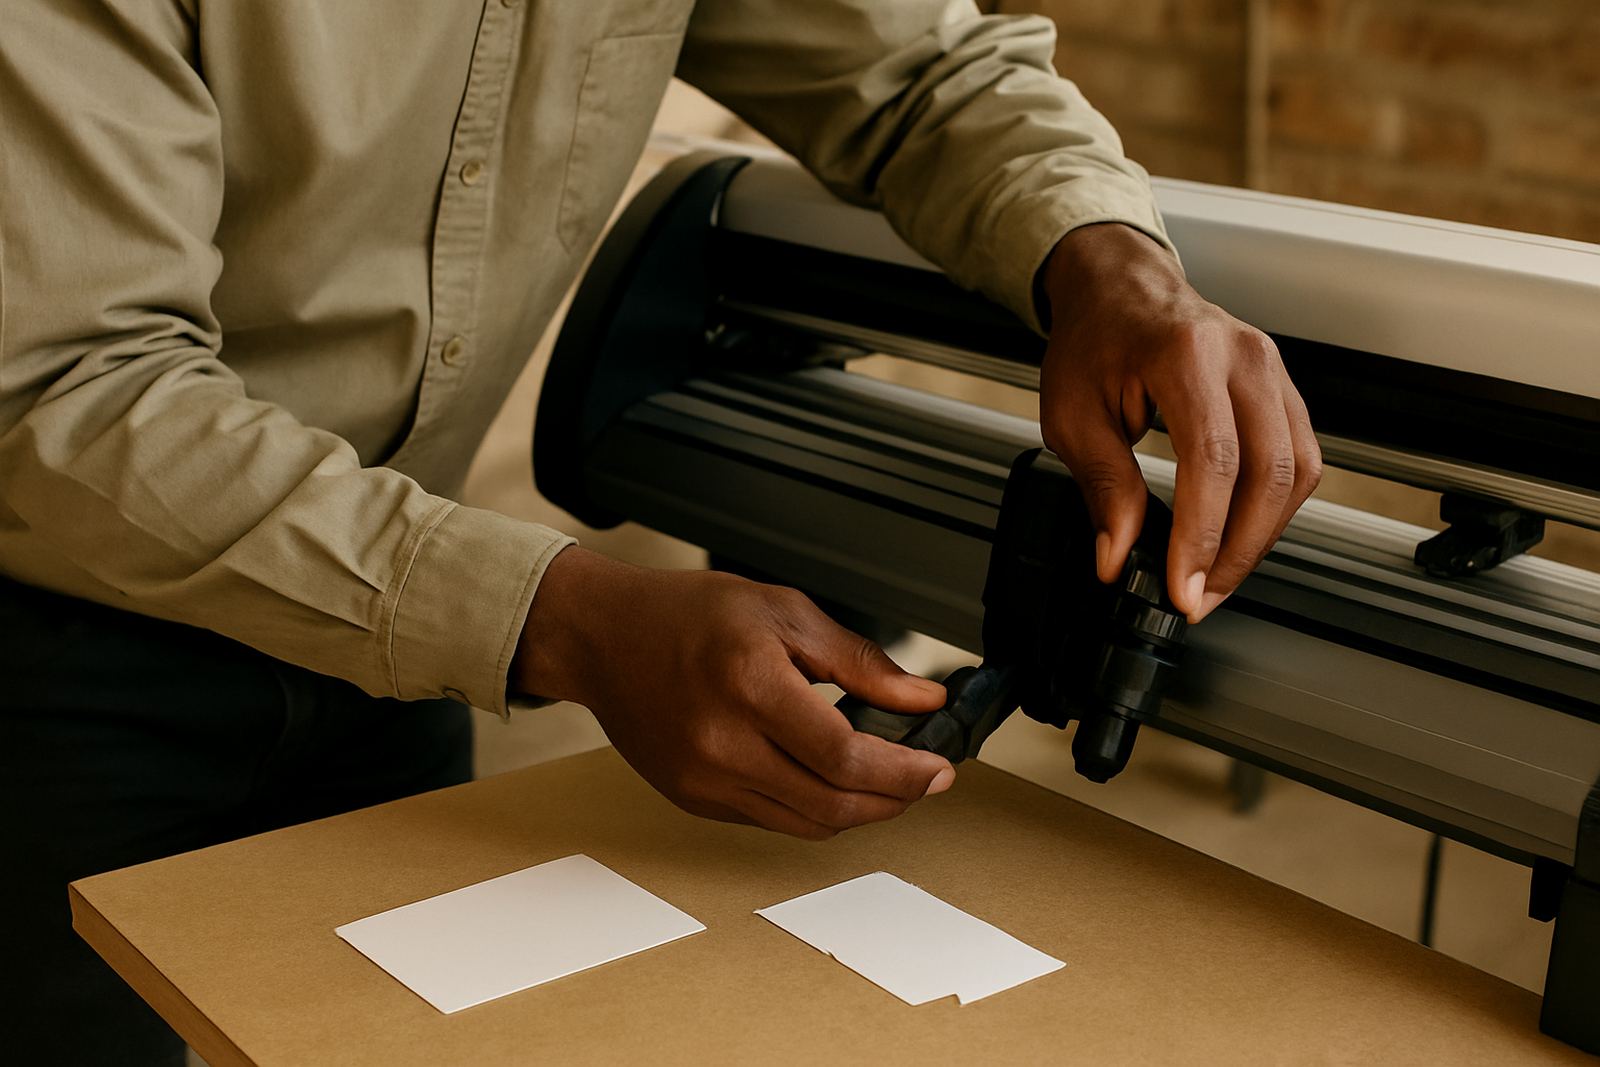
Vehicle decal work rewards teams that understand both the machine and the application. Operator induction, media loading, blade pressure setup, registration calibration and troubleshooting are not theory topics. They decide whether a batch goes out on time, whether the edges weed cleanly, and whether the installer gets a film that behaves on the vehicle.
When production is consistent, the workshop can take on more complex jobs with less waste. That matters for businesses handling local branding in Johannesburg while also installing cutters nationwide, because the same discipline that helps on a single van in Isando also supports a multi vehicle rollout in another province. The work only looks straightforward after the settings are right.
For practical teams, a short checklist before every run keeps the pressure down. It is simple, but it saves money and avoids reprints, which is what any business really wants.
- Confirm artwork size, cut line and registration before printing.
- Check blade condition and pressure before running a long batch.
- Inspect the first cut for weedability before releasing the full order.
- Keep the vehicle surface prep and fitting plan aligned with the production file.