Start with a cut that is deep enough, but not too deep
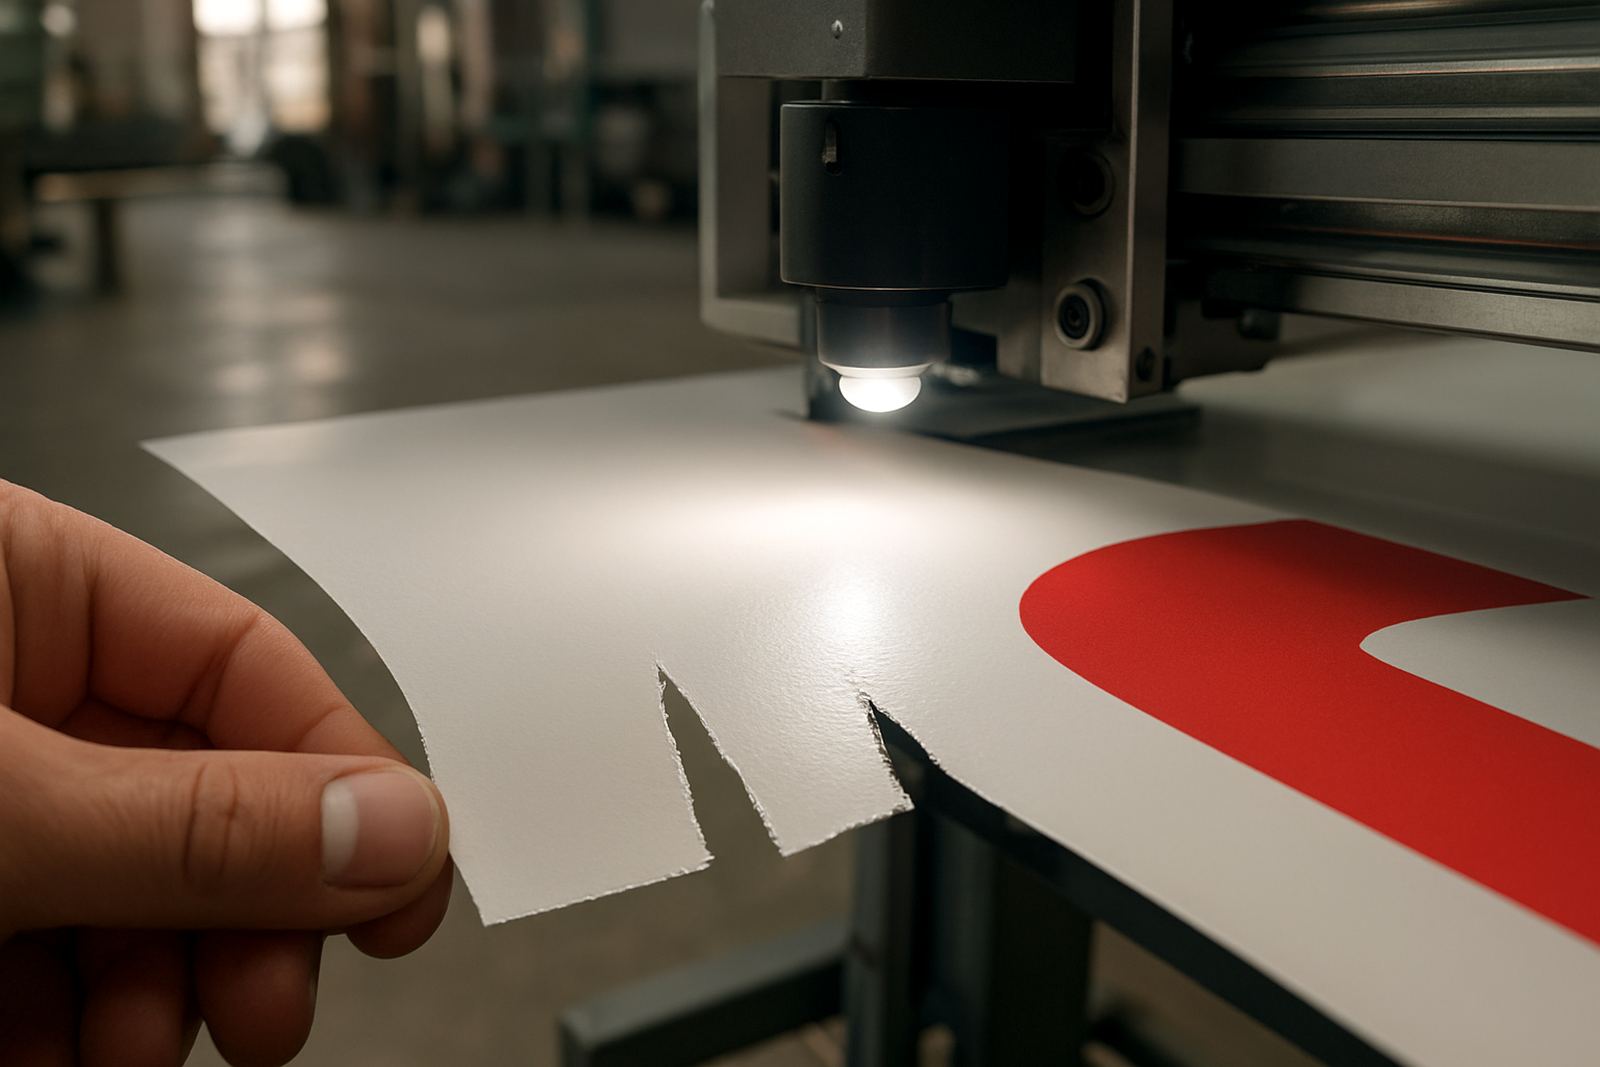
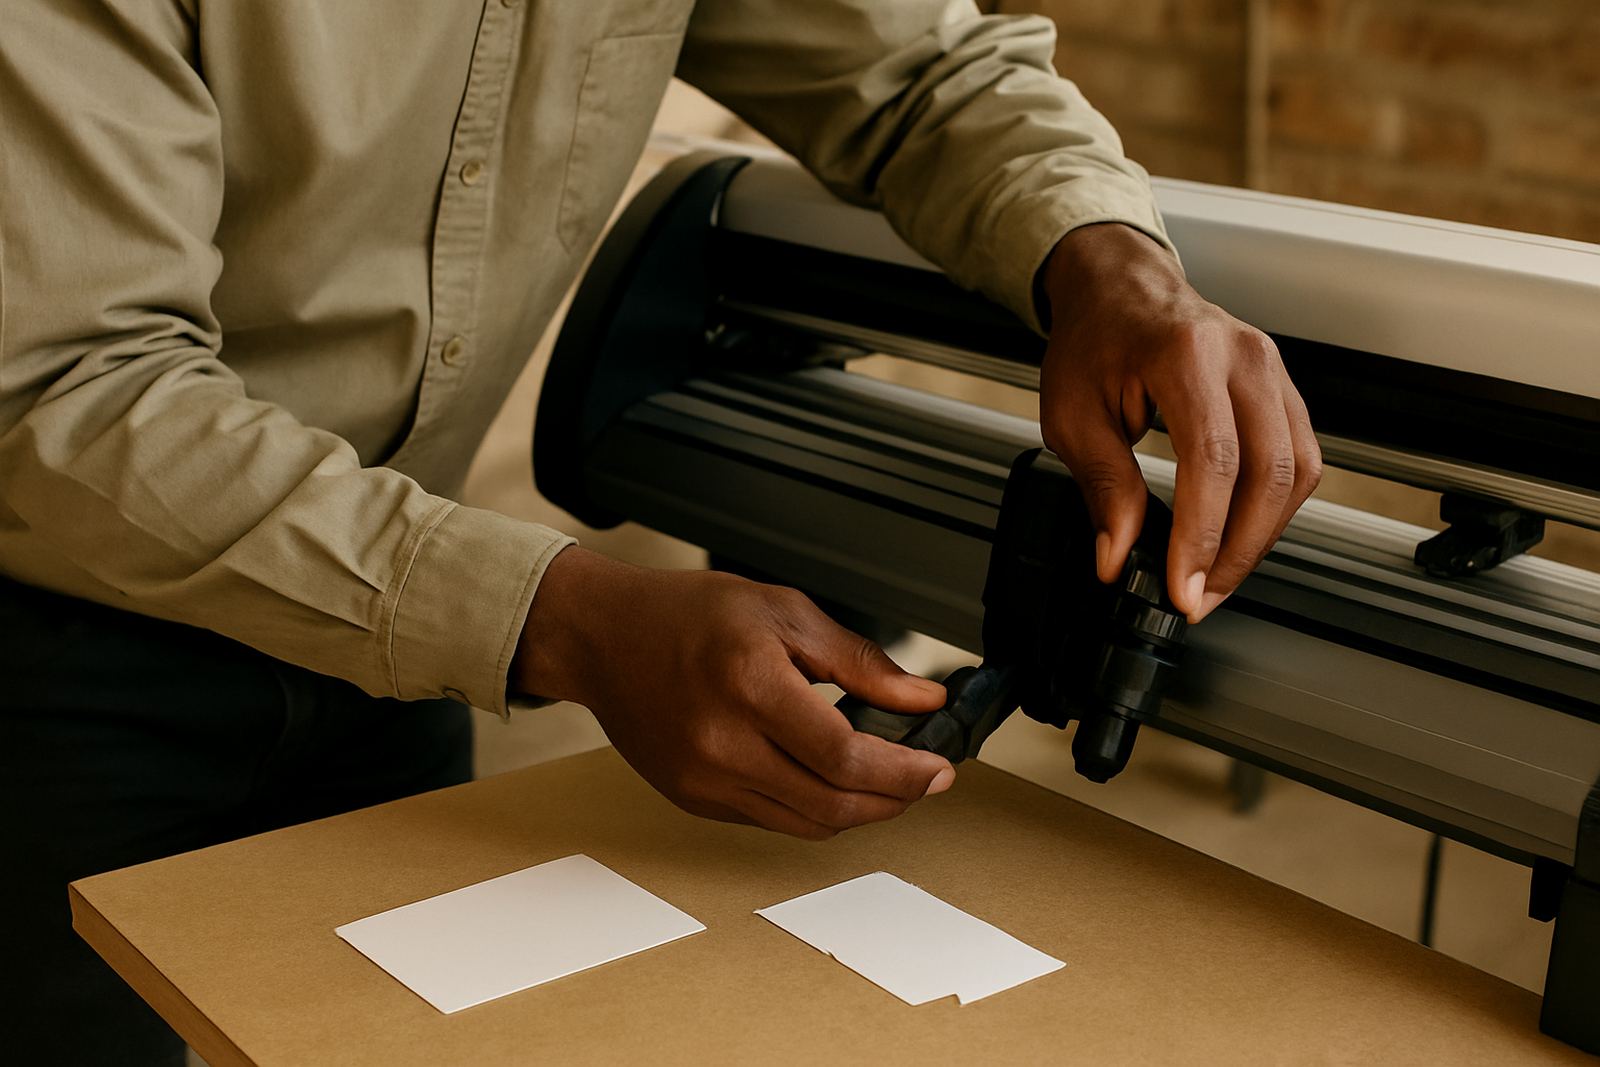
The fastest way to slow a production line is to cut through the face film and into the liner. When that happens, small letters lift badly, fine corners tear, and operators spend more time picking out scraps than finishing the job. A better result comes from setting the blade pressure just high enough to kiss the liner, then checking it on a short test run before the full sheet goes through.
In Isando we often see the same pattern on sticker jobs for fleet markings and point of sale labels. The artwork looks fine on screen, but the cut depth changes once the media is loaded under tension or the mat is slightly warped. A quick pressure test on the actual media saves a lot of hassle later, and it usually cuts weeding time down by minutes per sheet which adds up fast on a busy shift.
Choose artwork that suits the weeding step
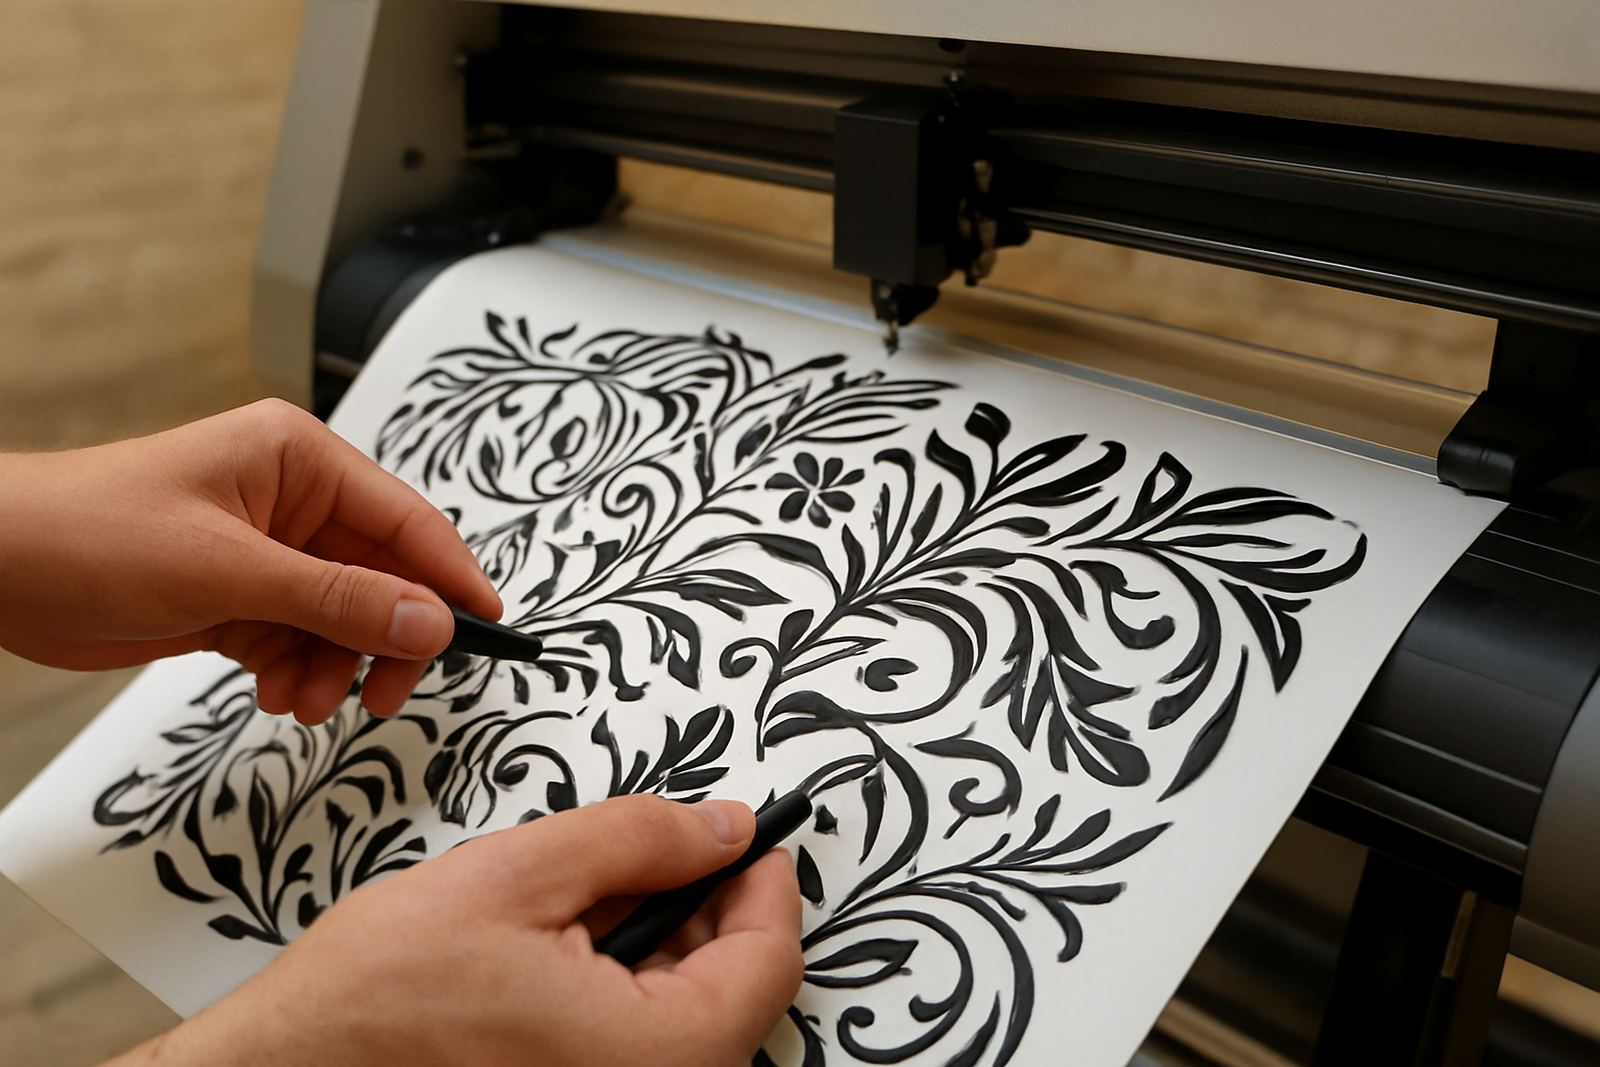
Not every shape is friendly to manual clearing. Very sharp inside corners, tiny islands, and thin strokes can all snag during weeding. Where possible, keep stroke widths practical and avoid details that will vanish once the release paper is removed. If the finished graphic must include fine detail, plan the layout so the small pieces are grouped and weeded in a logical order.
- Keep text sizes readable for the final use, not just the design file.
- Increase spacing between elements where the cutter will need to turn tightly.
- Use a clean cut line path so the blade does not double back across delicate areas.
- Place small detail away from the sheet edge because handling damage is common there.
For promotional stickers going into Sandton offices or event packs in Midrand, this matters more than people think. A job that looks busy and detailed can actually be faster to finish if the artwork was planned for the cutter and not only for the eye.
Use the right media for the job and the climate
Weeding is easier when the material behaves predictably. In Johannesburg the dry winter air and the odd power interruption can leave some films more brittle than expected, while coastal humidity on installs near Durban can make liner release feel sluggish. A pressure sensitive media that suits the application will usually give cleaner lifts, especially on long runs where the top layer must separate evenly from the scrap.
It also helps to store rolls flat and sealed, not next to open workshop doors where dust gets in. A sheet that has picked up moisture or dust will grab at the cut edges and pull. On reflective or heavily pigmented films, allow the media to settle in the room for a bit before cutting. It sounds small, but it makes a noticeable difference to scrap removal and final edge quality.
- Keep media at room temperature before cutting.
- Avoid old rolls with crushed edges or damaged liners.
- Use the correct film thickness for the cutter and the final surface.
- For delicate work, test a small section before committing to full production.
Registration and tracking settings change everything
For print-and-cut work, a neat print means little if the registration is off by even a fraction. When the contour follows the print accurately, the blade meets the intended edge and the scrap releases as one clean piece. When the line drifts, little bridges form and operators start digging at corners, which slows the whole batch.
Checking registration calibration before a production run is worth the time. So is confirming media loading, pinch roller position and tracking on a test length. If the sheet skews, the cutter will not stay true, and you end up with waste on both the printed part and the backing liner. One installer in Boksburg told us a simple recheck before each changeover saved them from reprinting a full batch of barcode labels after the sheet had drifted during a long afternoon run.
Good workflow habits also matter. Keep the artwork file naming clear, use the same starting point on every job, and make sure the operator knows which settings were used on the last successful run. That way a good result can be repeated without guesswork.
Weeding is faster when the work area is set up properly
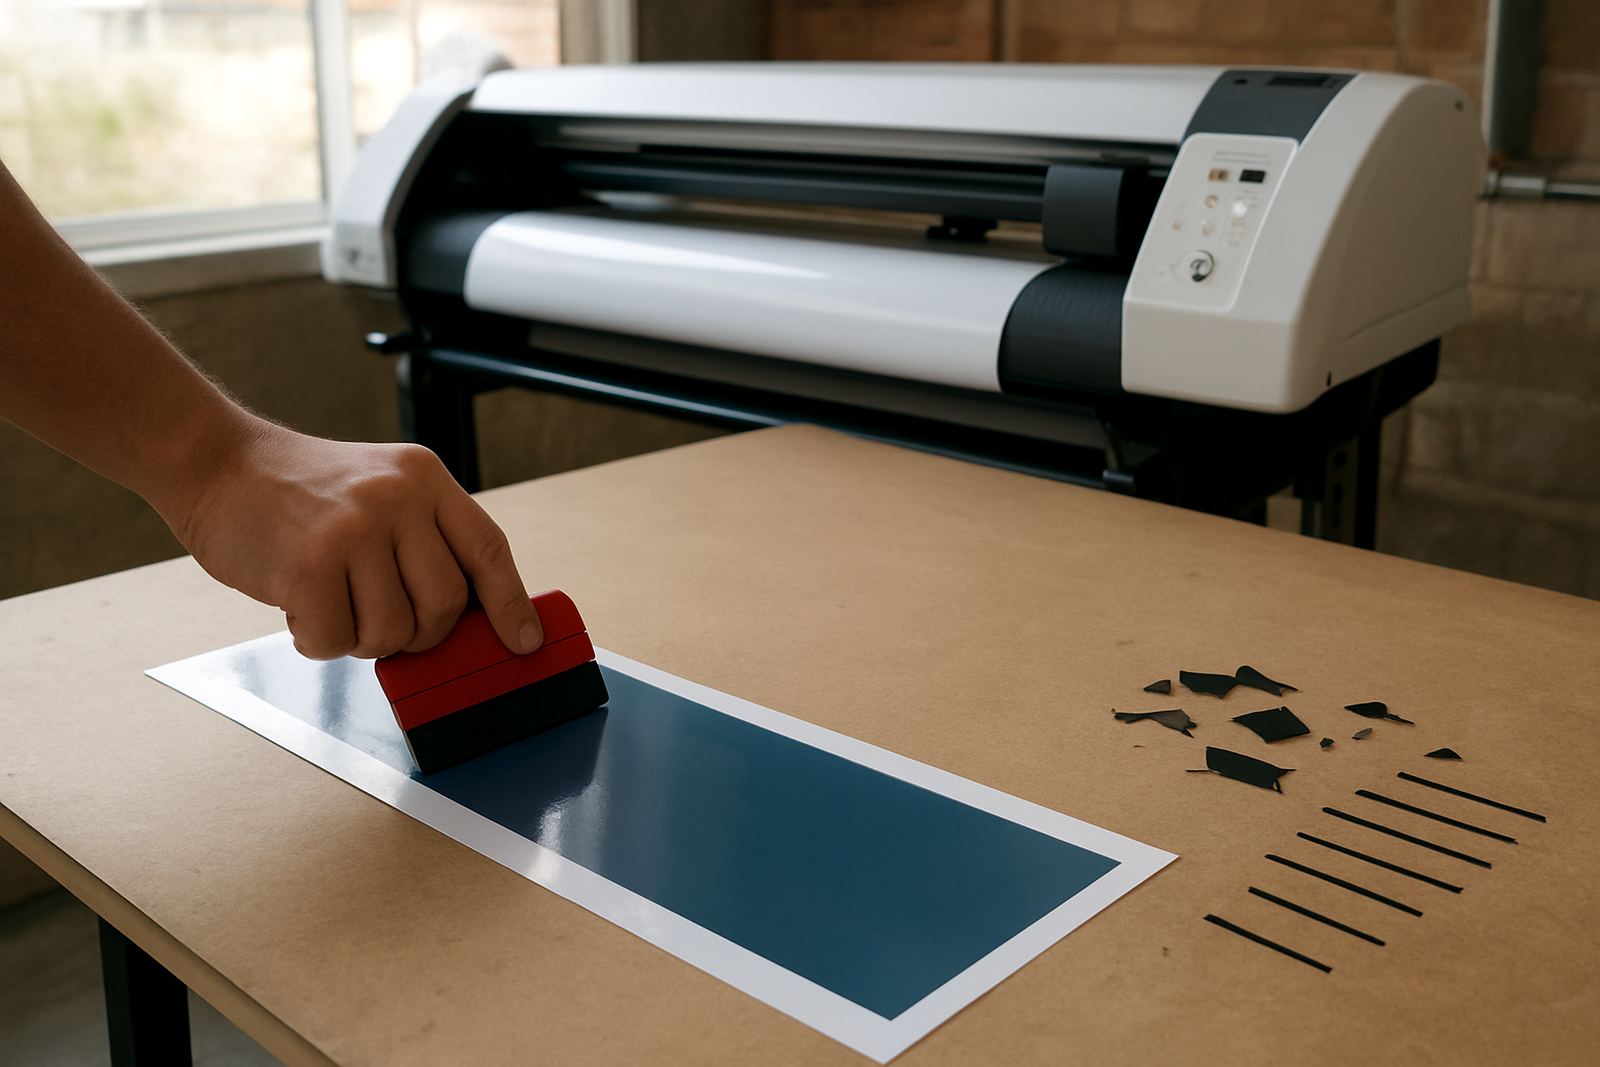
The bench or table should support the sheet fully so the cut lines do not flex while the operator lifts the waste. A bright overhead light, a sharp hook tool, and a clean surface all help reduce mistakes. In practical terms, the person weeding should not have to fight static, curl or sticky scrap while trying to keep tiny characters intact.
For teams running through high volumes, group the work into sizes and finish the easiest pieces first. Large border waste can come off in strips if the cut is accurate, while small internal areas can be cleared with a pointed tool after the main sheet is open. That order keeps the job moving and stops operators from handling the same piece too many times. It also reduces the chance of lifting part of the final graphic by accident, especially on softer films.
Teach operators the fixes that save whole batches
Most weeding problems are not really weeding problems, they start at setup. A team that understands blade pressure, artwork cut lines, and media loading will spot trouble early. That is why practical induction, supervisor coaching and troubleshooting sessions pay off quickly. One good setting learned in Germiston can save an entire afternoon of rework in Randburg.
- Train operators to recognise undercut and overcut before production starts.
- Show how to recheck blade condition after a long run.
- Keep a simple log of media type, pressure and speed for repeat jobs.
- Include a refresher on blade pressure setup after maintenance or machine moves.
When a cutter is installed nationwide, the first jobs after setup usually reveal the real production habits. Teams that learn to correct small issues early get cleaner scrap release, fewer damaged corners and better throughput without needing to push the machine harder than it should go. That makes the whole process calmer and a lot more predictible.
A local example from a busy Isando print floor
A sign shop in Isando handling short-run promotional stickers and cut vinyl labels had a familiar problem. The prints looked good, but the weed time was eating into dispatch hours, especially when the afternoon load-shedding window shortened the shift. After checking cut lines, blade pressure and registration calibration, the team adjusted the settings for the actual film they were using and changed the order of the weeding steps.
The result was simple. Less tearing on fine letters, fewer lifted edges, and faster handover for packing. The operators did not need to force the scrap away, and the final labels looked cleaner at close range. That kind of improvement is rarely about one magic fix. It usually comes from a few steady changes done properly, and once the team sees it work the process gets easier to repeat on future jobs.