What a clean cut edge should look like
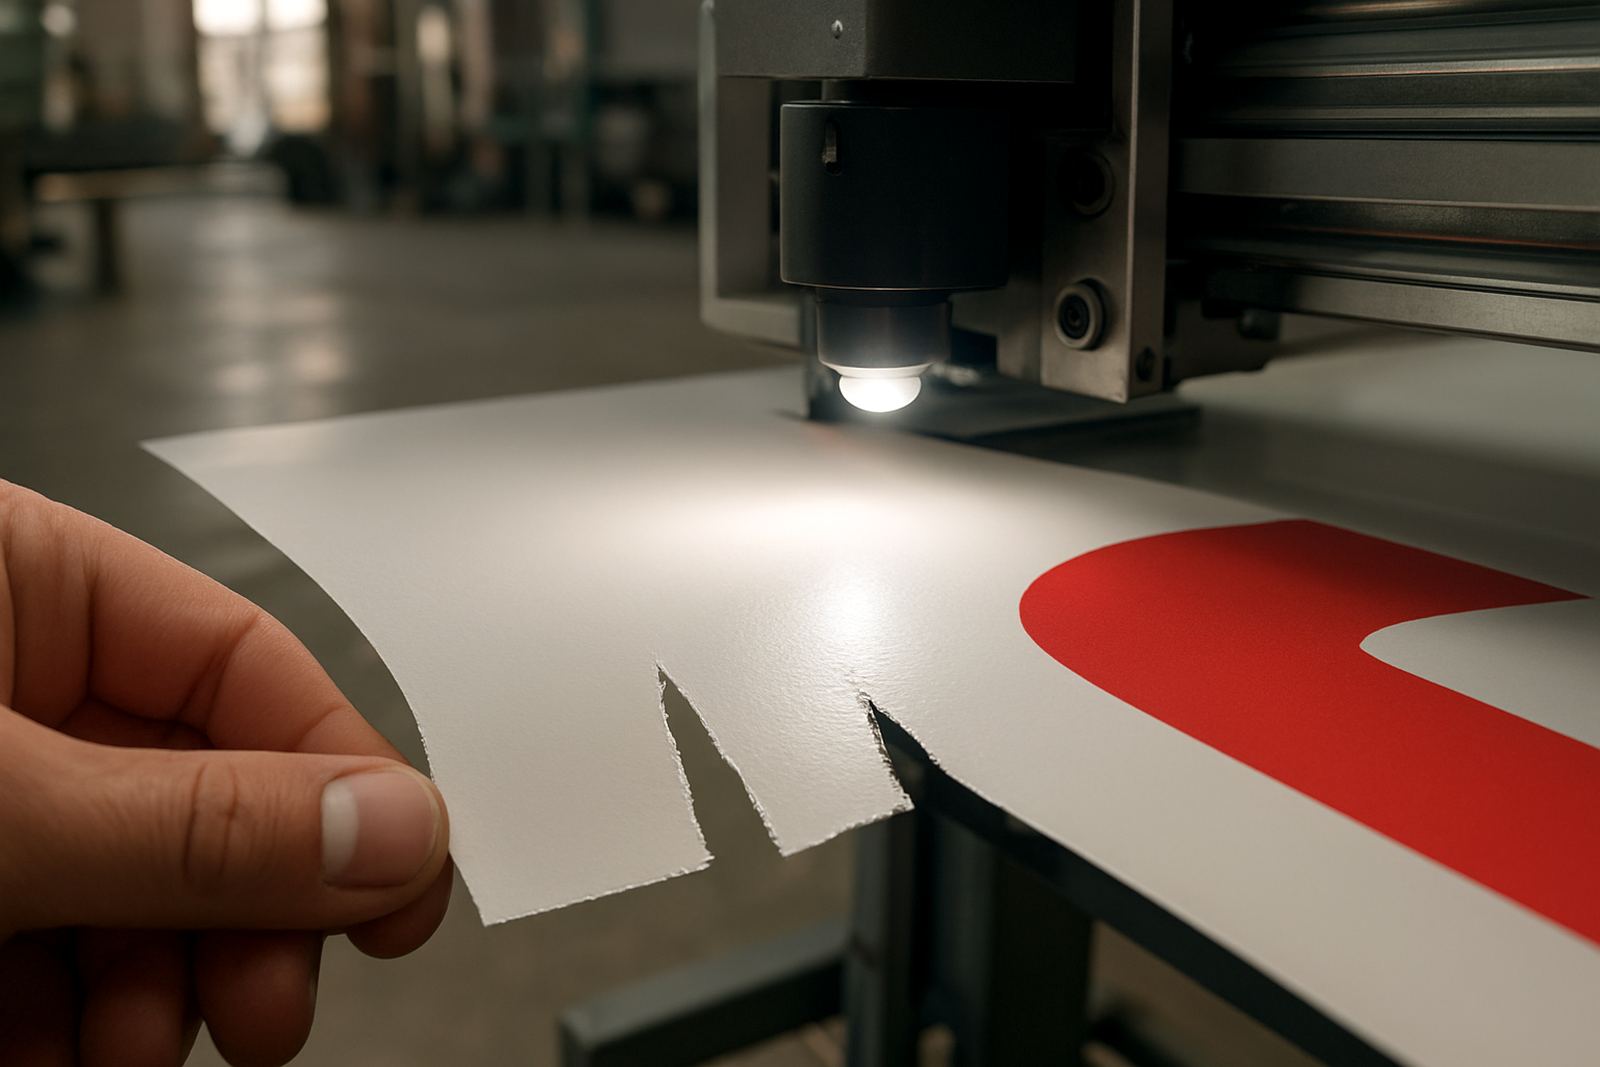
A clean cut edge should look even all the way through, with no tearing, lifting or fuzzy sides. On self-adhesive vinyl the liner should stay flat, the face film should release neatly and small details should hold their shape without dragging or little tails left behind.
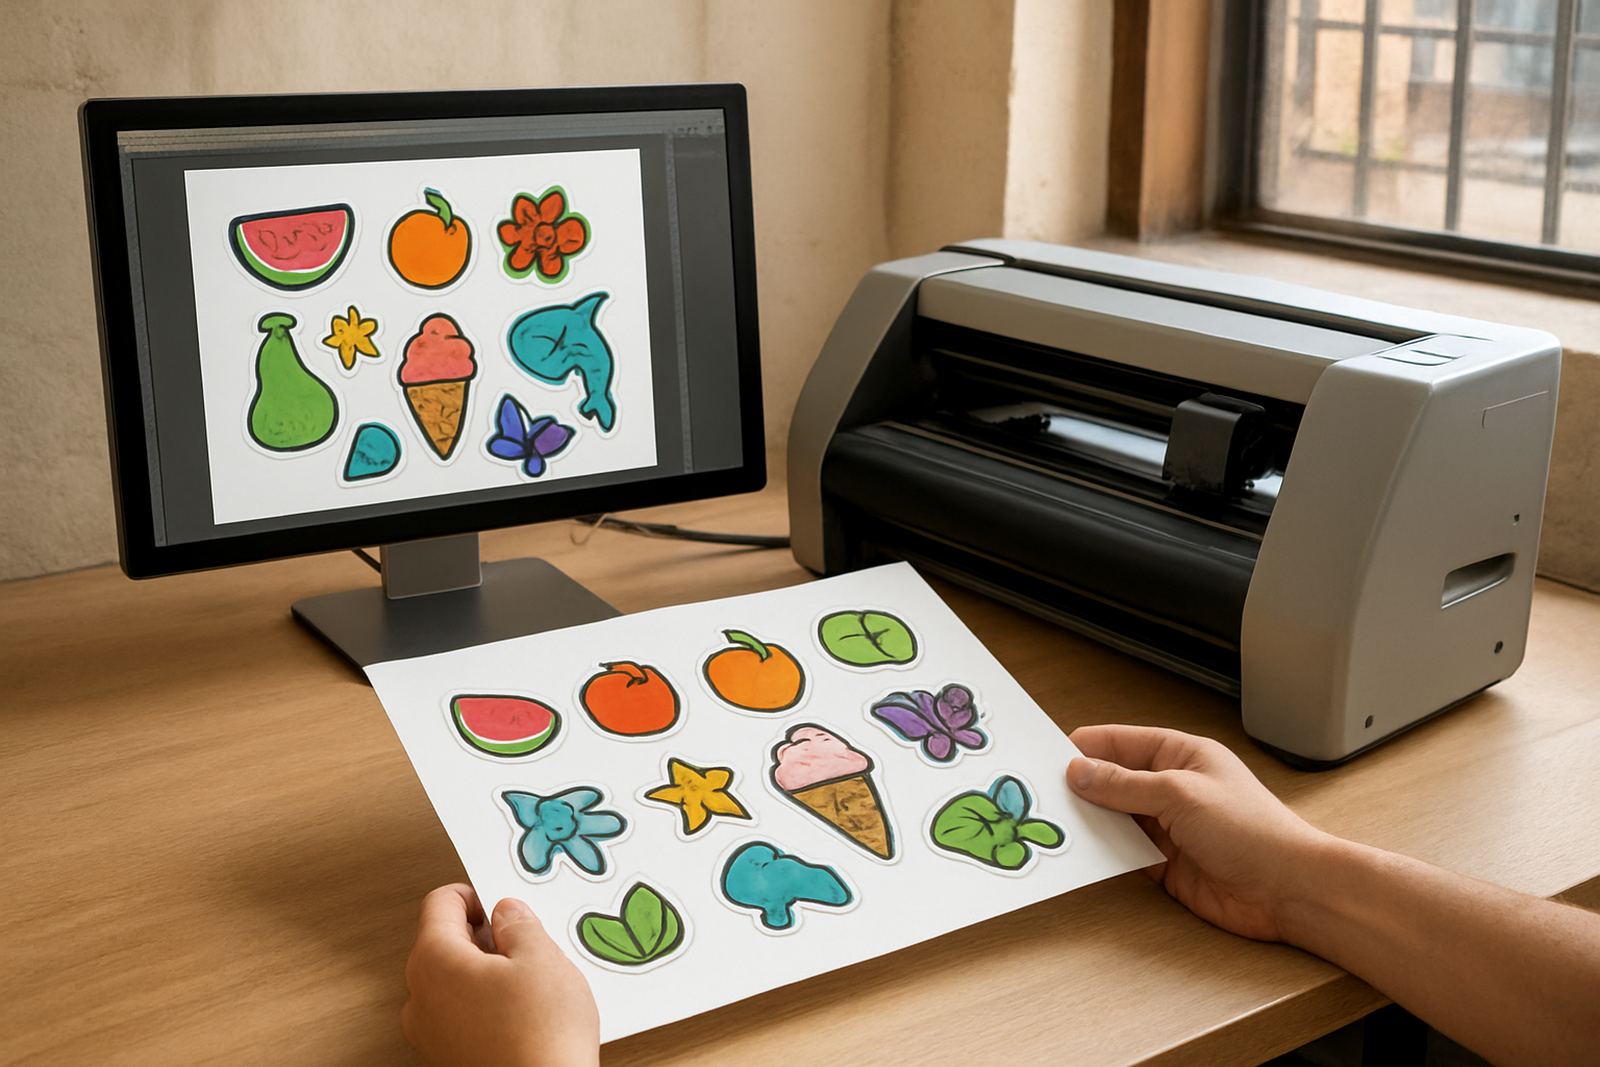
In print-and-cut work, good edge quality is part of the message. A crisp contour around a logo or label makes the print look intentional. A ragged edge can make even well printed artwork look hurried, and clients in places like Sandton or Midrand will notice straight away when a premium label is for a launch event or product sample.
The edge tells you if the blade is too deep or too shallow
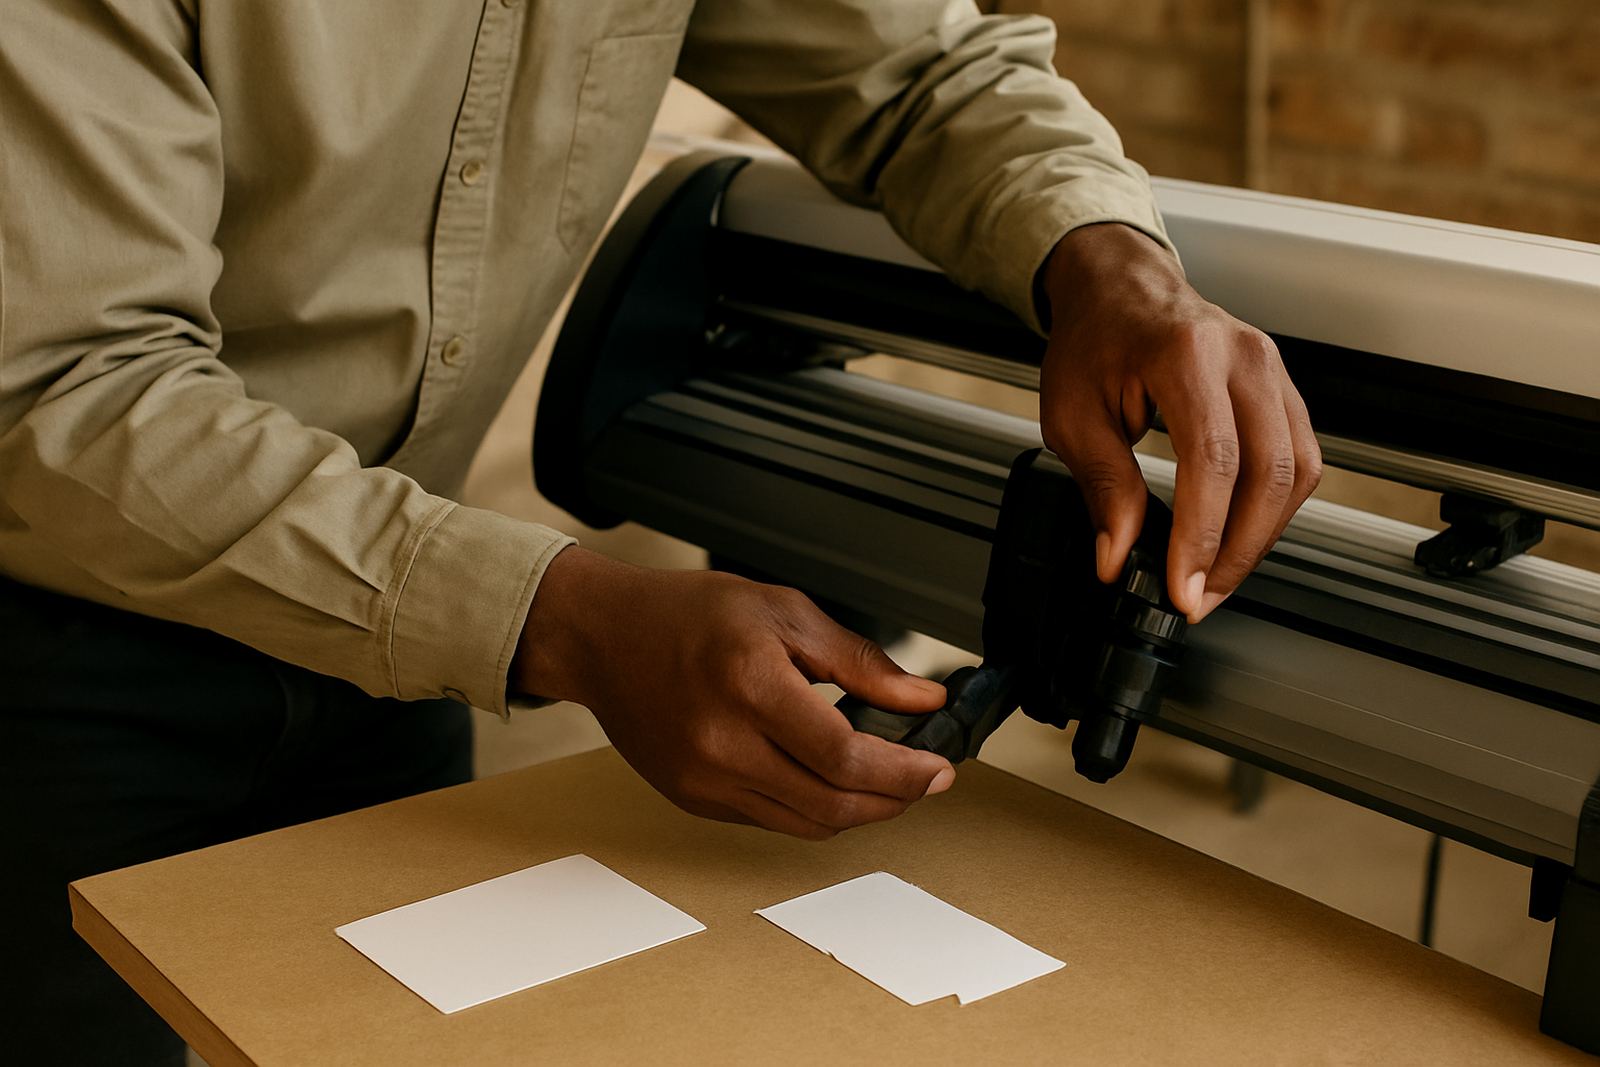
Blade depth is one of the first things to check when cuts look wrong. If the blade is set too deep, the cut can score the backing paper, pull fibres from the liner and leave a rough edge that catches when weeding. If it is too shallow, the film may not separate fully and corners will lift when the job is handled.
A practical test is to cut a short sample and lift the waste. If the cut is clean but the backing is marked, the blade is too deep. If you need too much force to weed, or the shape tears at tight curves, the pressure is likely too light. Small changes matter and sometimes half a step makes all the differnce.
- Check the tip before each shift, especially on busy weeks.
- Use a test square and a circle, not only a straight line.
- Recheck after changing from gloss vinyl to laminated print media.
Ragged corners often point to speed, drag or dull blades
Corners are where setup problems show first. When a plotter moves too fast for the detail in the artwork, the blade can overshoot on sharp turns and leave a tiny hook or point that looks messy. A worn blade can do the same because it no longer pivots cleanly in the holder.
If you see lift at small letters, jagged inside corners or tiny nicks around circles, slow the machine down and inspect the blade path. On a long run of stickers, a dull blade may still look acceptable on the first few sheets, then degrade as the job continues. That is why operators should not wait until the end of a batch to inspect the first cut.
- Reduce speed on fine detail, especially for text under 10 mm.
- Listen for chatter or a scraping sound from the tool head.
- Replace blades before the cut quality starts drifting on production runs.
Material behaviour matters more than many shops expect
Not every cut problem comes from the machine. Some materials are simply harder to handle. Thin calendared vinyl can stretch if the pressure is high, while laminated print media may have a tougher surface that needs a different blade angle or more careful calibration. Reflective films and textured stocks also behave differently at the edge.
In Johannesburg, dust and dry indoor air can affect static on lighter films. In coastal areas like Durban or Gqeberha, humidity can soften certain materials and make them cling to the liner in a slightly different way. If a cut looks fine in the morning but starts lifting later in the day, store the media correctly and allow it to settle in the room before production.
Registration marks and colour shifts can hide edge problems
Sometimes the cut line itself is correct, but the edge still looks poor because the print and the contour do not match. A slight registration drift can leave a white sliver on one side and a heavy bleed on the other. That is common when sensors are dirty, media loading is uneven or the artwork has too much movement between passes.
Before blaming the cut file, check the basics:
- Are the registration marks clear and evenly printed?
- Is the media tracking straight from feed to take-up?
- Has the operator changed the pinch roller position since the last good job?
- Are you cutting after the ink or laminate has fully cured?
If the print has shrunk even a little after lamination, the contour can look off and the edge quality will appear worse than the blade actually performed.
A Sandton sticker run showed the real cause of a bad edge
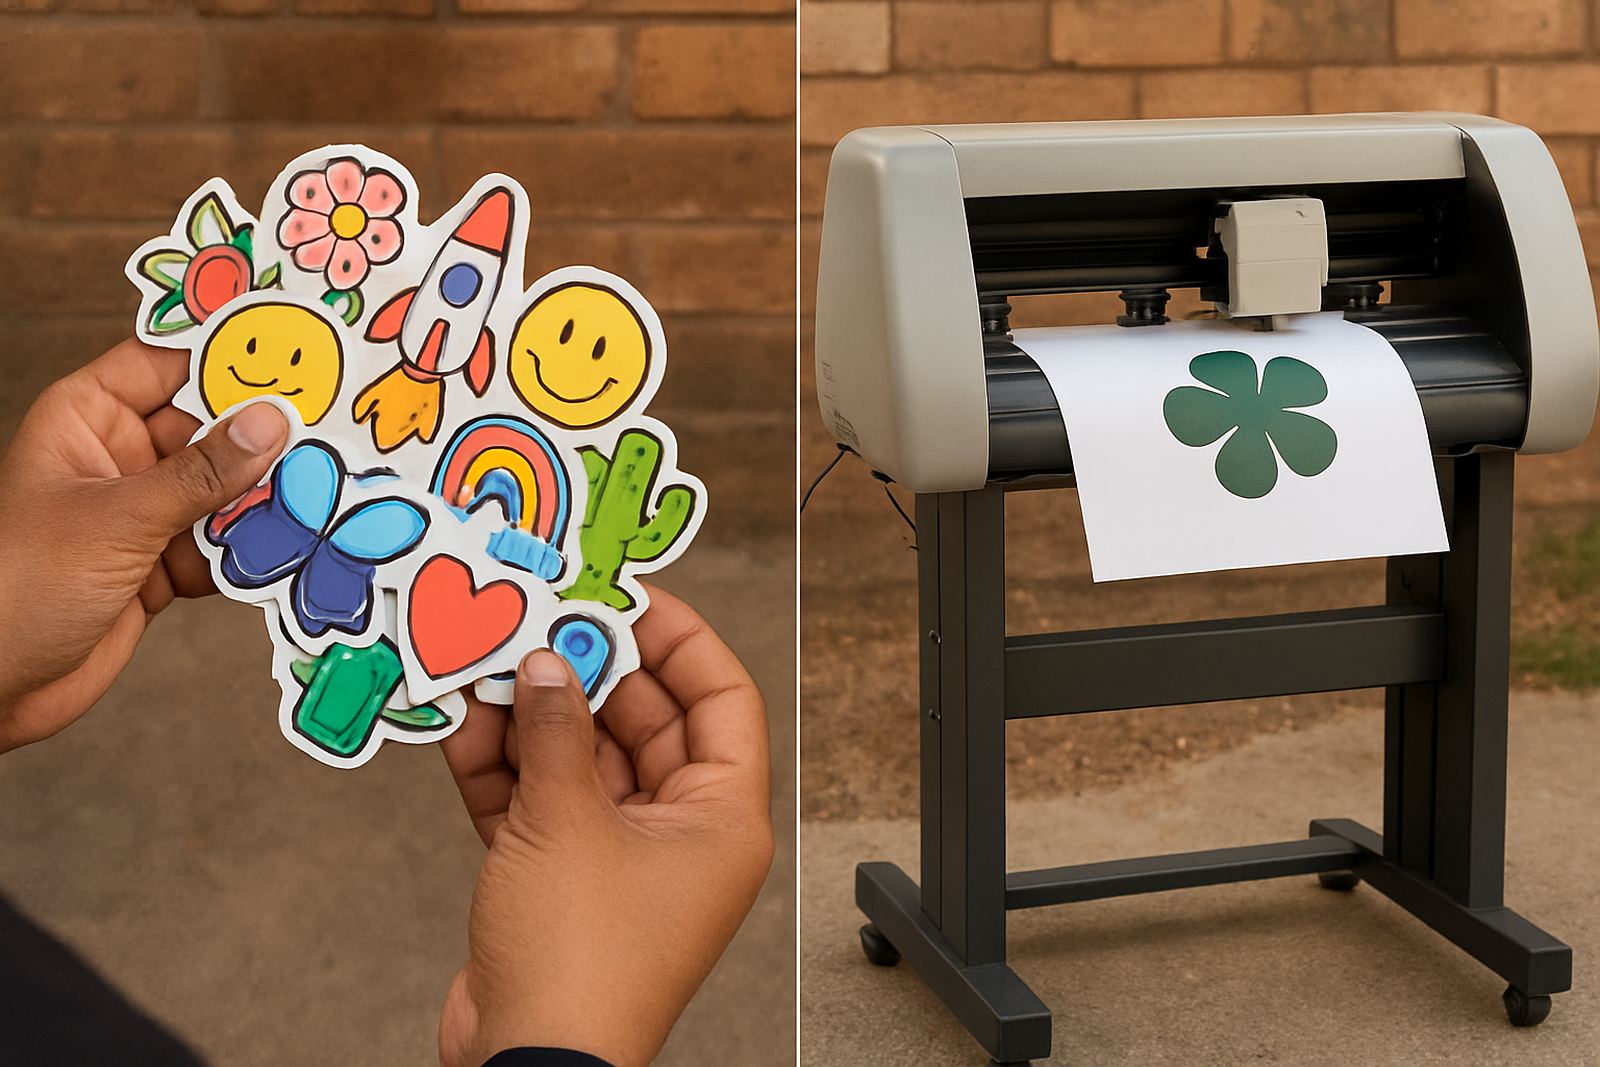
One local example came from a promotional sticker order for a Sandton client. The first samples showed rough edges on small round labels, and the team thought the blade had failed. After a closer look, the issue was a mix of pressure being too high and media that had been stored near an open loading bay in a warm, dusty section of the building.
Once the rolls were acclimatised indoors, the blade pressure was reduced and the speed stepped down for the tiny circles, the edge improved immediately. The finish became clean enough for hand application on product tubs and courier packs. It was a reminder that cut quality is often a setup story, not only a machine story.
- Store rolls off the floor and away from direct sun.
- Let imported or newly delivered media sit in the room before cutting.
- Keep a sample file that has both large shapes and fine detail for quick checks.
Build a simple inspection routine before the job leaves the floor
The best shops do not wait for the customer to complain. They inspect edge quality on the machine, then again during weeding and packing. A simple routine saves time and reduces rework, especially when the team is juggling site installs, same day reprints and load-shedding windows that cut into production time.
Use the same checks every time: blade depth, pressure, registration, media tension and the condition of the blade holder. If one operator changes a setting and the next one inherits the job without notes, edge quality can swing from good to poor in a single shift. A short handover sheet and a quick sample cut before production can prevent that.
For businesses in Isando, Germiston, Boksburg and the wider Gauteng area, this kind of discipline matters because turnaround times are tight and clients expect clean results the first time. A good edge is not just a finishing detail, it is proof that the whole process was set up properly.