Why blade depth matters before you start a run
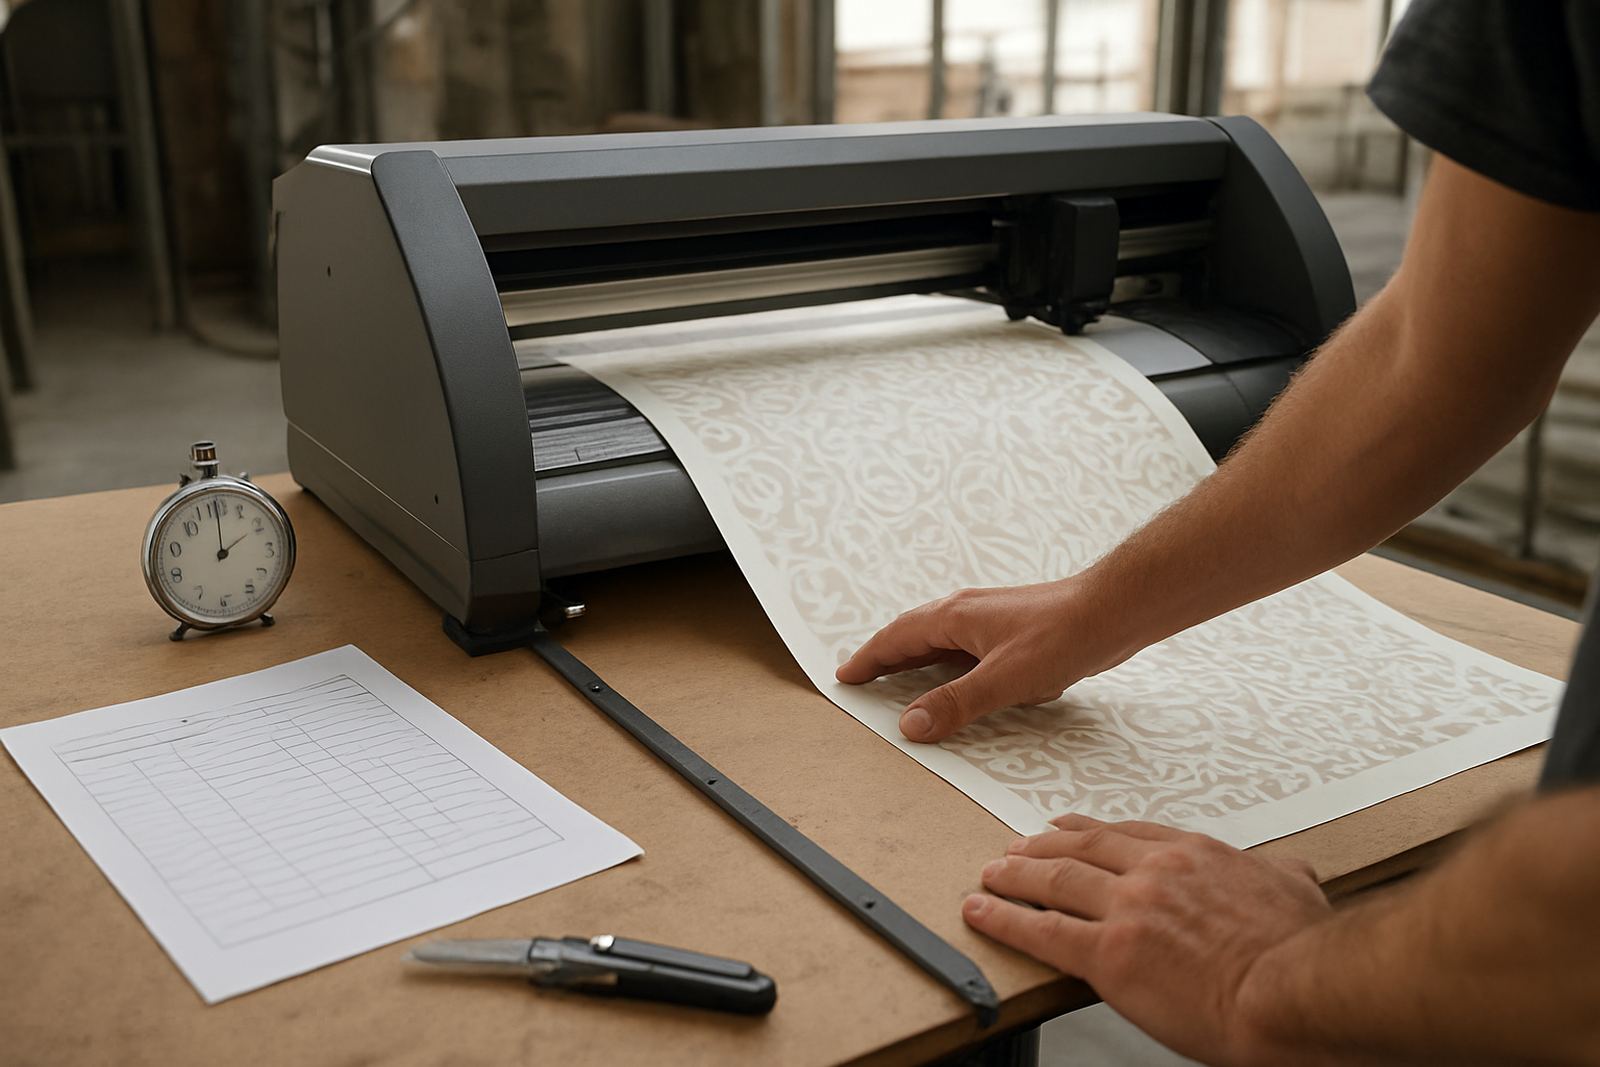
On a print-and-cut job, the blade should cut the face film or vinyl cleanly without digging into the backing liner. If the blade is set too deep, the liner gets scored and the material starts to track badly, especially on longer runs. Set it too shallow and you get half cuts, rough corners and weeding that takes far longer than it should.
For shops in Isando, Midrand or Sandton doing short turnaround work, this is not a small detail. A wrong depth setting can mean reprints, wasted media and a client waiting while the machine is stopped for a fix. In humid coastal areas you can also find the material behaves a bit differently from one day to the next, so it helps to recheck before each new roll. If the machine has been idle through load-shedding, check the blade holder as well, because dust and tiny offcuts can affect the first cut.
Start with the material, not the machine setting
There is no single blade depth that suits every film. A 70 micron printable vinyl does not need the same exposure as a thicker reflective or laminated stock. The right starting point is to understand the material thickness, the backing liner, and whether you are cutting contour work, kiss cuts for stickers, or heavier full cuts for small parts.
- Thin cast and calendared vinyl usually needs very little blade exposure.
- Thicker print media may need a touch more, but never enough to score the liner.
- Laminated sheets often cut differently from plain printed film because the top surface is harder.
- Older rolls can behave unevenly if they have picked up moisture or dust in storage.
A practical rule is to set only enough blade exposure to just feel the edge on a scrap sample. You should not be seeing a long point of steel hanging out. If you are, the blade is probably too far out and the actual cut will be more aggressive than you think.
Use test cuts to confirm the depth, not guesswork
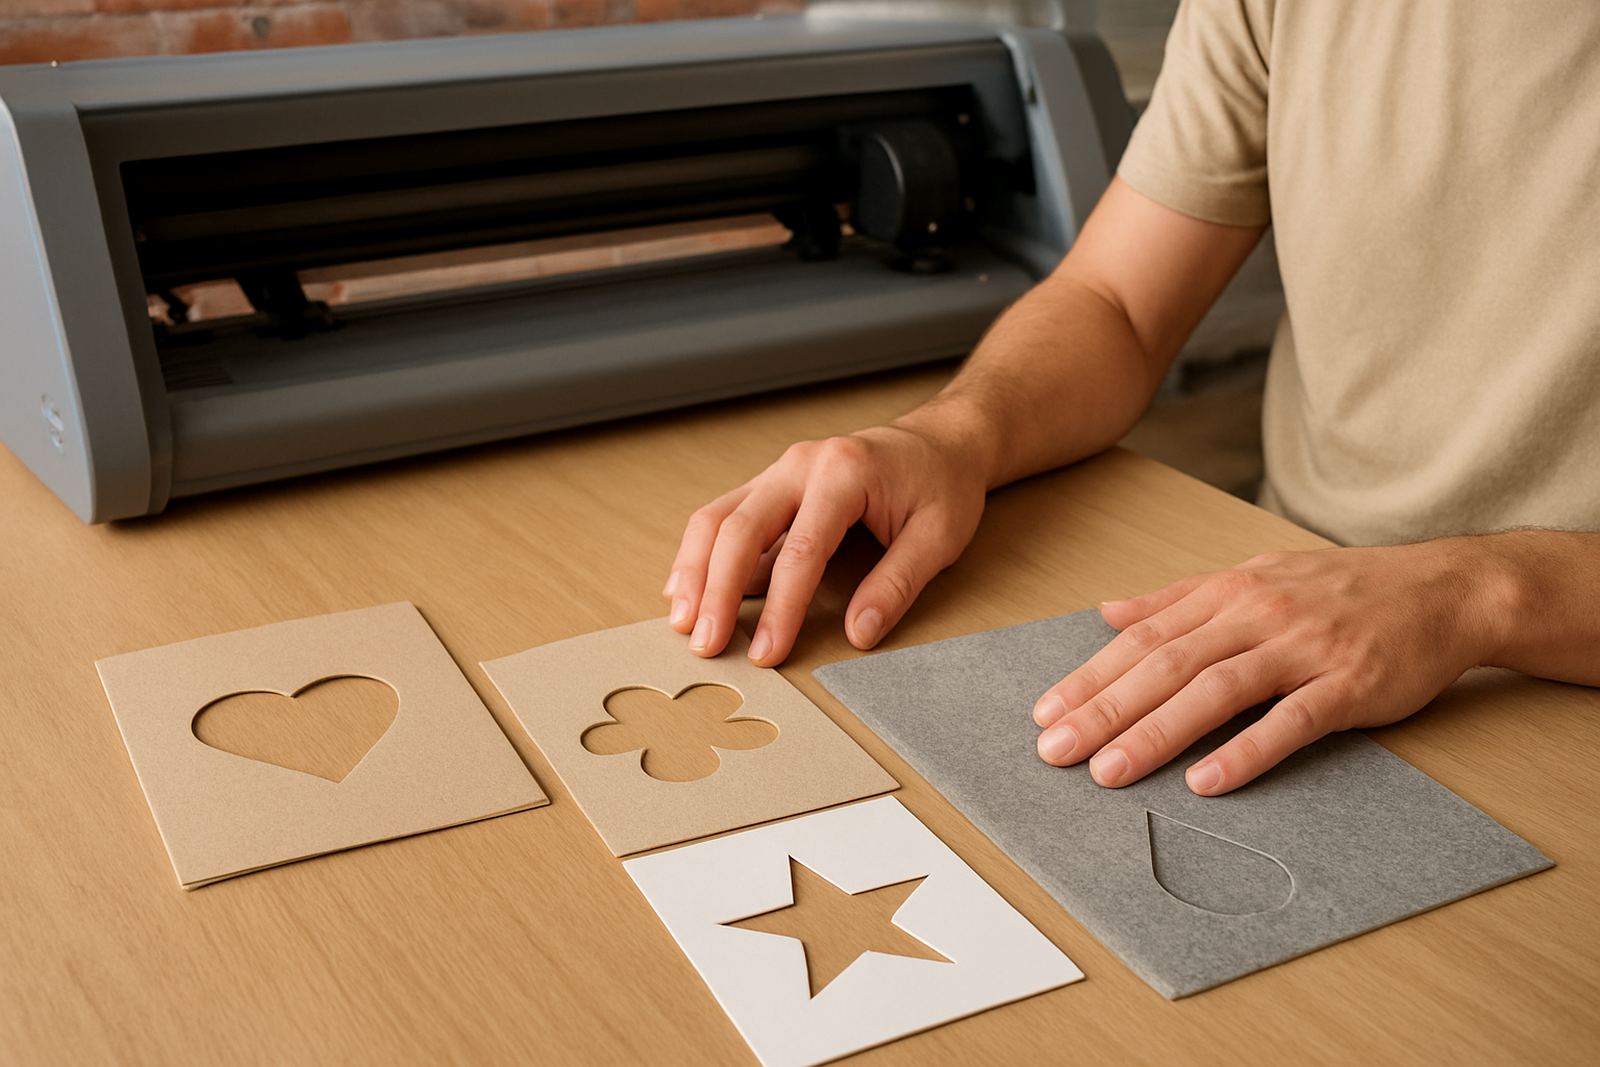
Before sending a batch to production, run a small test square or triangle and check the corners. The cut should lift cleanly with a weeding pick, while the liner stays smooth and unmarked. If the corner tears, you may need more depth or a small increase in pressure. If the liner shows a score line, back the depth off straight away.
On mixed jobs we often see operators adjust pressure first when the real problem is blade exposure. That can mask the issue for a few metres then the job starts drifting. A better approach is to change one thing at a time. Adjust depth, test again, then fine-tune pressure if needed. It saves time and keeps the cause clear.
- Cut a small shape in the corner of the sheet.
- Weed one edge and check if the film releases cleanly.
- Look at the liner under good light for any scoring.
- Repeat after changing material type or blade holder.
What poor blade depth looks like on the shop floor
Bad depth usually shows up in the same few ways. The edges look ragged, tiny points lift on lettering, or the plotter starts dragging at sharp turns. On larger graphics you may notice the cut line wandering because the blade is ploughing rather than slicing. That can also cause registration trouble on contour work, since the media is under more strain and moves a little during output.
If the liner is being cut, the backing can split during weeding or crack when the sheet is bent. That is a common cause of wasted stickers in shops around Germiston and Boksburg where short runs are common and every sheet has to count. It also puts extra wear on the blade strip and can shorten the life of the cutting strip, which is not a cheap part to replace.
Keep an eye out for this pattern:
- Too deep: liner scored, corners lifting, rough underside, extra drag.
- Too shallow: incomplete cuts, weeded pieces hanging on, edges pulling.
- Uneven depth: one side of the sheet cuts better than the other, often due to blade wear or holder issues.
A simple setup routine for daily production
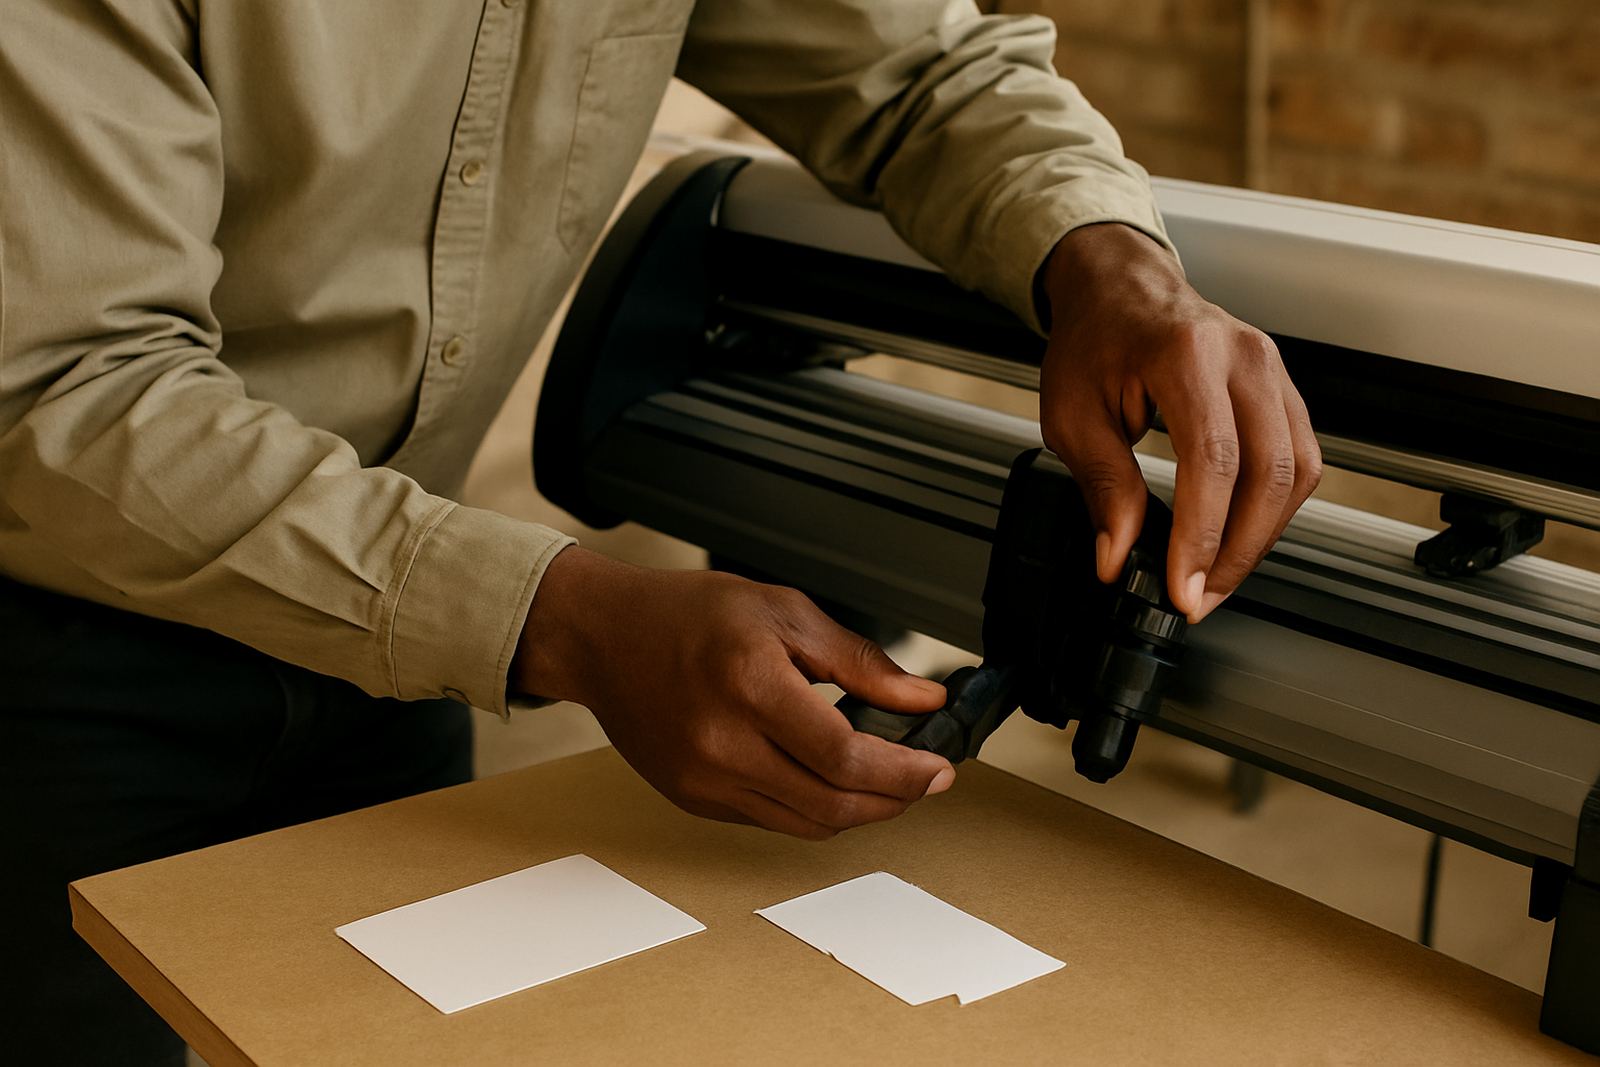
A good setup routine takes only a few minutes and can prevent a lot of rework. Start with a clean blade holder, then set the blade so only a very small amount is exposed. Load a scrap piece of the same material, run a test and inspect the result with your fingers and eyes, not just by pulling at it quickly.
If the job is for an event in Sandton or signage for a shopfront in Randburg, check the depth again after the first few metres. Heat from the machine, a slightly curled sheet, or a change in backing paper can alter the cut more than people expect. In a busy production room, a second check after lunch is also wise, because settings can drift if the team swaps operators or changes media.
- Wipe the blade holder and check for dust.
- Confirm the correct blade angle for the material.
- Test on the actual media, not only on offcuts from another job.
- Record the final setting in your job notes for repeat work.
When to call for support instead of pushing harder
If you have adjusted depth, pressure and speed but the cuts still look untidy, the issue may be elsewhere. A worn blade tip, a loose holder, uneven pinch rollers or a damaged cutting strip can all mimic a depth problem. So can badly stored media that has curled or absorbed moisture. In those cases, keep forcing the machine is usually the quickest way to make a small fault turn into a full stoppage.
For operators who are new to contour work, a short induction on blade pressure setup and registration calibration can save days of trial and error. For more experienced teams, a troubleshooting session or supervisor coaching can help standardise the process across shifts. That matters in real production, where one operator may get perfect results and the next is fighting the same machine an hour later.
If your shop is handling repeated sticker runs, popup signage or contour cut labels, make blade depth part of the handover checklist. It is a small control, but it protects the finish, the liner and the profit on the job.