How contour cutting works with printed graphics
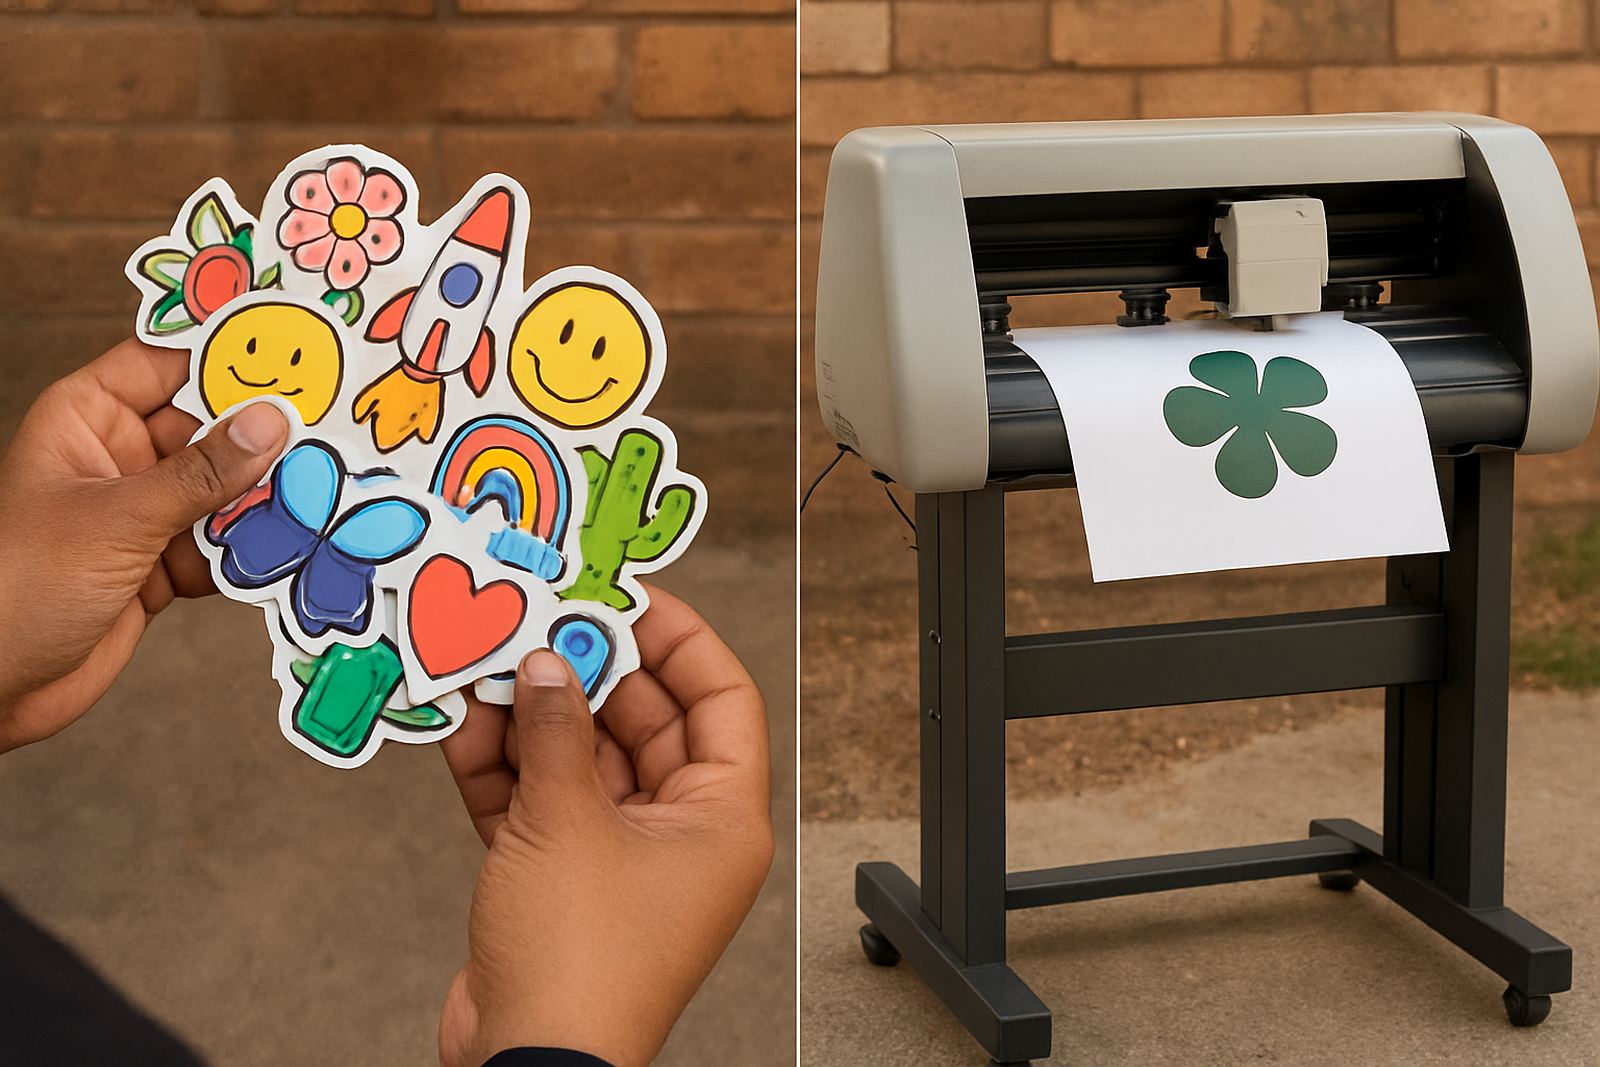
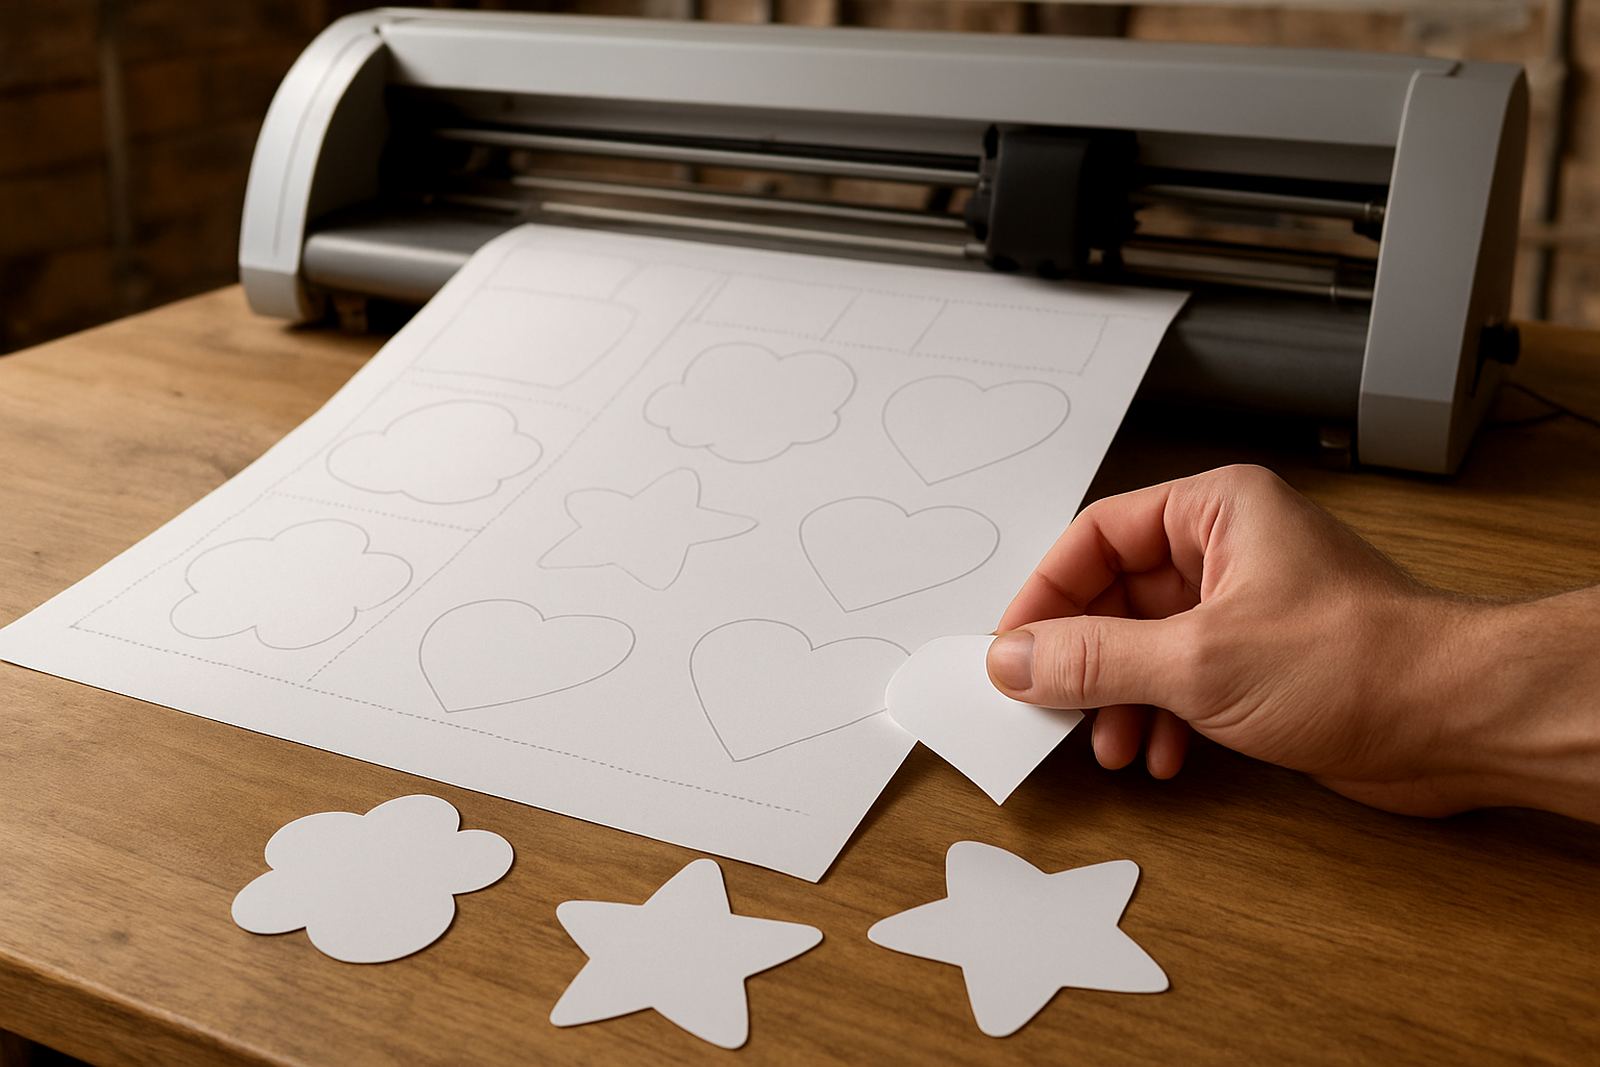
Contour cutting starts with a printed image and a matching cut line. The printer lays down the graphic first, then the cutter follows a shape around it so the final piece matches the artwork, not just the page size. That is why a logo sticker can be cut to the exact outline of the logo, or a product label can follow a bottle shape instead of a square.
The process depends on registration marks, which are small reference points printed on the sheet or roll. The cutter reads those marks, lines up the blade and follows the programmed path. If the print is slightly off, the cutter can compensate. If the marks are not placed well, or the media moves during loading, the cut can drift and the job will look untidy. On busy runs in Isando or Midrand, that small setup step makes a big difference.
- Print the artwork with the cut line already prepared
- Add registration marks so the cutter can locate the print
- Load the media flat and square to avoid skew
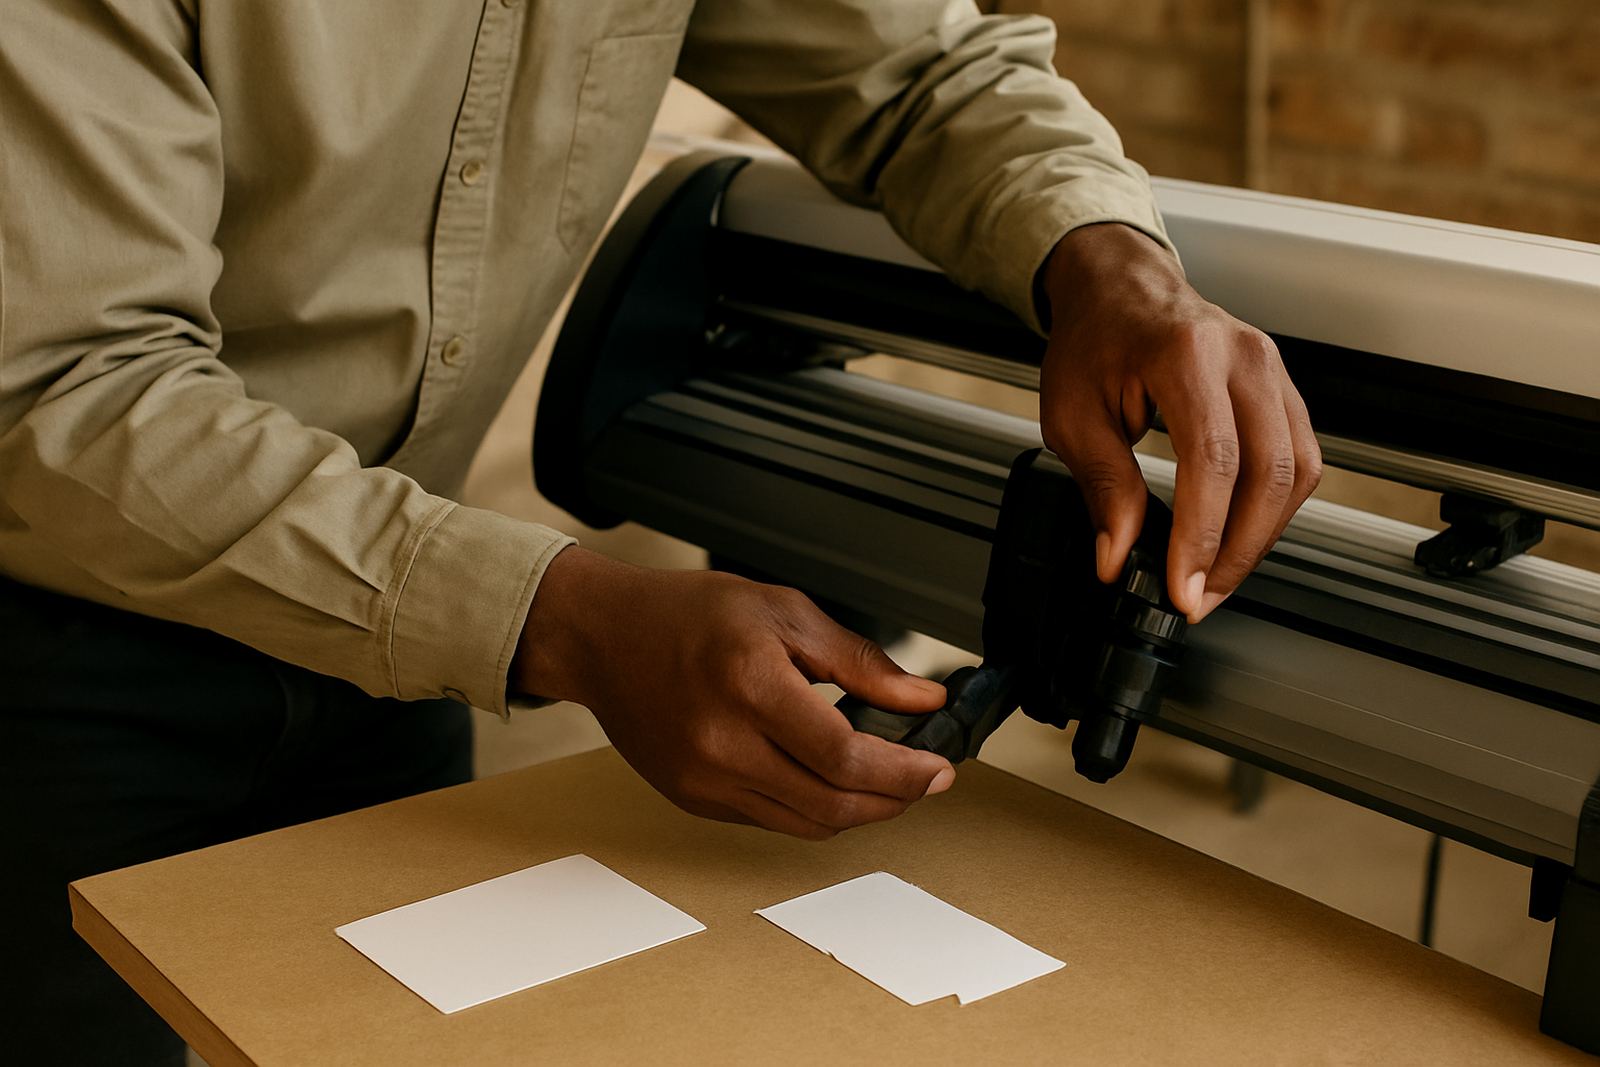
- Set the blade pressure for the chosen material
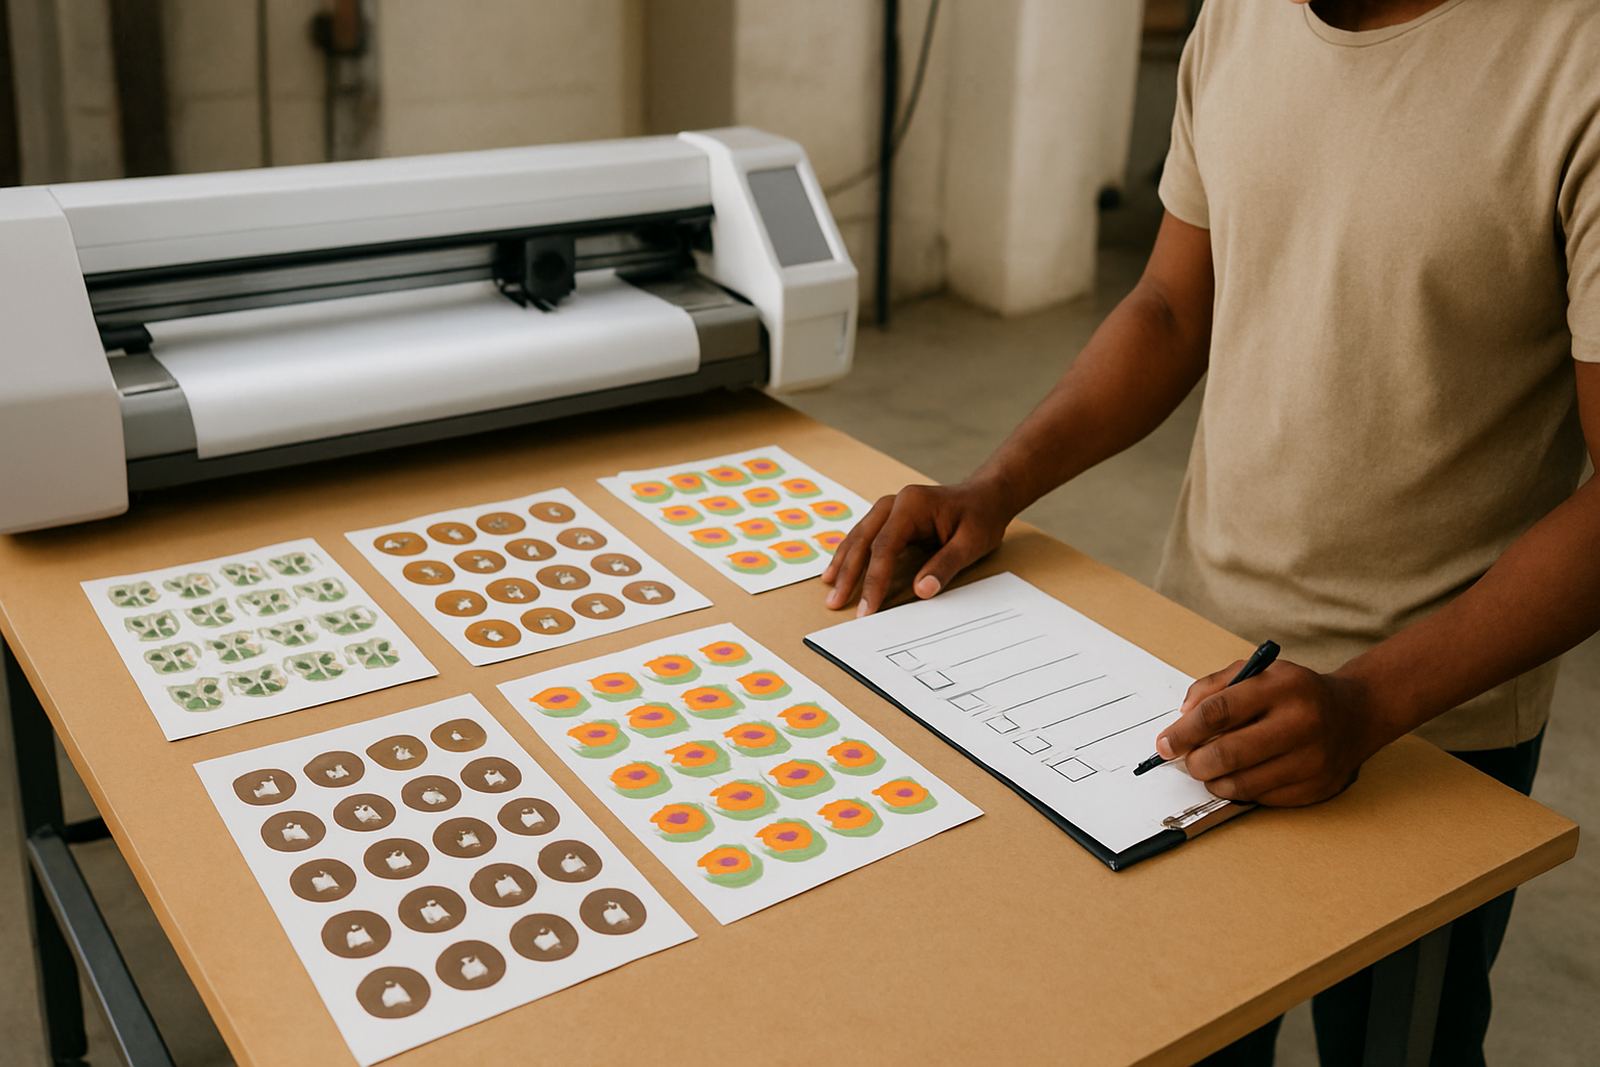
- Run a test cut before the full production batch
Why businesses use contour cutting instead of straight trimming
Straight trimming is fine for flyers or simple panels, but it does not suit shaped graphics. Contour cutting gives the clean border people expect on promotional stickers, machine labels, bottle wraps and branded giveaways. It also helps if you need a small run for a campaign in Sandton or a batch of labels for a shop fitting in Boksburg.
For trade users, the main benefit is consistency. Once the cut line is set properly, each item comes out the same size and shape. That matters when you are supplying signage installers, packaging teams, event printers or a marketing department that needs every piece to line up. It also cuts down on hand finishing, which saves time and reduces waste.
- Better shape accuracy for logos and graphics
- Neater presentation for retail and promotional work
- Less manual trimming after print
- Suitable for small batches and repeat production
The setup that makes the difference
Good contour cutting is less about the blade and more about the setup. Artwork must be prepared with the correct cut path, and that line must sit on the right layer or colour stroke as required by the workflow. If the cut line is too close to the print, the blade can nick the edge. If it is too far out, the white border can look clumsy. Getting that balance right takes proper operator training, not guesswork.
Media loading is another point where jobs can go wrong. Roll media must track straight and sheet stock must sit square. In summer, heat and humidity can affect some films and stickers, especially near the coast, while load-shedding can interrupt production if the machine is not managed carefully. It pays to check blade pressure, pinch rollers and registration before a large run starts. A quick test can save a whole afternoon of reprints.
- Artwork cut lines must match the print exactly
- Blade pressure should suit vinyl, paper or laminated stock
- Registration calibration must be checked before production
- Media should be stored and loaded to reduce curl or drift
Where contour cutting is used in South African work
Contour cutting shows up in many jobs across South Africa. A signage shop in Randburg may use it for window decals and wall graphics. A print studio in Germiston may need it for branded packaging samples. A marketing team in Sandton may want shaped stickers for a launch. Even smaller businesses use it for product labels, outdoor warning decals and custom event branding.
Because it works with printed graphics, contour cutting suits jobs that need colour detail as well as shape. That includes photographic stickers, QR labels, short-run product branding and promotional items with fine outlines. When the cuts are accurate, the final product feels more professional and is easier to apply.
- Shaped stickers for campaigns and giveaways
- Product labels for jars, bottles and cartons
- Decals for glass, vehicles and equipment
- Short-run signage and custom graphics
Common mistakes and how to avoid them
The most common problems are not usually the machine itself. They come from poor artwork prep, a rushed setup or a skipped test cut. If the registration marks are hidden, the cutter cannot read them. If the blade is set too deep, it scores the backing liner and tears the job. If the operator loads the roll slightly off, the cut can wander on longer pieces.
Another issue is expecting every material to behave the same. Gloss vinyl, matte vinyl, laminate and paper stock each need different blade pressure and speed. A setup that works on one media type may fail on another. The safest approach is to build a repeatable workflow and keep notes for each common material so the next batch starts from a known setting.
What support helps a cutter keep performing
Contour cutting equipment performs best when the people running it know the basics well. That includes operator induction, registration calibration, maintenance basics and troubleshooting. A quick refresher can also help when staff change or production grows. In a busy workshop, a small issue like a dull blade or a dirty sensor can slow the whole line, so regular checks matter.
Contour Cutting supports businesses from Isando and across Johannesburg, with cutter installs nationwide and practical training for production teams. Whether the job is a single sticker run or a repeat cut-and-print workflow, the aim is the same: accurate cuts, less waste and a cleaner finish. For teams in Midrand or Germiston, that local support can save time when a deadline is tight. Small errors become expensive fast, so proper setup pays back quickly.
- Operator induction for new staff
- Artwork cut lines and registration calibration help
- Production workflow and supervisor coaching
- Remote refresher sessions and technical support