Why print margin is the first decision, not the last
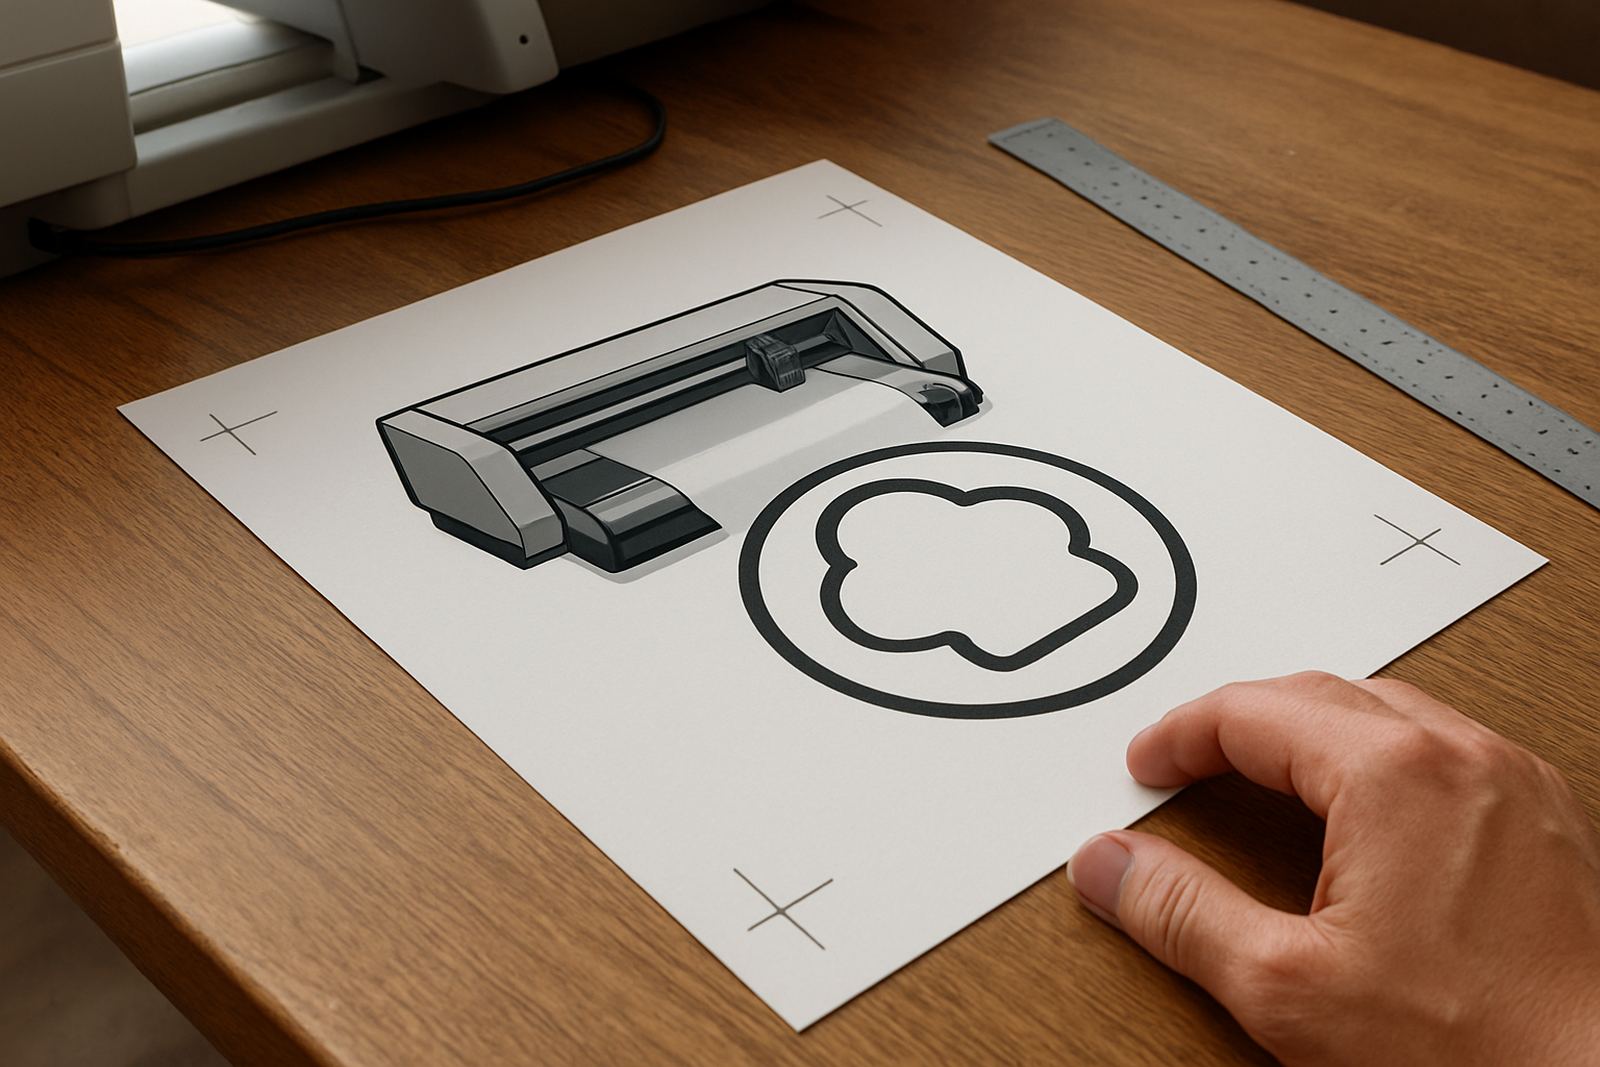
Print margin is the blank space around a design that gives the cutter room to work. It sounds simple, but in practice it affects everything from registration reading to the final finish on stickers, labels, vehicle graphics and short-run signage. When the margin is too small, the machine may struggle to see the marks clearly or the blade may ride too close to the printed edge.
At Contour Cutting in Isando, we see this often with jobs that come in from Sandton, Randburg and Midrand. The artwork looks fine on screen, then the printed sheet lands with marks too close to the image and the cutting stage becomes a gamble. A few extra millimetres at the artwork stage can save a whole batch from being scrapped.
How much space should you leave around the artwork?
There is no single figure that suits every job, but there are safe starting points. Small decals and stickers usually need enough white space for registration marks plus a clean cut path. Larger panels need more allowance because print stretch, media feed and cutter tracking all become more noticeable over longer lengths.
- Leave clear space for registration marks on every sheet or roll panel.
- Allow extra margin on glossy media, because reflections can affect mark reading.
- Build in more room for long runs, especially where the cut path is close to the print edge.
- Keep critical text and fine detail well inside the trim line.
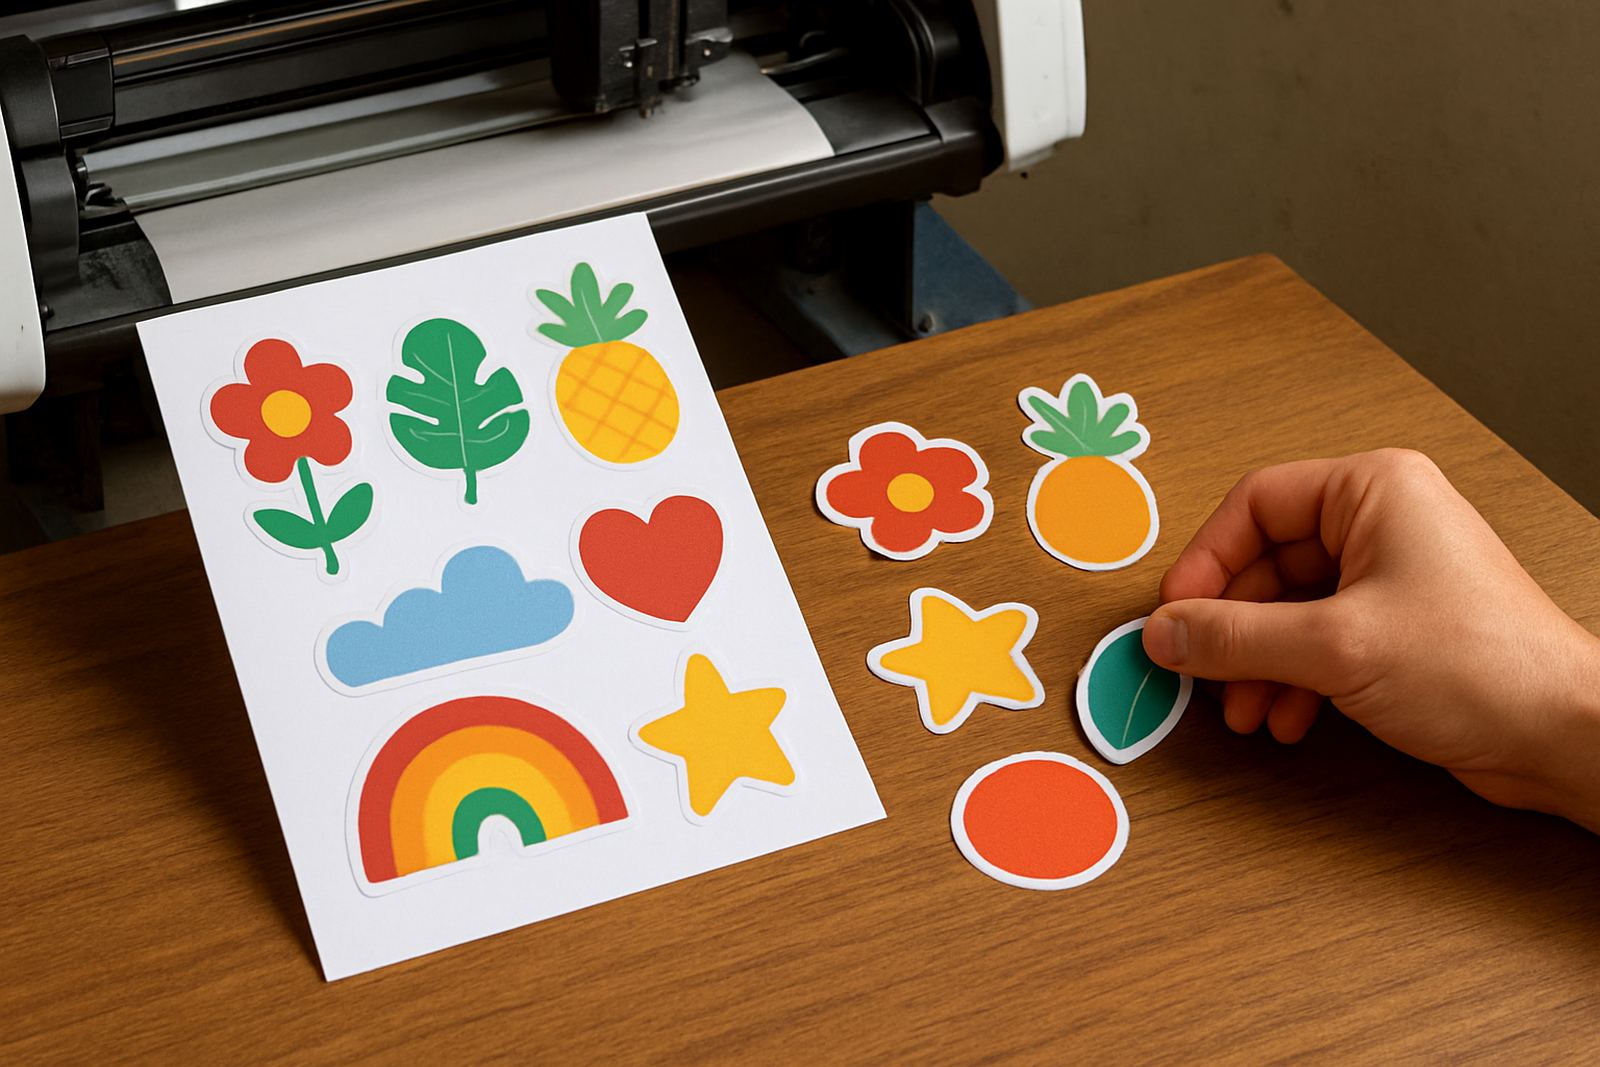
If you are planning work for retail labels or promotional stickers, aim for consistency across the whole run. One panel with a tighter margin can throw off the batch and create a messy edge, even when the print itself is good.
What goes wrong when the margin is too tight
Tight margins cause avoidable problems. The cutter may miss the mark, drift slightly on a long run, or slice into the printed area. On laminated work, a thin edge can lift during finishing. On short-run promotional jobs, that kind of error means more time spent sorting, trimming and reprinting.
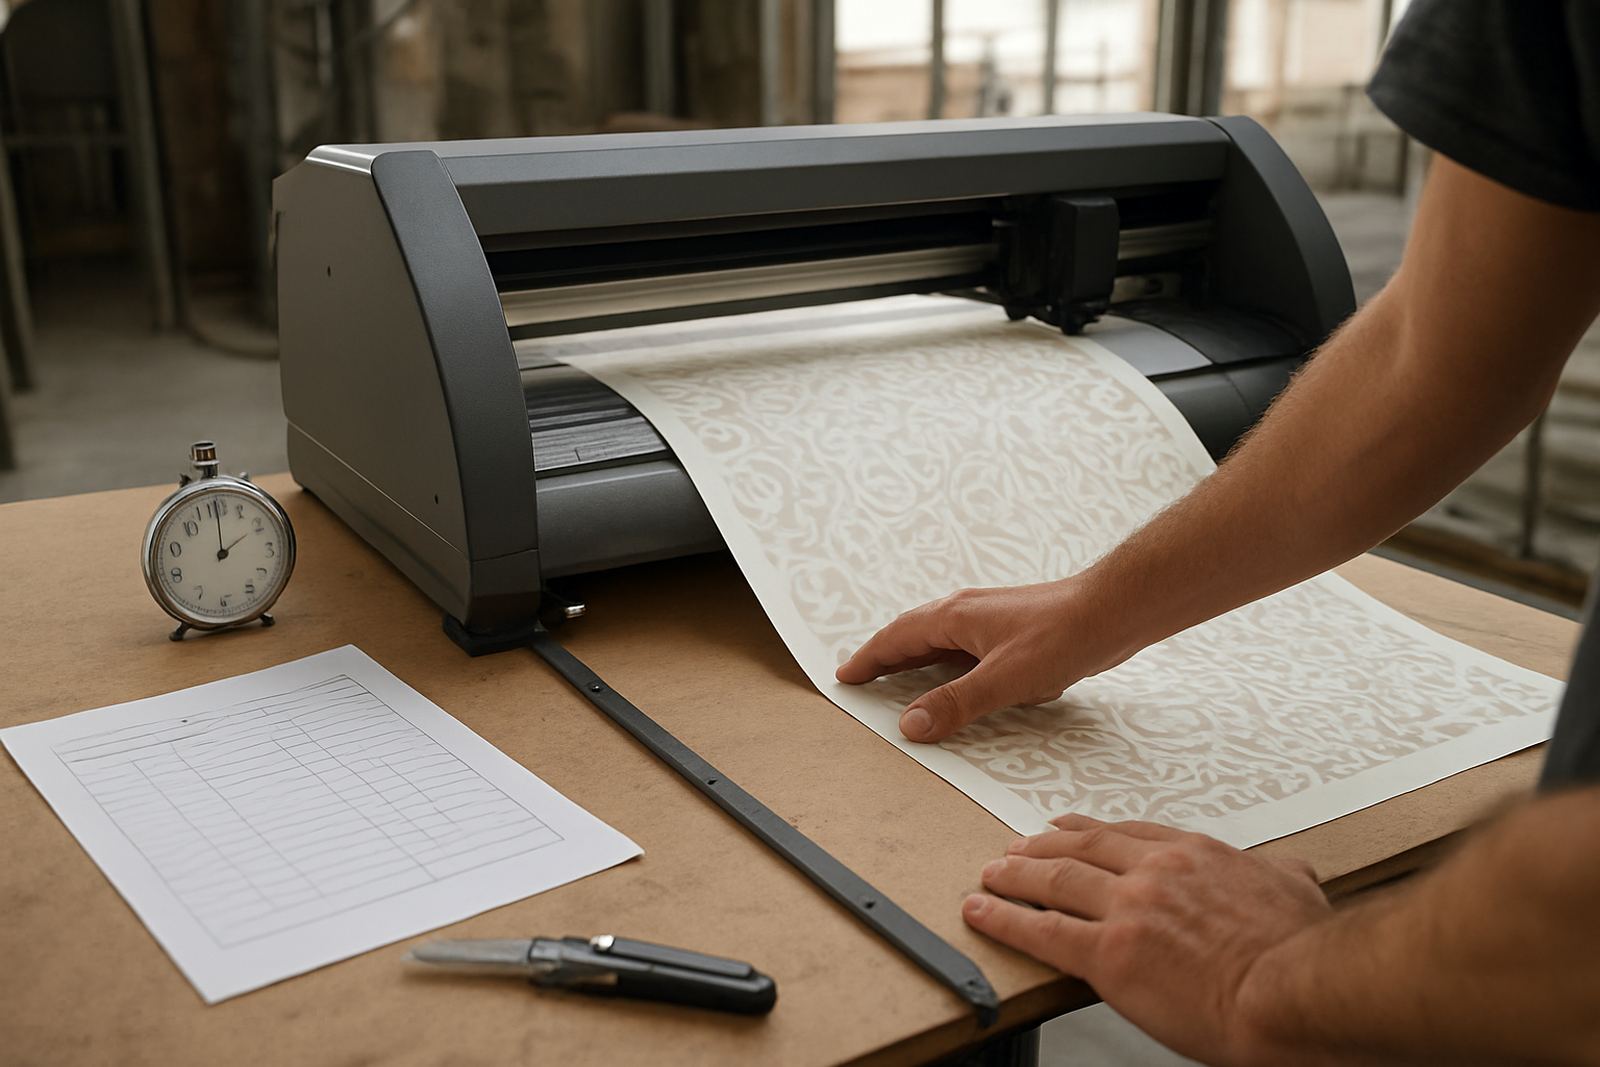
Load-shedding can make this worse if a job is stopped and restarted without a proper check. Power interruptions, media movement and a rushed restart can shift the sheet by a fraction, but that fraction is enough to spoil a clean contour cut. In our line of work, a small shift is not small at all.
- Cutting too close can expose white edges on the final piece.
- Insufficient margin can cause the blade to nick the print.
- Registration marks placed too near artwork can confuse the sensor.
- Margins that are uneven make repeat jobs harder to set up again.
Planning for the material, not just the design
Different materials behave differently. Cast vinyl, calendar stock, synthetic labels and laminated printed media all move in slightly different ways under heat, pressure and feed rollers. Coastal humidity can also affect stability during storage and printing, while dust in industrial areas like Isando and Germiston can interfere with clean handling.
That means margin planning should account for the actual substrate. A job for a packaging sample in Midrand may need less allowance than a weather-exposed sticker run for outdoor use. If the media curls, stretches or absorbs moisture, the cutter needs breathing room.
- Use wider margins for flexible or heavily laminated stock.
- Store media flat and sealed where possible.
- Check sheet feed before running a full batch.
- Confirm the cut line after printing, not only before.
A Johannesburg example: the sticker run that almost failed
A customer in Sandton recently brought in a promotional sticker job for a launch event. The print looked sharp, but the artwork was packed too close to the edge and the registration marks sat awkwardly near a solid block of colour. The first test sheet showed a clean print but the cutter had very little room to lock on. We adjusted the layout, added a safer border and reset the blade pressure and registration calibration before continuing.
The result was a cleaner cut, fewer rejected sheets and a better finish for the client’s campaign. That job could have gone wrong simply because the print margin was treated as a design extra instead of a production requirement. It was close, and that is where most waste starts.
A simple margin check before you send artwork to print
Before any contour job leaves the studio, check a few basics. These steps take minutes and can save hours later, especially on urgent work that needs same-day turnaround.
- Confirm the outer border is even on all sides.
- Make sure registration marks have clear space around them.
- Check that no fine detail sits on the trim line.
- Print a test piece if the media, size or cut shape is unusual.
- Review the file at actual size, not only on a zoomed screen.
If your team handles production in-house, a short induction on artwork cut lines, media loading and troubleshooting can prevent repeated mistakes. For businesses in Boksburg, Randburg and beyond, that practical setup knowledge often matters more than fancy software settings.
Why margin planning protects time, money and reputation
Contour cutting is precise, but it still depends on what happens before the blade starts. The right print margin gives the machine room to read, align and finish the job properly. It also protects your material costs, which matters when sticker stock and laminated media are not cheap.
For printers, sign shops and creative teams across South Africa, margin planning is part of professional production discipline. It keeps the job clean, the turnaround predictable and the final piece ready for client handover without last-minute rescue work. That is especially important when a courier deadline, municipal sign spec or launch date is already fixed and there is no time to start again.