What kiss cutting actually means
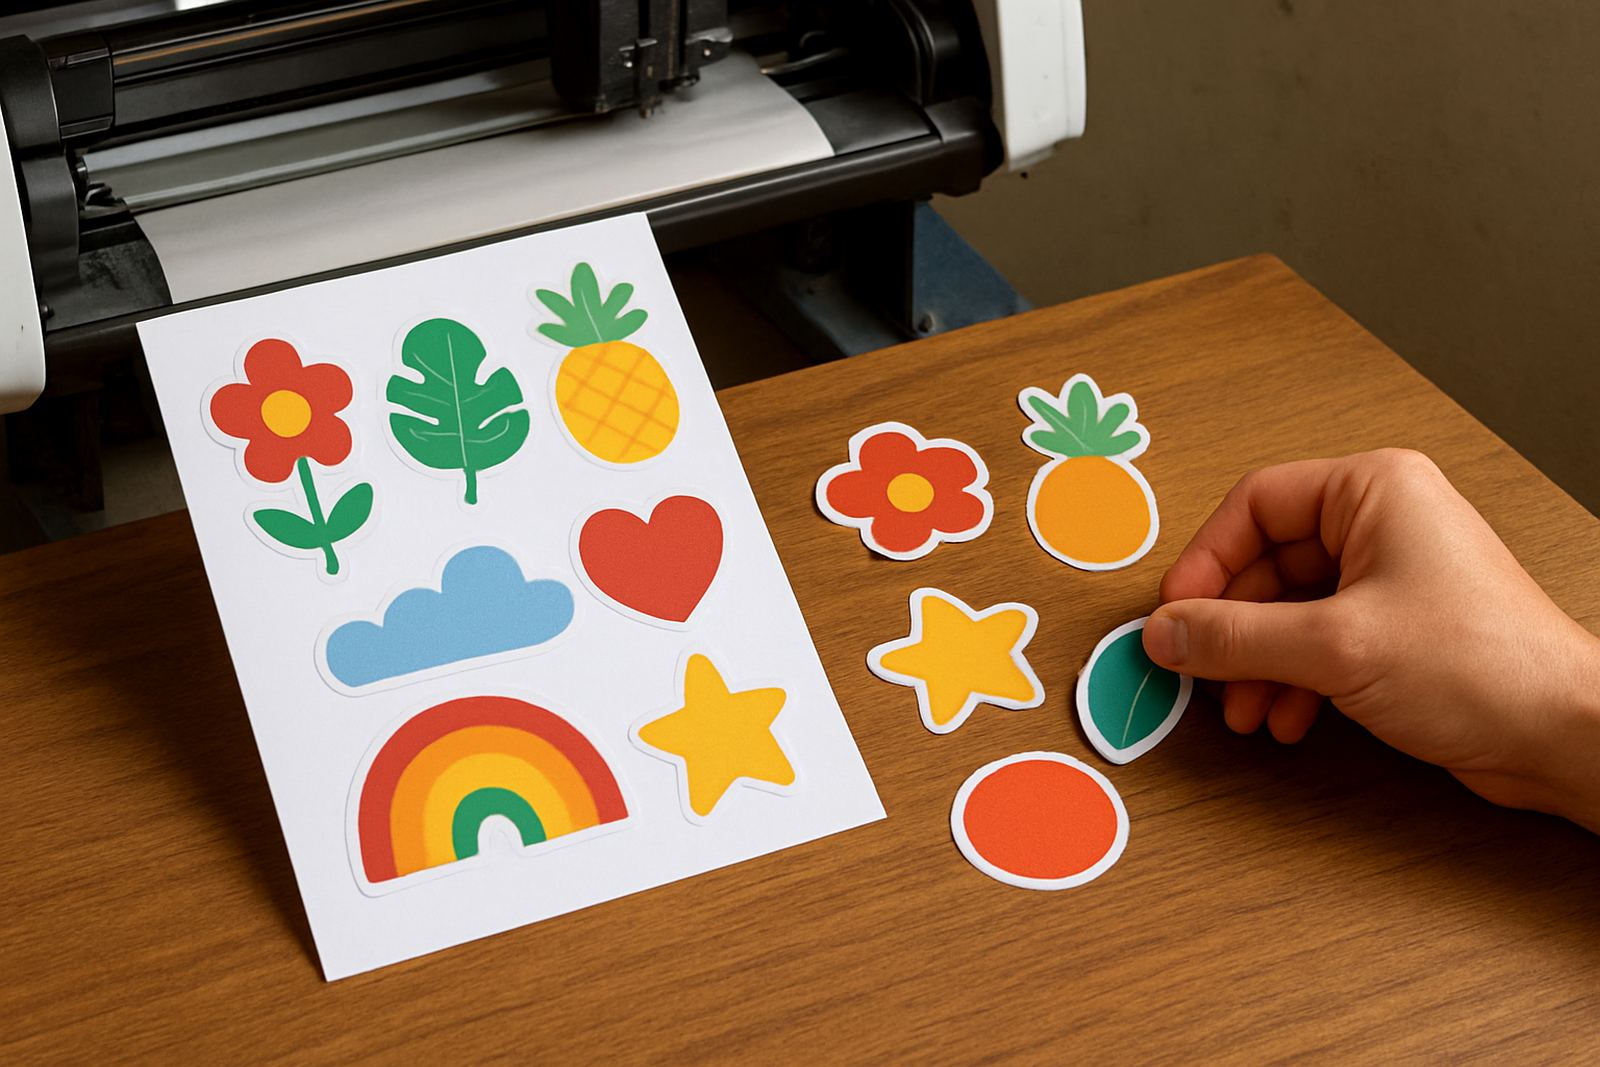
Kiss cutting means the blade cuts the top layer only, while leaving the backing liner intact. On self-adhesive vinyl, label stock or reflective media, that lets you lift the finished shape without breaking the sheet apart. It is the method used when the end user still needs a carrier sheet for handing, packing or application.
In practical terms, the blade has to be set just deep enough to slice the face material and no further. If the pressure is too high, the liner gets scored and the job starts weeding badly. If the pressure is too light, corners stay attached and small text tears when you lift it. That balance matters even more on thin films used for promo stickers, because a fraction of a millimetre can change the finish.
- Best for labels, decals, sticker sheets and vinyl graphics.
- Leaves a backing liner in place for easy handling.
- Needs accurate blade pressure and media loading.
What cutting through the media changes
Cutting through the media means the blade passes through every layer, including the liner or backing board. That is used when the finished piece must be removed completely from the sheet, such as custom packaging inserts, sample cards, rigid mount shapes or small batch product parts. It is a fuller cut and it places more demand on machine setup because the blade has to travel further and the material must stay flat.
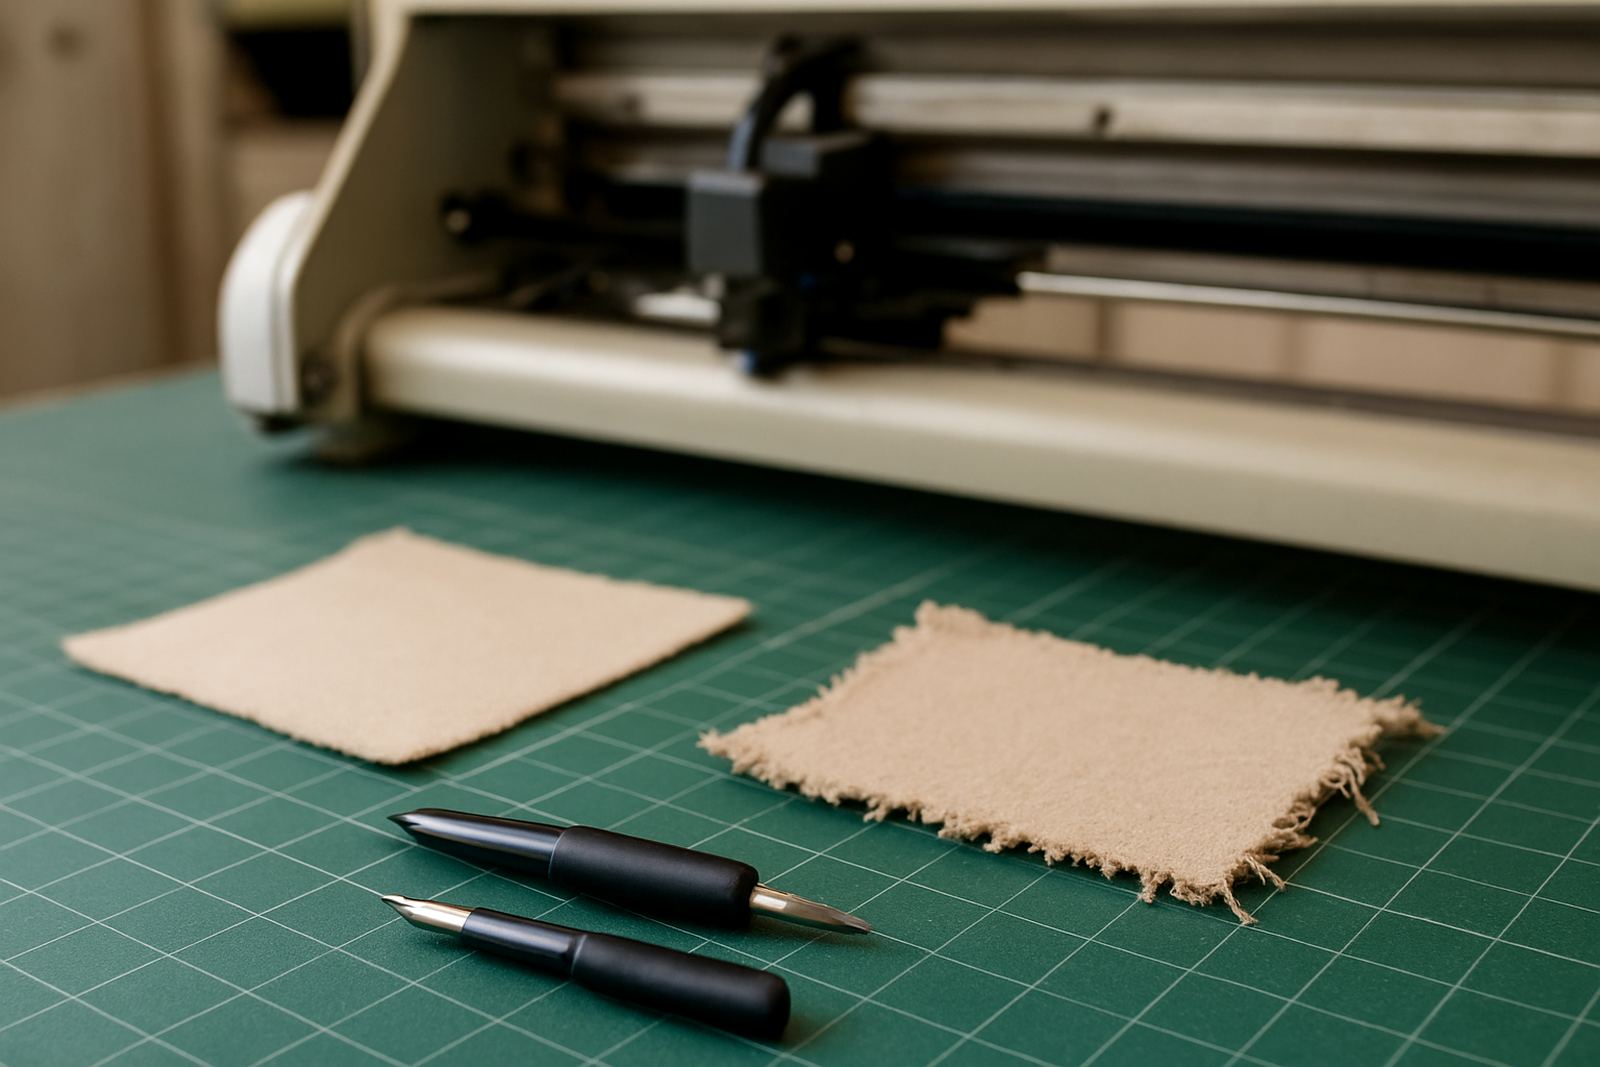
On thicker stock, the difference shows up quickly. A cutter that is perfect for kiss cuts on adhesive vinyl may need a different blade angle, more downforce or slower speed for through cutting. If the setting is wrong, you get rough edges, dragged corners or a backing sheet that splits where it should not.
- Used for finished shapes that must separate fully.
- Common on card, board, thicker films and packaging samples.
- Usually needs slower speed and tighter calibration.
How to choose the right cut for the job
The simplest test is to ask what the customer needs at the end of the process. If they need a peelable sticker or a label that stays on a liner until application, kiss cut is normally the right answer. If they need a standalone part, insert or display piece, then through cutting is more suitable. That sounds obvious, but many production delays start with the wrong assumption at quoting stage.
Three things should guide the decision: material thickness, finishing method and how the job will be packed. A logo sticker on gloss vinyl for a school fundraiser in Sandton is a different task from a die-style insert for a product launch kit in Midrand. The first must peel neatly, the second must separate cleanly and stack flat. Once those requirements are clear, the cut choice becomes easy.
- Check whether the final item must stay on a liner or separate fully.
- Match the cut to the material, not just the artwork.
- Consider how the job will be weeded, packed and delivered.
Why blade pressure and registration matter so much
Most cut problems are not caused by the artwork. They come from incorrect blade pressure, poor registration calibration or a rushed media load. If the material is skewed by even a few millimetres, kiss cuts can miss the edge and through cuts can wander into the next piece. In a print-and-cut workflow, the machine must follow registration marks accurately or the contour no longer matches the printed image.
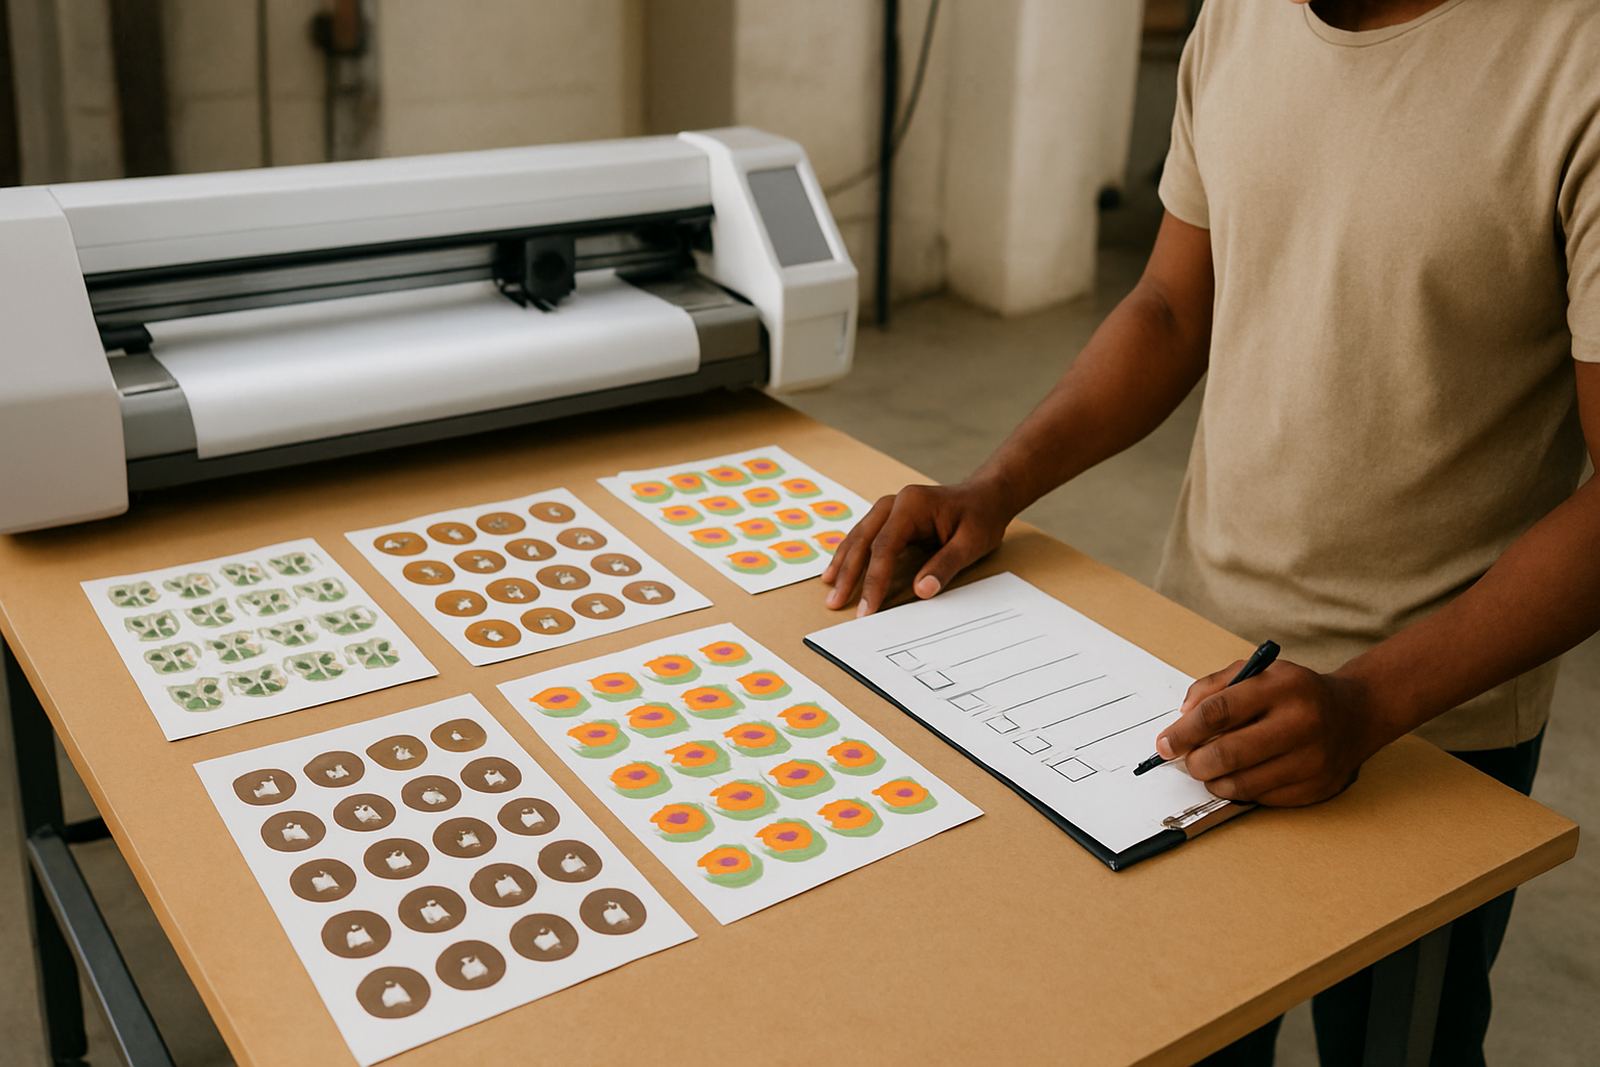
This is especially important in Johannesburg where production often runs under time pressure, and power interruptions can interrupt a queue mid-job. After a stop-start cycle, the operator should check feed alignment, re-zero the blade and confirm the first sample cut before restarting a batch. A quick test square or triangle saves more material than trying to recover a bad run later.
- Set blade pressure from the material, not from habit.
- Confirm registration before committing to a full batch.
- Recheck alignment after load-shedding or a machine pause.
Local production examples from Isando to Randburg
At the Isando base, the difference between kiss and through cutting comes up daily on sticker work, corporate packs and short-run promotional items. A client in Boksburg may need kiss-cut asset labels for equipment tracking, while a business in Randburg may ask for fully cut presentation cards for an event handout. Same cutter, very different setup. In a humid coastal delivery to Durban, the liner can curl a touch, so the operator may need to flatten the media before loading and check tension more carefully.
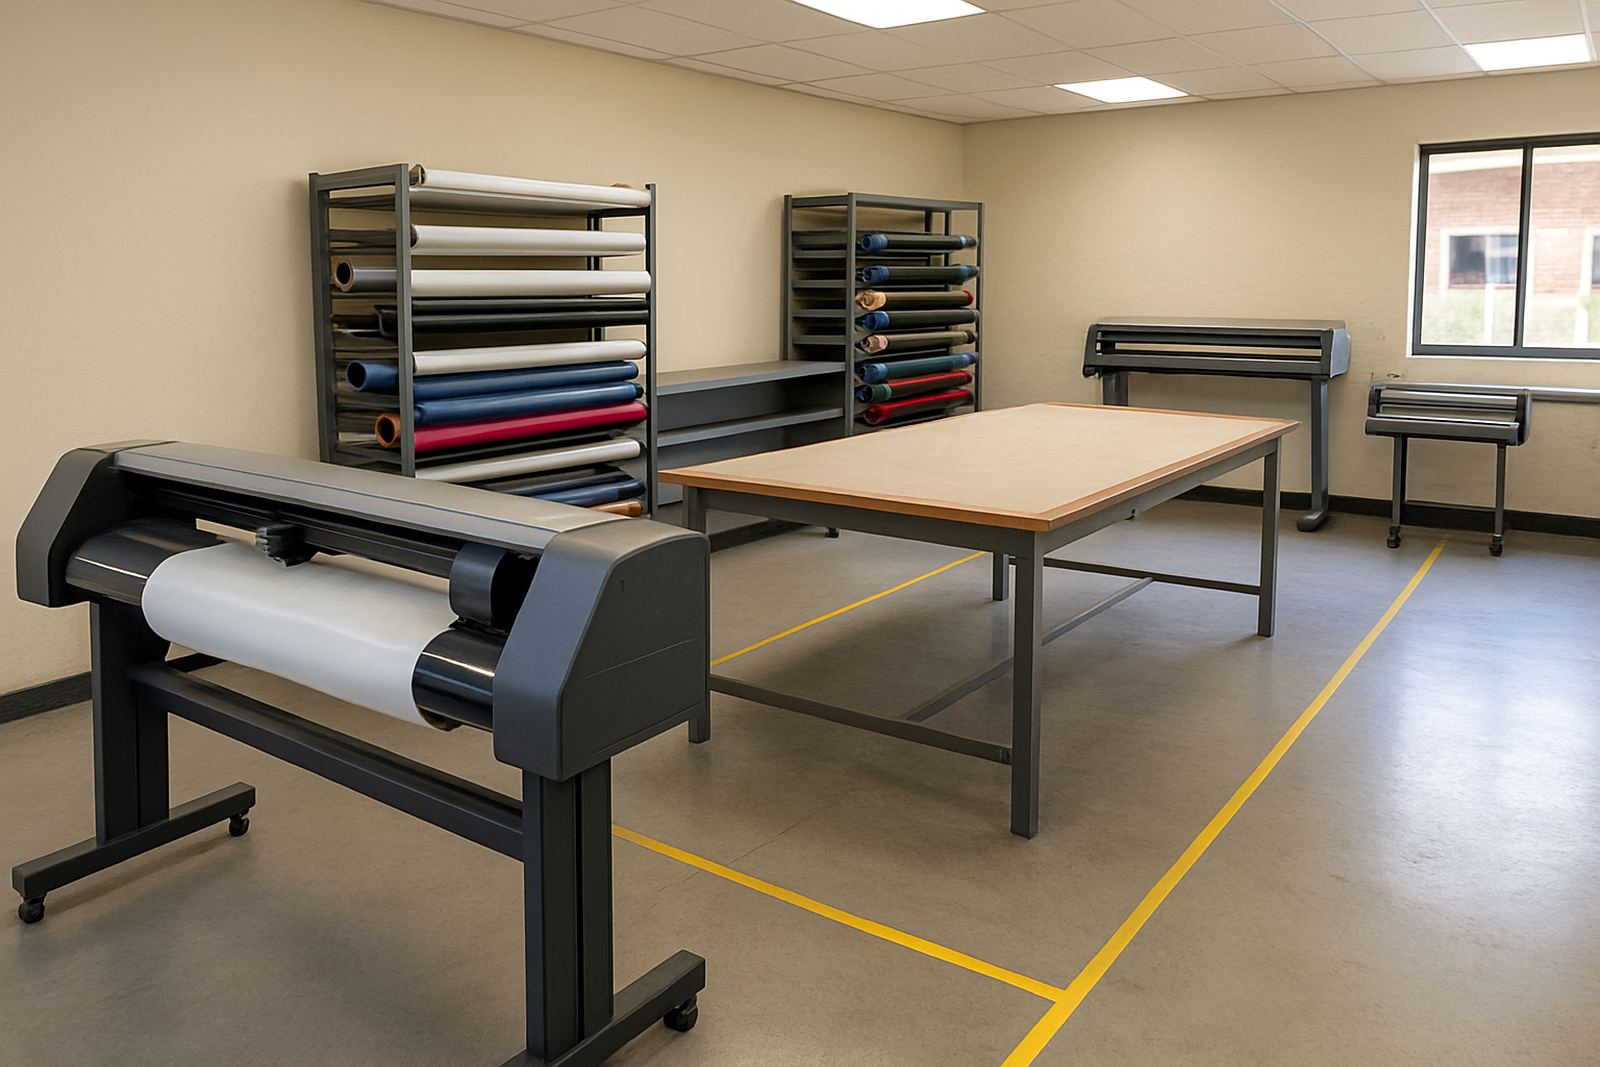
For on-site cutter installs nationwide, the same rule applies: the machine must be set for the actual job mix in that workshop. A sign shop doing mostly decals will value repeatable kiss cuts, while a print room doing packaging samples will need through cuts with sharper control over depth. Training should cover blade pressure, media loading and troubleshooting, not just how to start the machine.
- Asset labels and decals usually need kiss cuts.
- Packaging samples, inserts and cards often need through cuts.
- Install training should match the real work the shop does.
The cost of getting the cut wrong
Wrong cut depth is expensive because the damage is often hidden until finishing. A kiss cut that goes too deep can weaken the liner, cause sheet break-up and make weeding slow. A through cut that is too shallow can leave tabs that tear the printed edge, forcing rework or manual trimming. Either way, labour goes up and the job takes longer than planned.
There is also a quality issue. Customers notice when labels peel in uneven shapes or when a display piece has ragged edges. For trade work, that can affect repeat orders. The better approach is to run a sample on the actual stock, confirm the cut profile, and then lock in the settings for the batch. It is simple discipline, but it saves a lot of Rand over a month.
- Bad settings waste stock and labour.
- Samples should be approved on the same material as the final job.
- Document the working settings for repeat orders.
A practical rule for everyday production
Use kiss cutting when the product must stay on a backing sheet. Use through cutting when the product must be fully separated. That rule covers most jobs, but the machine still needs a proper setup each time. Blade type, pressure, speed and registration all need to suit the stock on the table. If the operator skips the test cut, the risk goes up fast.
For businesses handling stickers, decals and short-run cut work across Gauteng, the best results come from a repeatable process. Load the media straight, check the marks, test the depth and keep notes on what worked. That is how you get clean edges, less waste and fewer complaints from the customer.
- Backing liner means kiss cut.
- Fully separated part means through cut.
- Test, record and repeat the working setup.