Why the cut changes when one setting moves
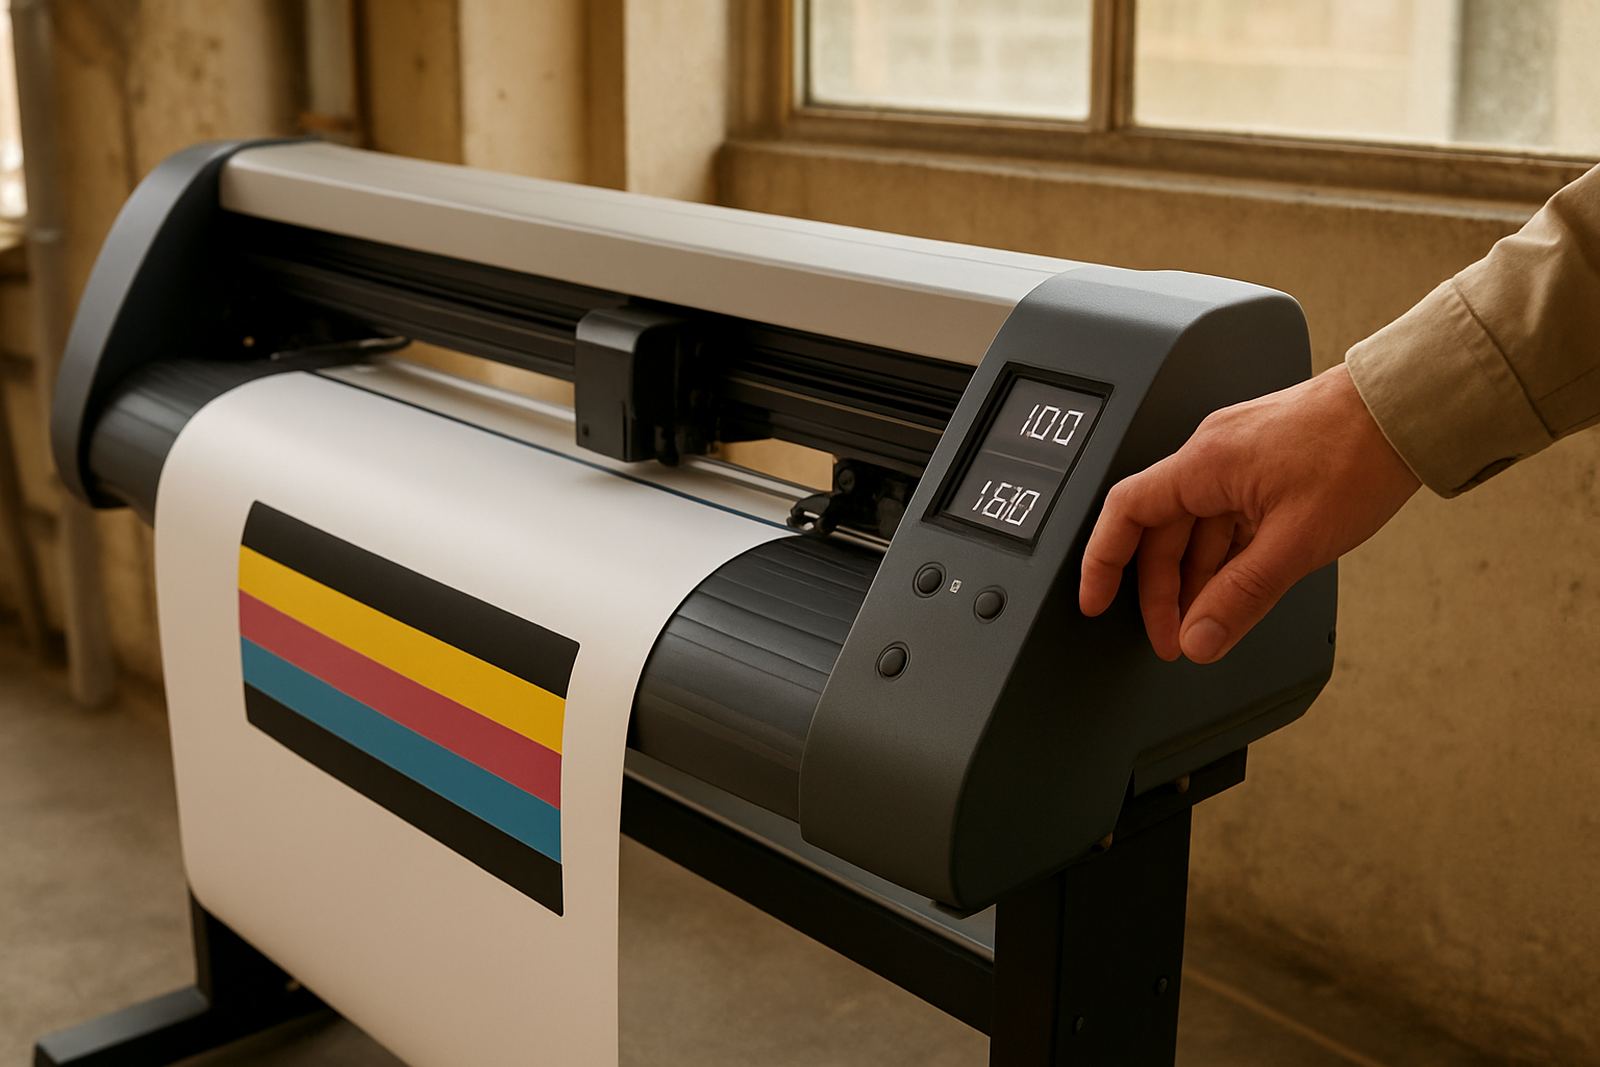
Many operators try to fix a poor cut by changing only one setting, then wonder why the result still looks rough. The truth is simple: pressure and speed work together, so changing one affects how the blade behaves on the media. Too much pressure at high speed can force the tip through the backing, lift small corners or leave a scored edge that tears later. Too little pressure at slow speed can leave incomplete cuts and force extra weedng time.
In practice, the material decides how much forgiveness you get. A standard self-adhesive vinyl for signage behaves very differently from a thick reflective film, a textured transfer film or a laminated print. On a cold morning in Johannesburg or in a warm workshop in Isando, the same settings can give a different finish because media stiffness changes with temperature. That is why good operators test pressure and speed together before a full run.
- Pressure controls how deeply the blade engages the material.
- Speed controls how fast corners, curves and small details are traced.
- When both are matched, the cut stays clean and the liner remains intact.
- When one is pushed too far, the blade starts to drag or chatter.
What happens when speed is too high for the pressure
If speed is pushed up without checking pressure, the blade has less time to rotate and settle into tight movement. That can cause rounded corners on lettering, tiny tag points on decals and broken kiss cuts on fine detail. You may still see the job finish, but the weeding bench tells the real story. Excess scrap lifting, torn edges and repeated re-cuts usually mean the machine is outrunning the material.
This matters a lot on production jobs where quantities are high and the customer expects consistency. A batch of vehicle graphics, labels or promotional stickers can look acceptable on the first metre, then start drifting by the tenth. For businesses in Sandton, Midrand or Boksburg that send out regular repeat work, the cost is not just the damaged media. It is the time lost in rework, the extra blade wear and the delay before install.
- Watch for corner lift on small text and fine logos.
- Check whether the liner shows deep scoring after the cut.
- Listen for blade chatter or a light tapping sound on direction changes.
- If detail fails first, reduce speed before adding more pressure.
What happens when pressure is too heavy for the speed
Too much pressure can be just as costly. A blade set heavy for a slow job may cut the face film beautifully, then cut so deep that the liner gets damaged as well. Once the liner is marked, weeding becomes harder and the risk of the sticker lifting during application goes up. On laminated print-and-cut jobs this is a common issue because the top layer resists differently from plain vinyl.
High pressure also shortens blade life. The tip works harder on every pass and may start to leave burrs, scratches or inconsistent cut depth across the sheet. On thicker media, especially where humidity near the coast can change the feel of the stock, operators sometimes overcompensate and keep turning the pressure up. That usually creates more problems than it solves.
For clean production, the aim is not maximum pressure. It is just enough force to separate the face film cleanly, while leaving the backing sheet sound.
A practical setup routine for South African production floors
At Contour Cutting, the best results come from a repeatable setup routine. Whether the machine is being used in Isando, fitted at a branch support point, or installed at a client site in another province, the process should start with the same basics: material check, blade setup, registration test and a small trial cut. That routine saves time when load shedding interrupts a shift and the machine must be restarted, because the operator knows exactly where to begin again.
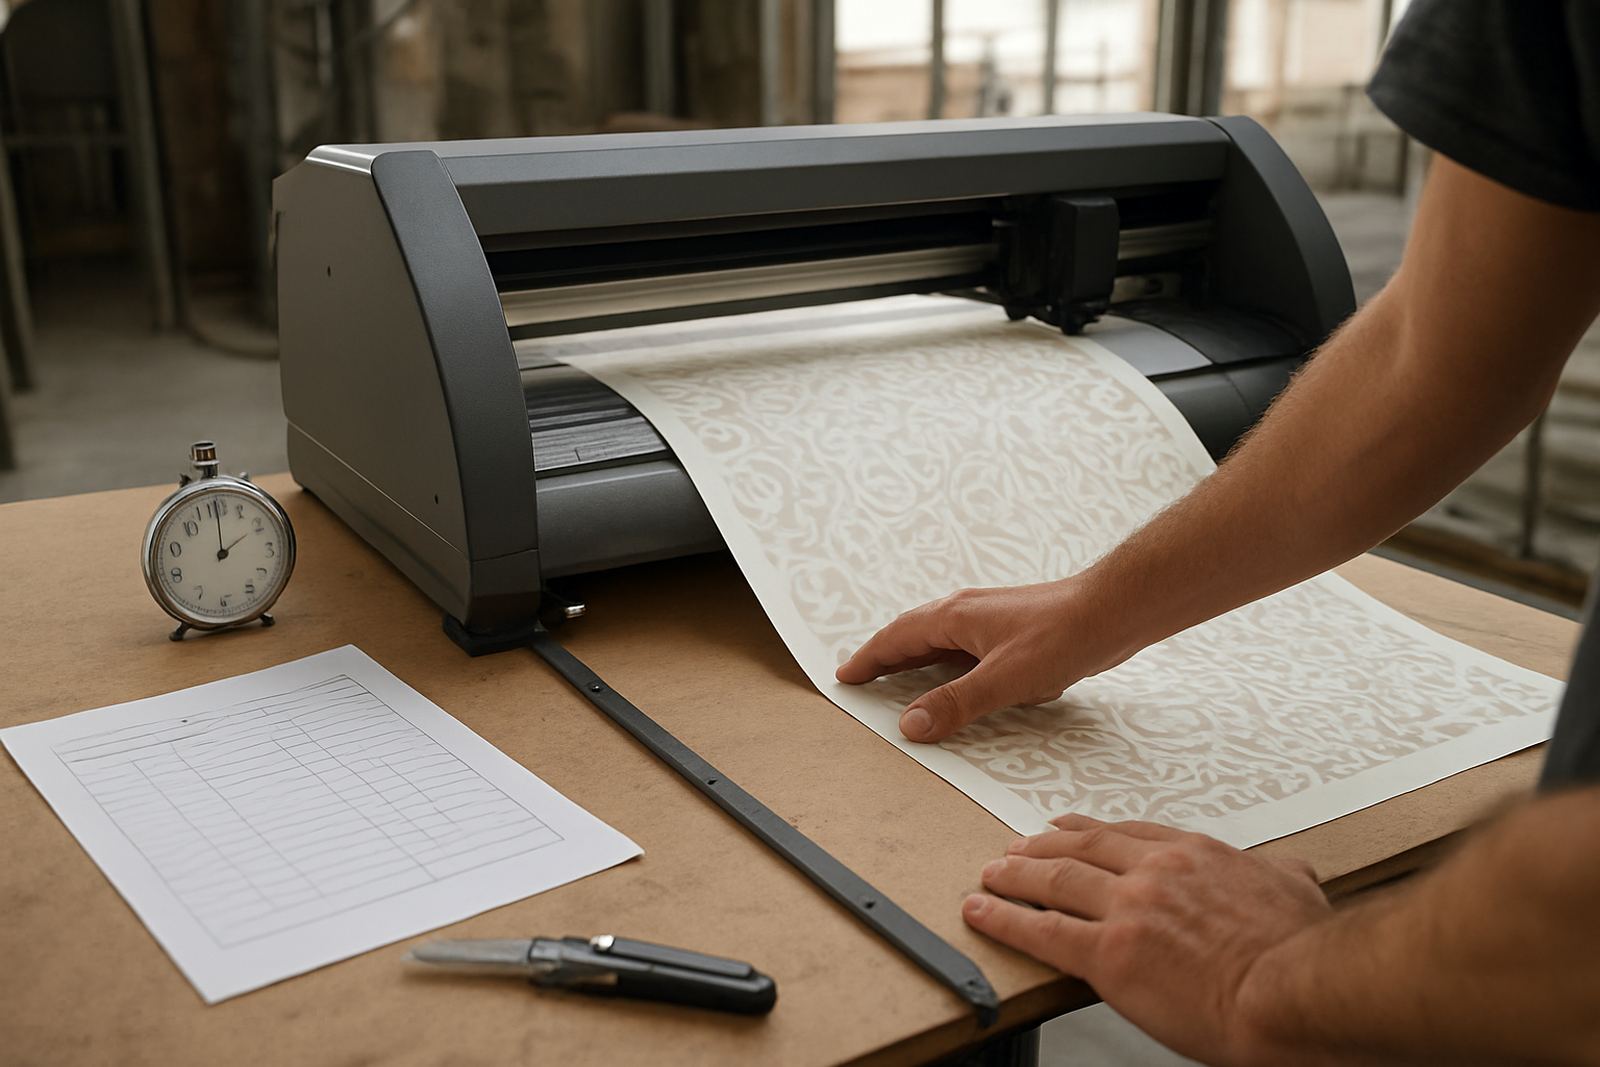
Use a short test pattern before every serious run. The goal is to see how the blade handles circles, corners and narrow bridges at the actual speed and pressure intended for the job. If the first pass looks good but the second pass starts lifting, the issue is usually balance not blade quality. Small adjustments of 5 to 10 units can make a big difference.
- Load the media square and keep the pinch rollers aligned.
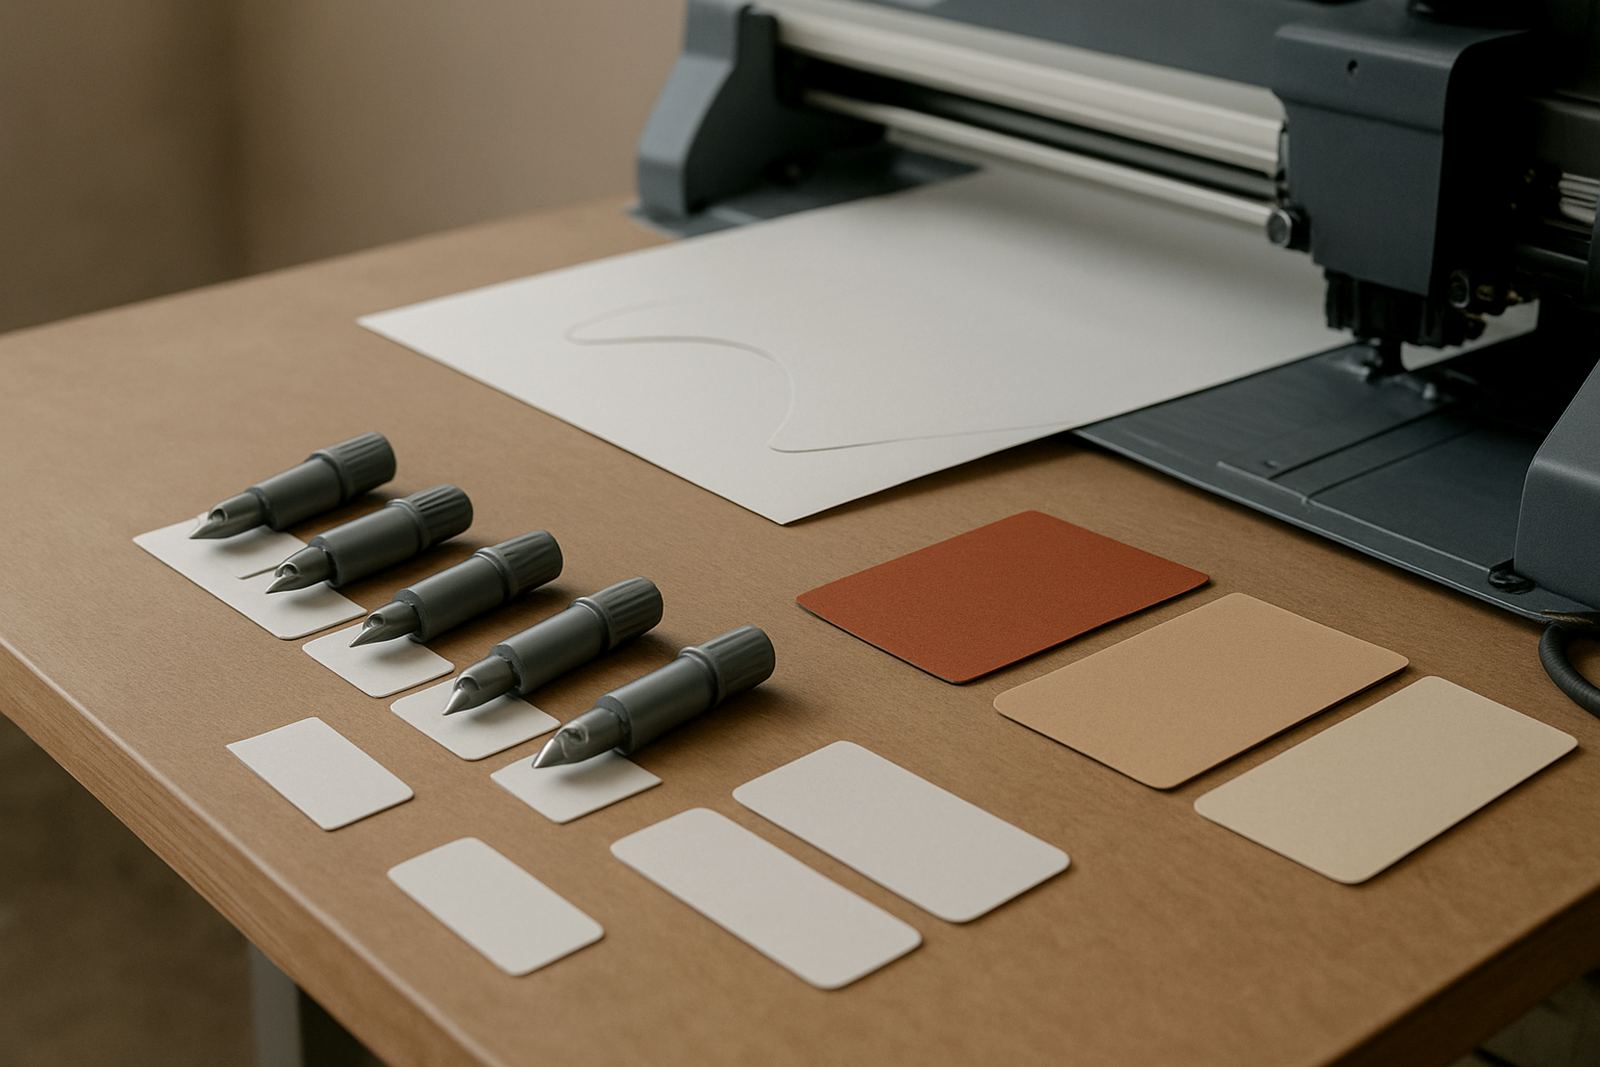
- Set the blade so only a small tip is exposed.
- Run a test cut on the same stock and laminate used for production.
- Check weedability before starting the full order.
- Keep notes for repeat jobs so settings can be recalled quickly.
Why registration and blade condition affect the balance
Pressure and speed do not work alone. Registration accuracy, blade wear and media loading all affect the final cut. If the material is not tracking straight, the machine may appear to need more pressure because the result looks uneven. In reality the problem may be feed alignment or a blade that has gone blunt on one side. That is why training on artwork cut lines and registration calibration matters just as much as machine speed.
A fresh blade that is correctly seated can often cut cleaner at lower pressure and a more moderate speed. That is better for detail, better for the liner and better for turnaround time. It also helps when a technician has to service a system after transport between Germiston, Randburg or a remote site. A quick check of blade holder play, media pinch and cut depth can reset the balance before a full production day starts.
How to choose settings for common jobs
Different jobs need different balances, and the safest way is to match the setting to the material rather than to a habit. A small promotional sticker on cast vinyl will not behave like a thick floor graphic, and neither will match a reflective safety decal. When in doubt, slow the speed first, then trim pressure until the blade stops scoring the liner. That approach gives more control on fine detail and is easier to repeat across batches.
For operators managing busy days, a simple decision list helps:
- Fine text or tiny shapes: lower speed, moderate pressure.
- Thick or textured media: slower speed, careful pressure testing.
- Long straight runs: moderate speed with stable tracking.
- Variable print-and-cut work: test registration first, then set pressure.
- Repeat orders: use stored settings only after a fresh test cut.
That discipline is useful for sign shops, print rooms and installation teams that need dependable results without wasting material. It also makes training easier because each operator can see why the pair of settings matters.
The payoff: cleaner weeding, less waste and steadier output
When pressure and speed are balanced properly, the gains show up all through the job. Weeding gets faster, the liner stays intact, and the final graphic applies more cleanly. For businesses handling production in busy areas like Isando or sending teams out for cutter installs nationwide, that consistency protects margins and reduces call-backs. It also helps during peak periods when staff are under time pressure and need settings that behave the same from one shift to the next.
The best operators do not chase the fastest setting. They look for the setting that gives the cleanest cut with the least effort. That is the real balance. Once it is found, it should be recorded, trained and checked regularly. A machine that is set right at the start of the day saves far more time than one that is pushed hard and fixed later.