Why blade angle matters more than most operators expect
In print-and-cut work, the blade angle determines how much of the cutting edge meets the material. A steeper angle gives more reach for thick, textured, or laminated media, while a shallower angle is often better for thin films and fine detail. If the angle is mismatched to the job, the cutter may drag too hard, score the backing, or leave tiny uncut bridges that slow production.
For shops in Isando, Sandton or Midrand handling mixed jobs in one day, this matters because the material changes quickly. You may move from standard promotional vinyl to reflective decals, then to heavier sticker stock for product labels. Each one needs its own balance of angle, pressure and speed, not just a stronger blade.
Common blade angles and where they fit best
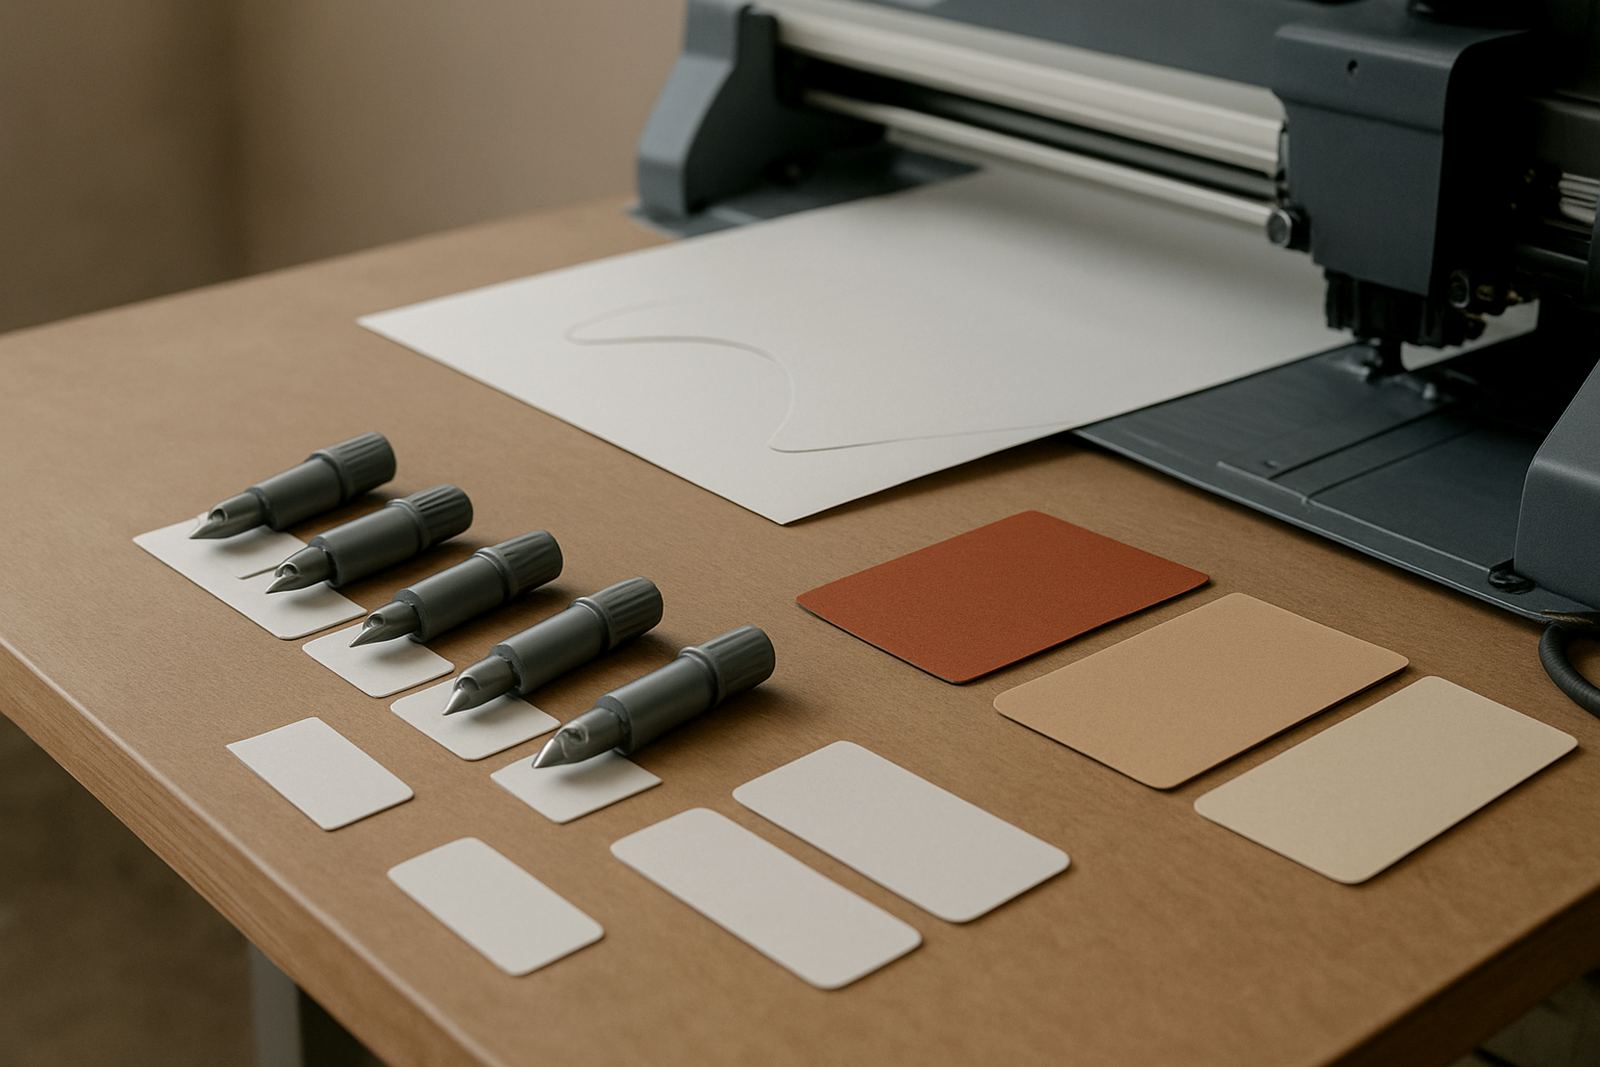
Most production cutters use a few common blade angles, and each has a practical purpose. A 30 degree blade is usually chosen for fine detail and softer, thinner media. A 45 degree blade suits general-purpose cutting and is often the everyday option. A 60 degree blade is better for thicker or more demanding materials where more edge contact is needed.
- 30 degree: small text, fine lines, light films, detailed logos
- 45 degree: standard vinyl, general signage, everyday production
- 60 degree: thick media, reflective film, laminated prints, tougher stock
The blade angle alone will not fix a bad setup, but it does set the cutter up for success. If your team is cutting tiny registration marks and tight curves, the shallower blade can give a cleaner result. If the job includes thick overlaminate or firm adhesive stock, the steeper blade usually handles it better.
Matching blade angle to material, not just the artwork
Artwork detail matters, but media choice matters just as much. Cast vinyl, calendered vinyl, reflective sheets and sticker stock all react differently under the blade. A detailed logo on thin vinyl may cut beautifully with a 30 degree blade, while the same artwork on heavier laminated print may need a 60 degree option to stay consistent.
Here is a simple way to think about it: the more resistance the material gives, the more blade reach you generally need. That said, too much angle on light material can cause overcutting and make weeding a mess. In a warm production room in Johannesburg, or in coastal humidity when a job is sent out nationwide, materials can shift a bit too, so blade choice should be checked against the actual batch on the machine.
- Thin cast film, fine decals, small type: lean toward a finer angle
- Standard signage vinyl and decals: use a balanced general-purpose angle
- Thick laminated graphics or specialised stock: move to a steeper angle
Detail work, corner behaviour and weedability
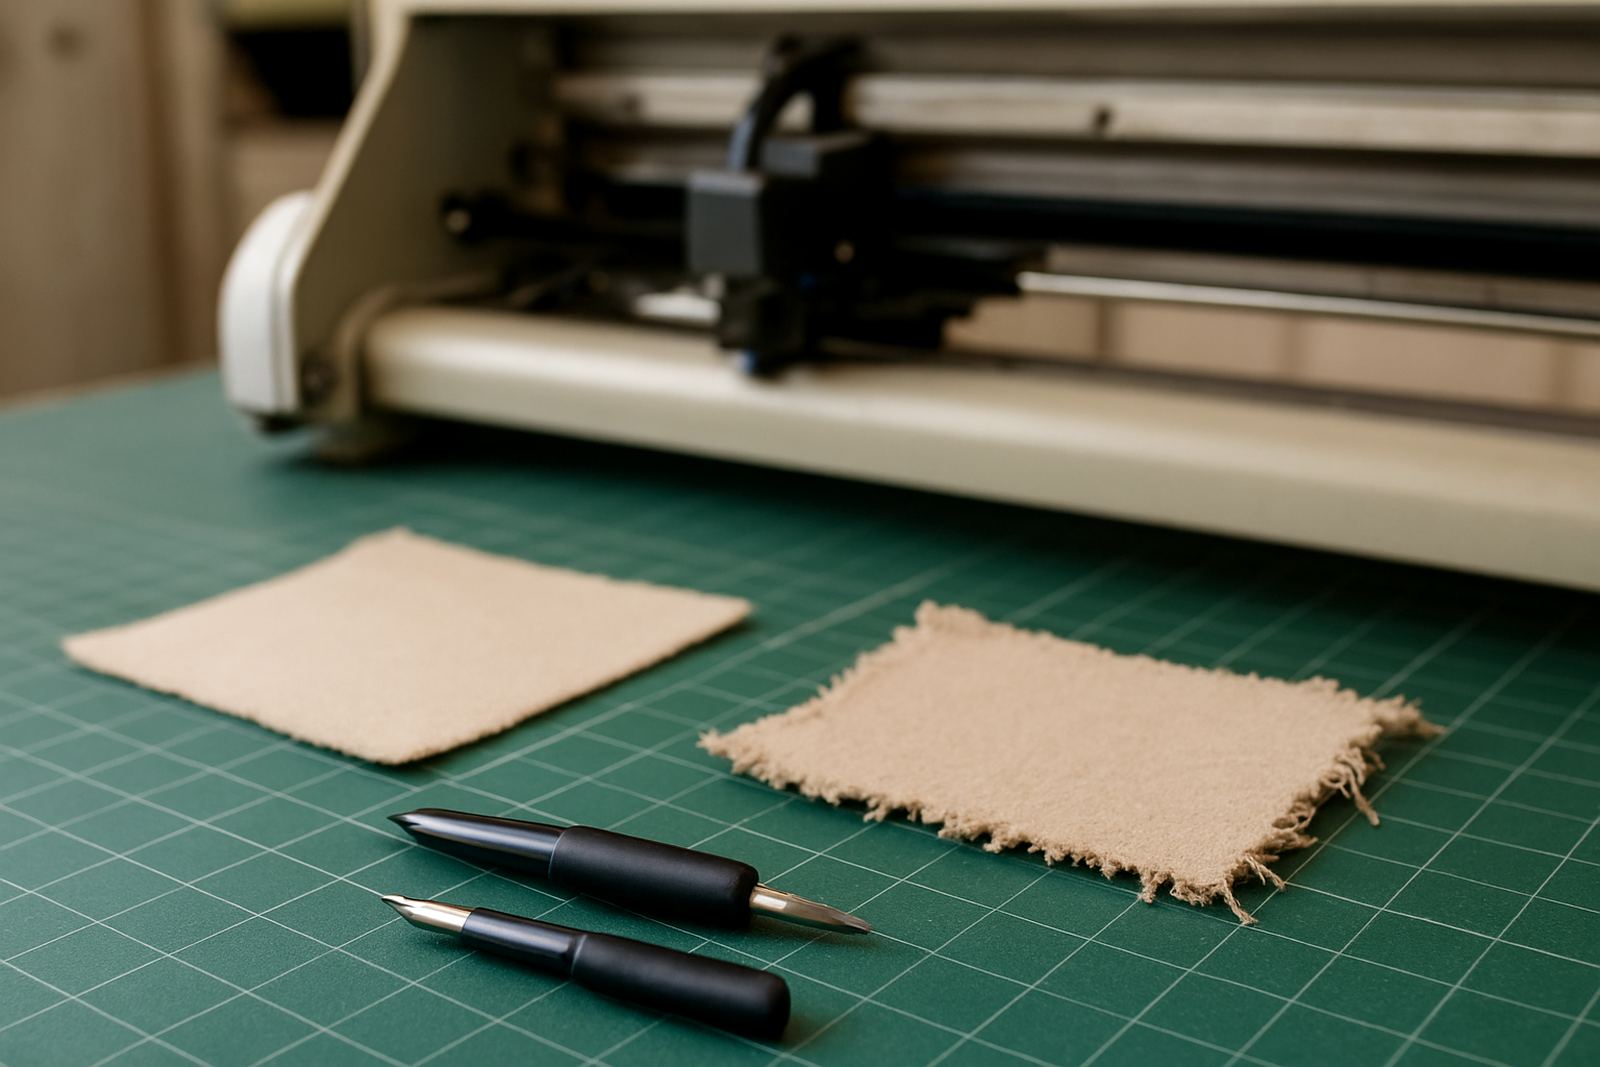
Blade angle affects what happens at corners, curves and tiny counters inside letters like O, A and R. When the angle is wrong, these points can lift, snag or leave a ragged edge. A properly chosen blade helps the knife enter and leave the cut more cleanly, which makes weeding faster and reduces wasted media.
Operators often think pressure is the answer, but that can create trouble. Too much pressure hides an angle problem for a short while, then starts marking the liner or pulling on the artwork. A better cut usually comes from the correct angle first, then careful blade pressure setup and registration calibration after that.
- Sharper detail needs cleaner entry and exit points
- Heavy pressure can mask the wrong angle, but only for so long
- Cleaner cuts improve weeding speed and reduce rework
A practical Isando example from mixed daily production
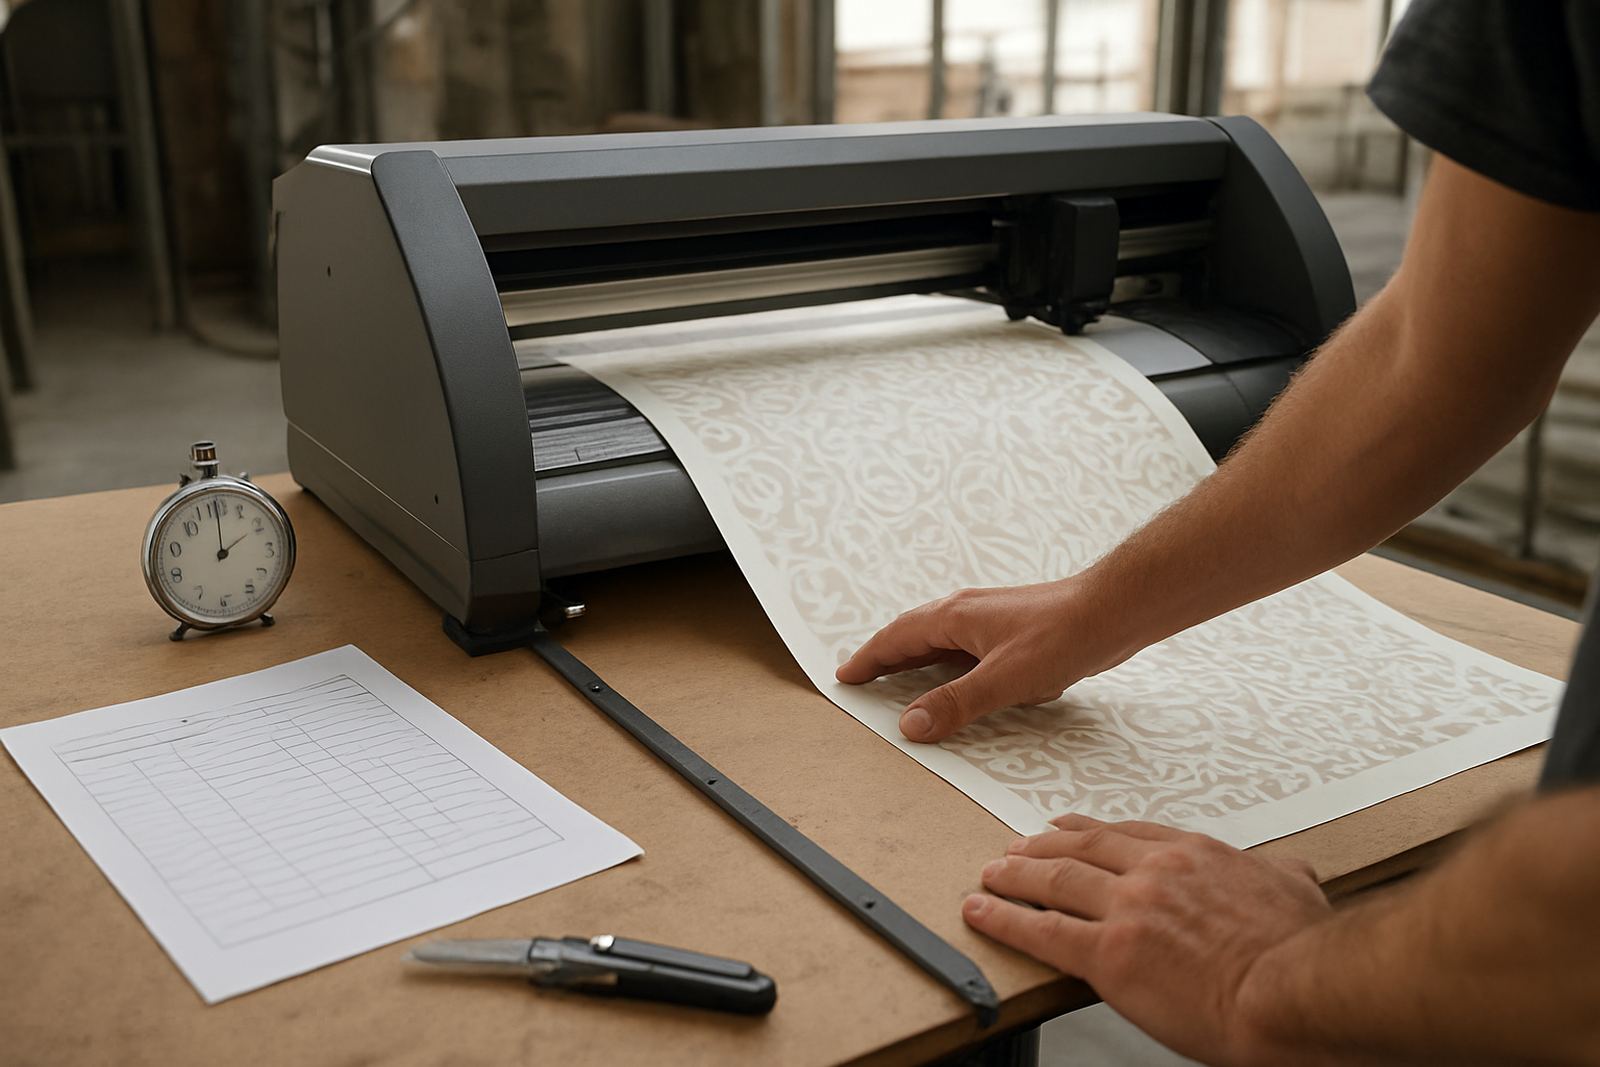
Imagine a production day in Isando: a retail client wants small window decals, a contractor needs reflective safety labels, and a marketing team needs laminated promo graphics. If the same blade angle is left on the machine for all three, the operator will fight at least one of the jobs. The small decals may overcut, or the reflective job may leave corners half cut.
In that kind of workflow, a trained team keeps notes on which angle performed best for each media type. That is why operator induction, maintenance basics and troubleshooting sessions matter. A supervisor in Germiston or Randburg can review the cut results, then make a practical call before the next run. It saves material, and it keeps the production line moving when load-shedding interrupts the day and time becomes tight.
Setting the blade correctly before you blame the machine
Before changing settings at random, start with the blade itself. Check that it is installed to the correct depth, seated properly and free from wear. Then confirm the blade pressure, speed and registration marks. Many cutting issues that look like a software problem are actually caused by a blade that is too exposed or a holder with debris inside.
- Use the smallest practical blade exposure
- Match pressure to the actual media, not old settings
- Test a short cut before running full production
- Watch for lifting corners, scored backing and ragged weeds
A calm method saves more time than repeated trial and error. If a job is being installed in Boksburg or sent out through Midrand, a cleaner test cut is worth the extra minute. It keeps the final result neat and helps avoid a reprint.