Start with the room, the power and the floor
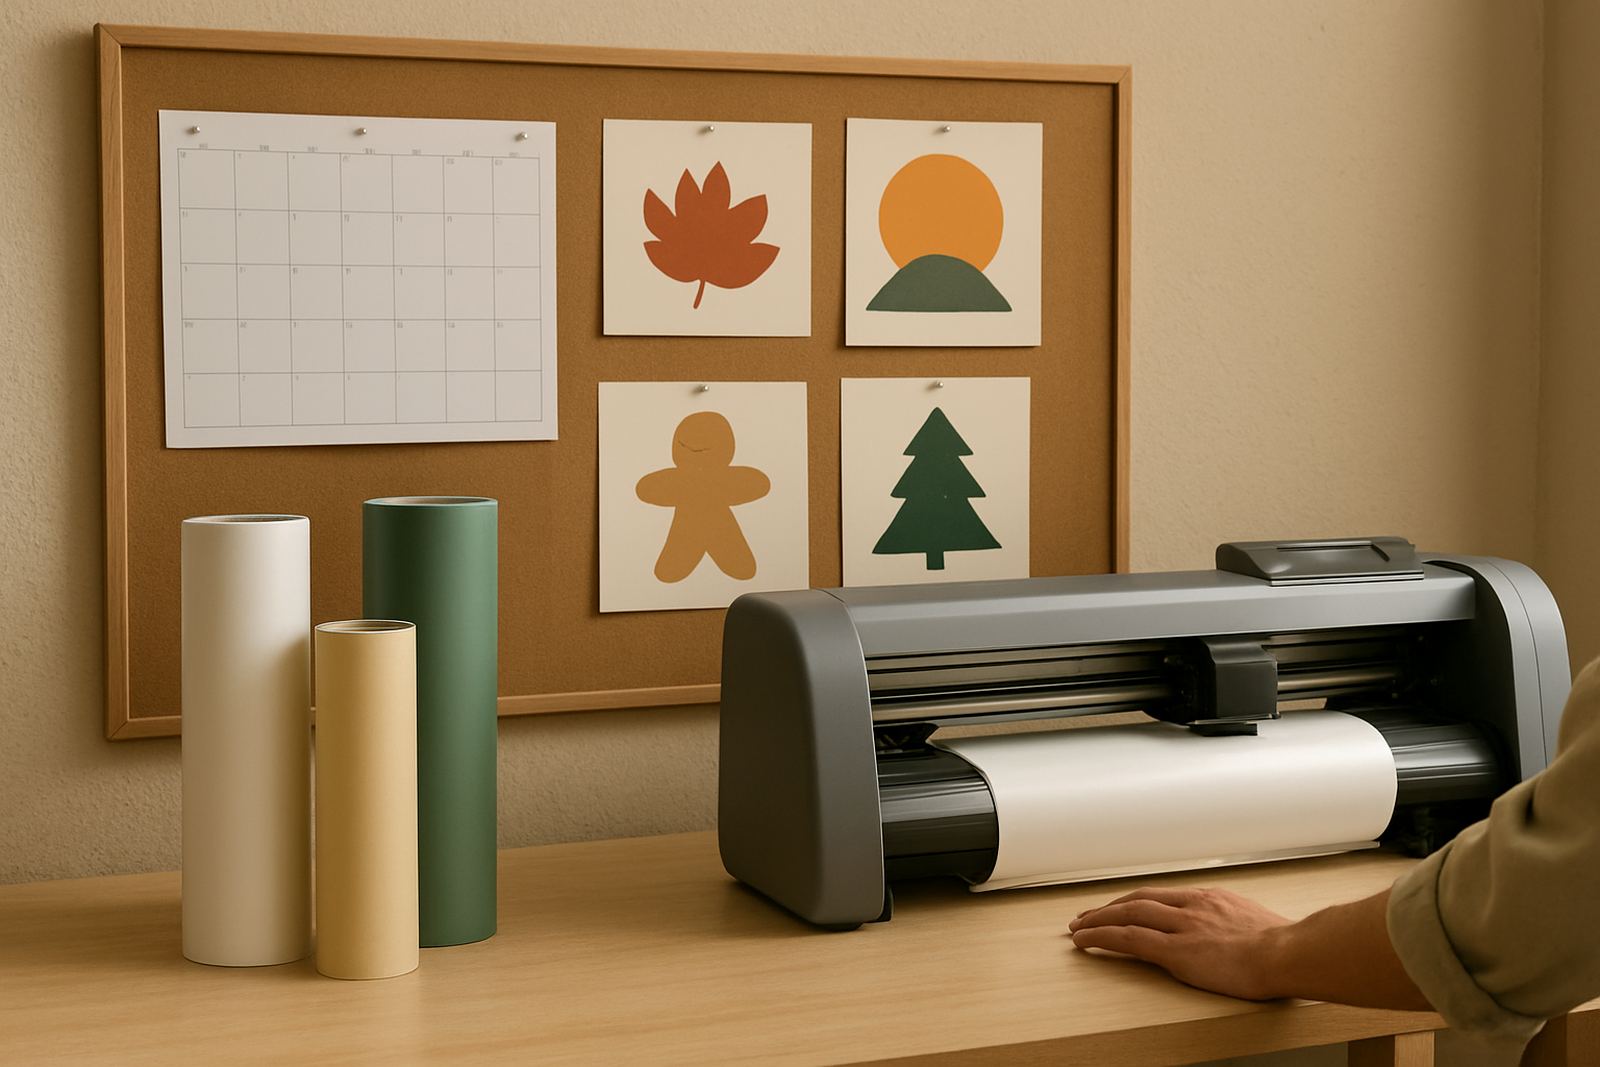
Before any cutter arrives, confirm the room can take the machine, the operator and the work flow. Measure the final footprint in metres, not just the machine size on paper. Leave space for loading media, opening covers and moving around the table or stand. If the unit is going into a print room, make sure there is a clean path from the receiving point to the final position, with no tight doors, low lintels or uneven paving.
Power is another item that must be checked early. Many sites still have mixed plugs, long extension leads and shared circuits that trip under load. Ask what supply is available, where the nearest dedicated point is, and whether the site has backup power for load-shedding. In coastal towns, humidity can also affect storage and cut quality, so the room should stay dry and well ventilated.
- Measure the floor space, door widths and turning points.
- Check the available power point and circuit rating.
- Confirm the machine will sit on a level surface.
- Plan for dust, moisture and temperature changes.
Confirm the media, blades and jobs that will run first
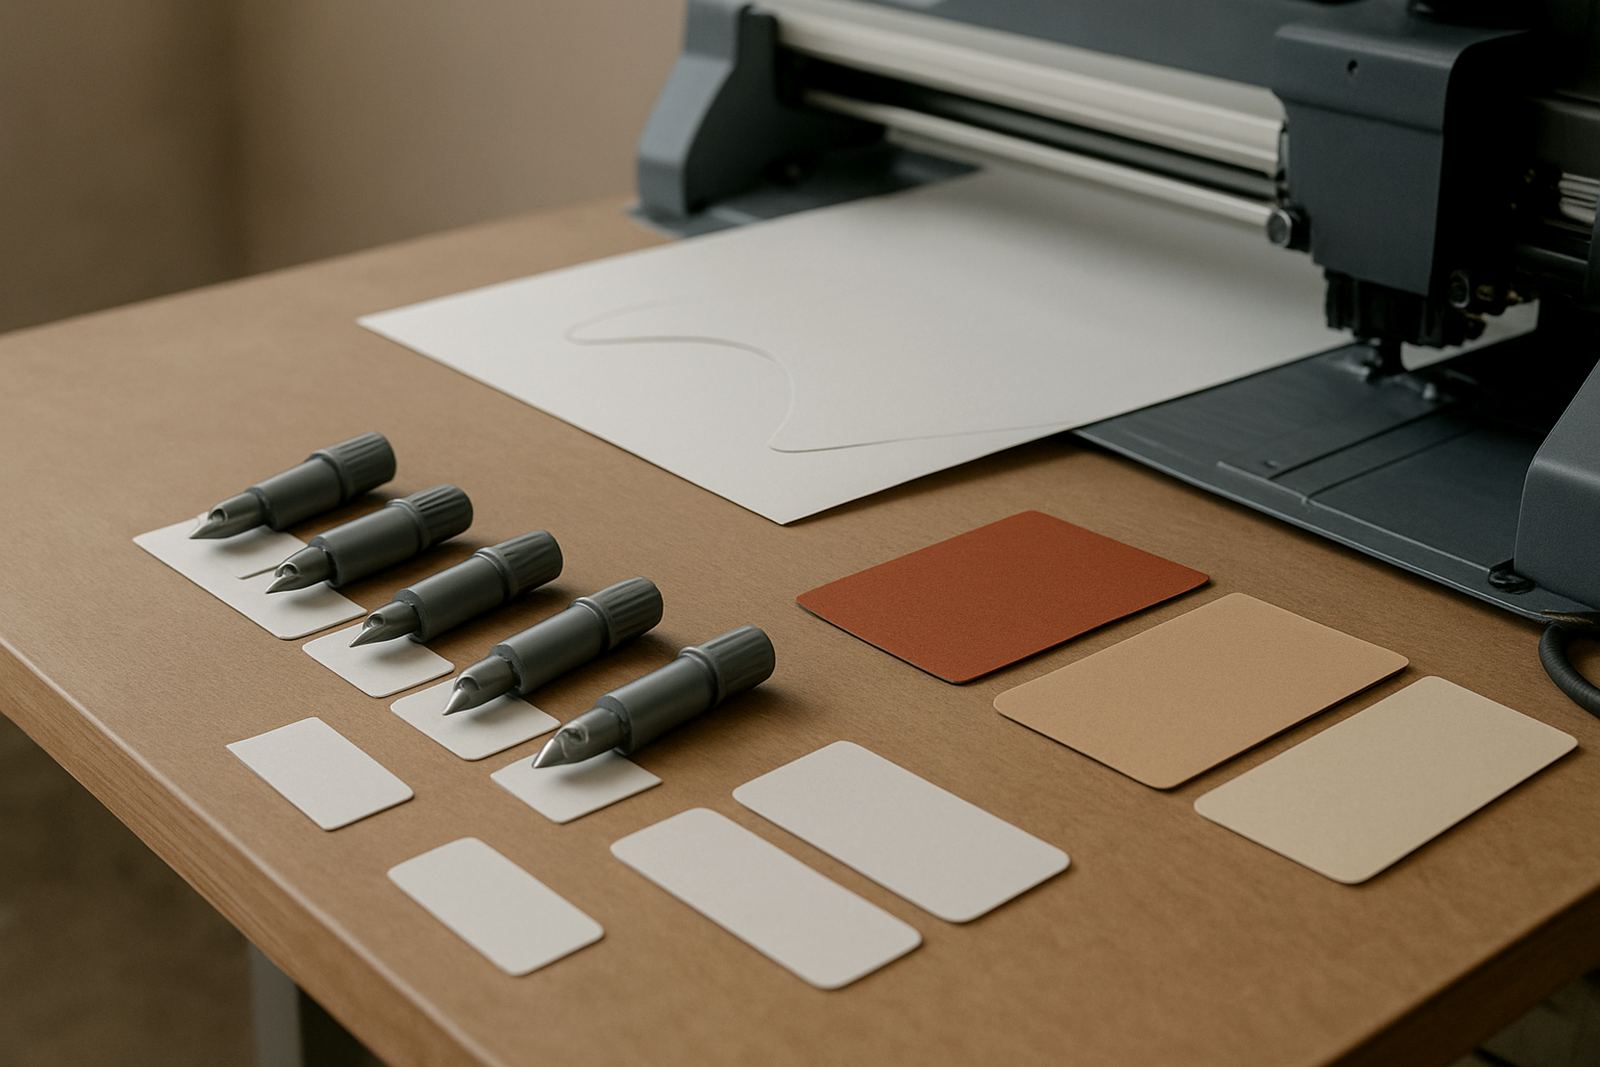
The easiest way to waste a first-day install is to arrive without the right media plan. Before travel, decide what material will be used for testing and for the first real jobs. If the client cuts vinyl, reflective film or thicker label stock, the blade pressure and feed setup must suit that material. If the team is expected to run short promotional runs or detailed stickers, bring sample artwork with fine registration marks and clean cut lines.
It also helps to know the size of the first production run. A sign shop in Kimberley does not always work like a studio in Sandton. One may need quick turnaround for municipal notices and the other may need tidy contour sticker packs for events, so the setup must match the work. Ask for the actual artwork files, the number of colours and whether the cutter will be used after printing or as a stand-alone unit.
- List the exact media types and widths to be used.
- Confirm blade type, blade holder and spare blades.
- Send the first artwork files before the install.
- Check whether the jobs are print-and-cut or cut-only.
Get the artwork and registration process ready
Print-and-cut work lives or dies on the quality of the file setup. Before an installation away from Johannesburg, confirm who is preparing the artwork, who is adding cut lines and who is checking registration marks. If those tasks are split between three people, errors creep in fast. A clean job packet should include final artwork, the cutter path, the print size and a note on bleed.
Registration calibration should be tested with the same print method the client will use in production. If the print is slightly off, the cut will drift and the stickers will not line up. That may be acceptable for rough work, but not for retail labels, point-of-sale graphics or vehicle decals. It is worth checking this before the machine gets to site, because the fix is usually easier in the workshop than on a busy floor.
- Confirm who creates the cut lines.
- Check bleed, nesting and registration marks.
- Test the print method with the intended cutter setup.
- Keep one approved sample as the production reference.
Plan access, labour and local delivery timing
Nationwide installs need practical planning, not just a booking date. Confirm where the vehicle can offload, whether there is loading bay access, and who will be on site to receive the equipment. In some industrial areas, security gates or shared yards can delay an install by an hour or more if nobody has arranged access. The same applies to upper floors, narrow stairwells and small freight lifts.
Make sure the client has assigned one person to sign off the machine position and another to handle the first production decisions. That avoids confusion when the installation team is trying to level the unit, connect power and run tests at the same time. On a recent install into a small print room in Germiston, the unit arrived on time but the keys and access code were still with another manager across town. The machine sat ready, but the team could not finish setup until the gate issue was sorted, which cost the client half a day.
- Confirm access times and site contact numbers.
- Check offload space, security and lift access.
- Assign one decision maker for setup approval.
- Allow a window for delays, traffic and site handover.
Make training part of the installation, not an afterthought
A cutter is only as useful as the person running it. The installation should include enough time for operator induction, blade pressure setup, media loading and a basic troubleshooting session. If the team will be cutting on the same day, train them on one real job before anyone leaves the site. That gives the operator a live example of how the machine behaves with their own stock and artwork.
It also helps to identify who will be the site lead after the install. That person needs to understand maintenance basics, common fault checks and when to call for technical support. If the site has multiple shifts, include supervisor coaching so the settings stay consistent. Otherwise one shift tightens the pressure and the next shift undoes it, and production becomes hit and miss.
- Schedule operator induction on the install day.
- Train one backup person, not only the main operator.
- Cover maintenance basics and daily checks.
- Show the team how to log issues clearly.
Use a final handover list before the truck leaves
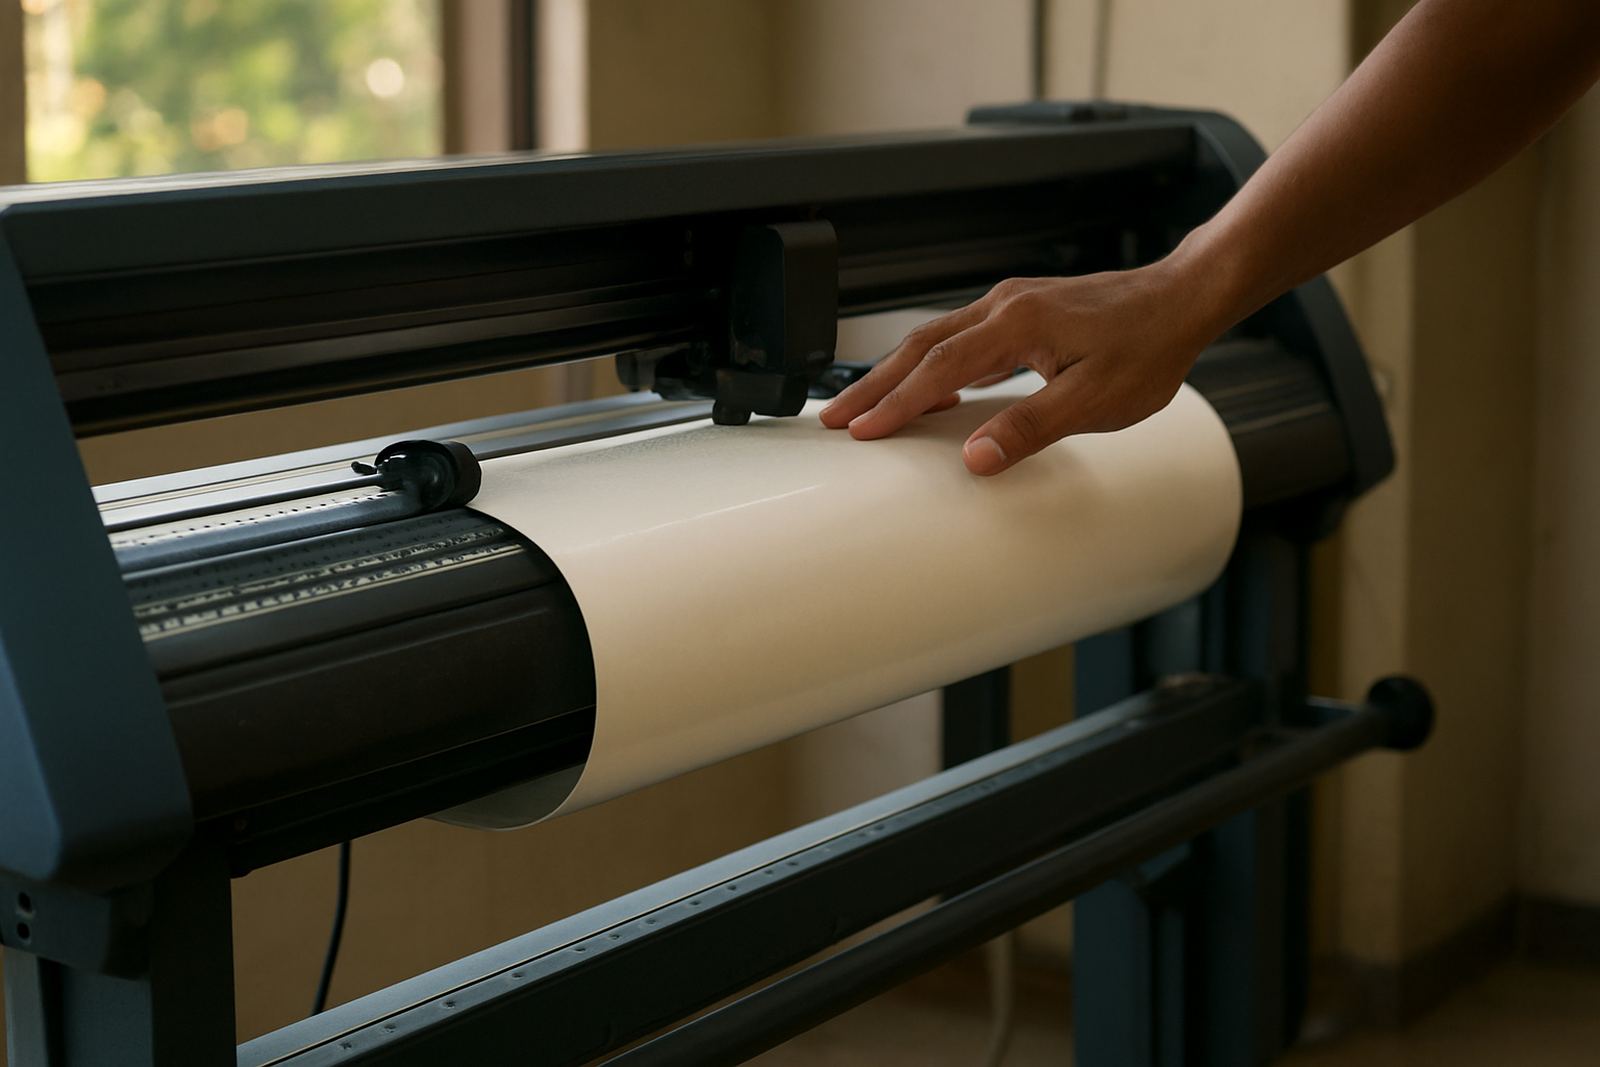
The last step is a proper handover. Do not rely on memory. A final checklist should confirm that the machine powers on, reads media correctly, tracks straight and produces a clean test cut. Check that the tools are on site, the manual or support notes are stored safely, and the client knows who to call for help. It is a small step, but it can stop days of avoidable frustration.
At Contour Cutting, we treat national installs the same way every time: clear site checks, careful setup and practical training that matches the real job. Whether the cutter is going into Isando, Midrand, Sandton, Boksburg or further afield, the aim is to leave the client ready for production, not guessing. A proper handover saves money, and it keeps the first jobs moving without drama.
- Run a test cut and check the result under normal lighting.
- Confirm the site lead understands basic fault checks.
- Record support contacts and next service steps.
- Sign off only when the machine is ready for live work.