Why registration marks matter on print-and-cut jobs
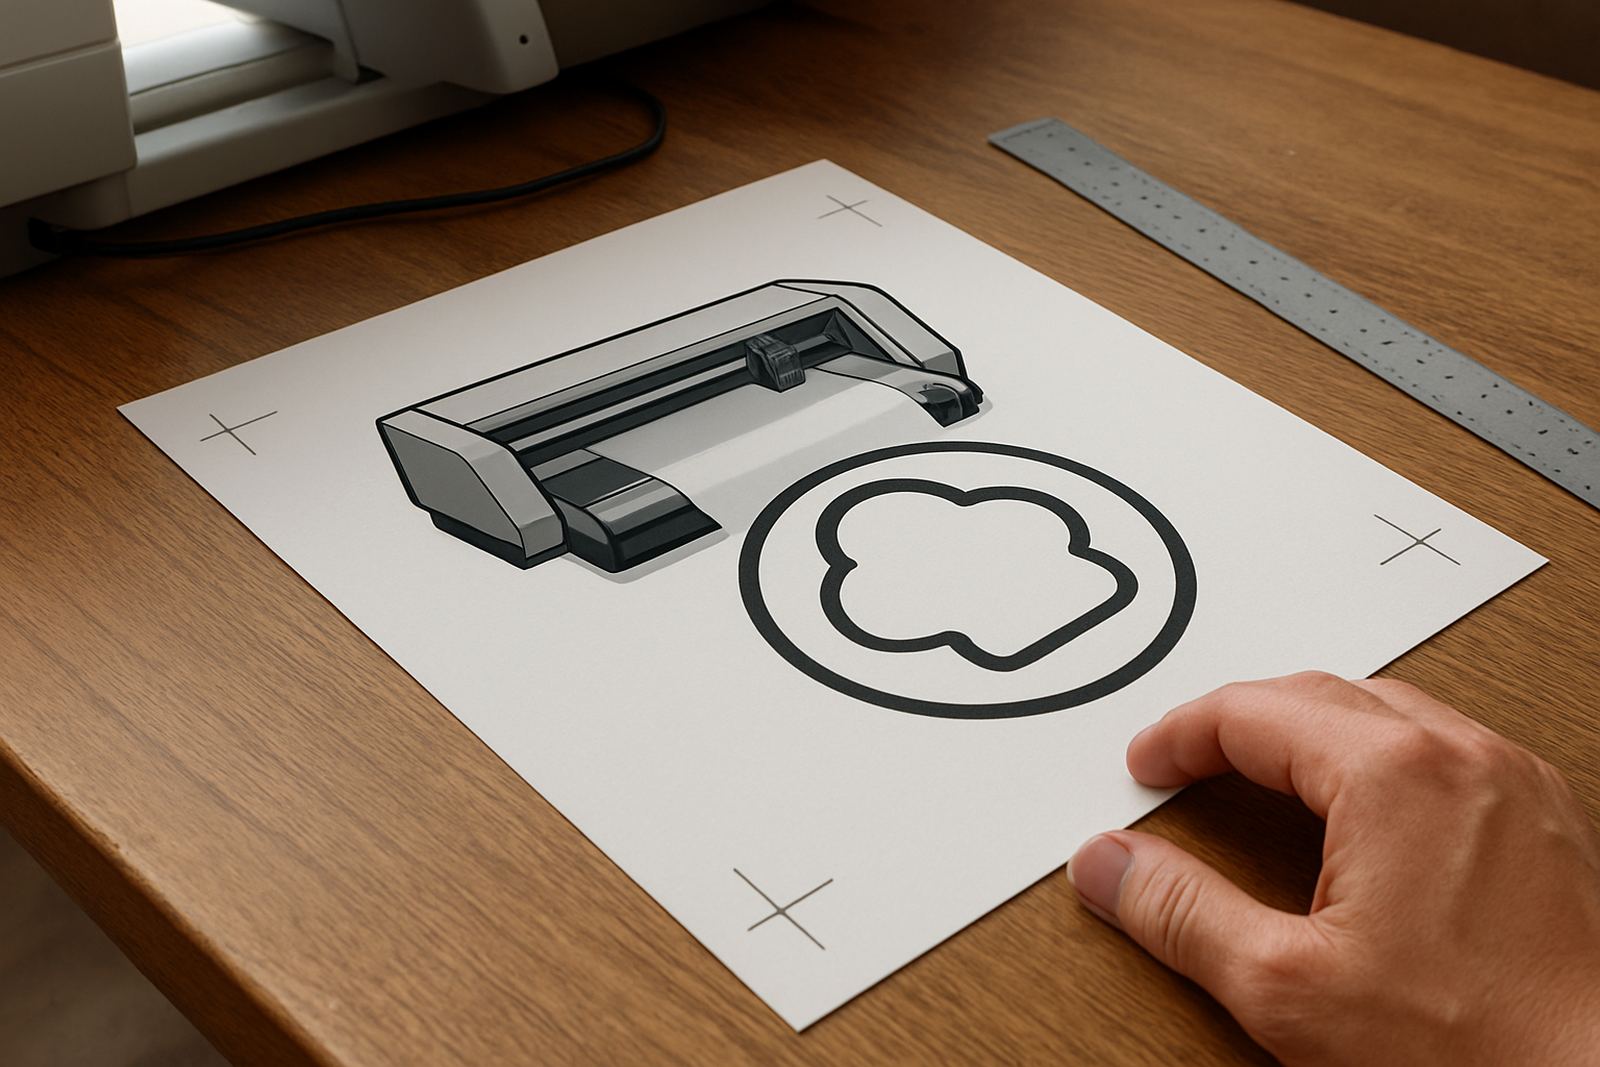
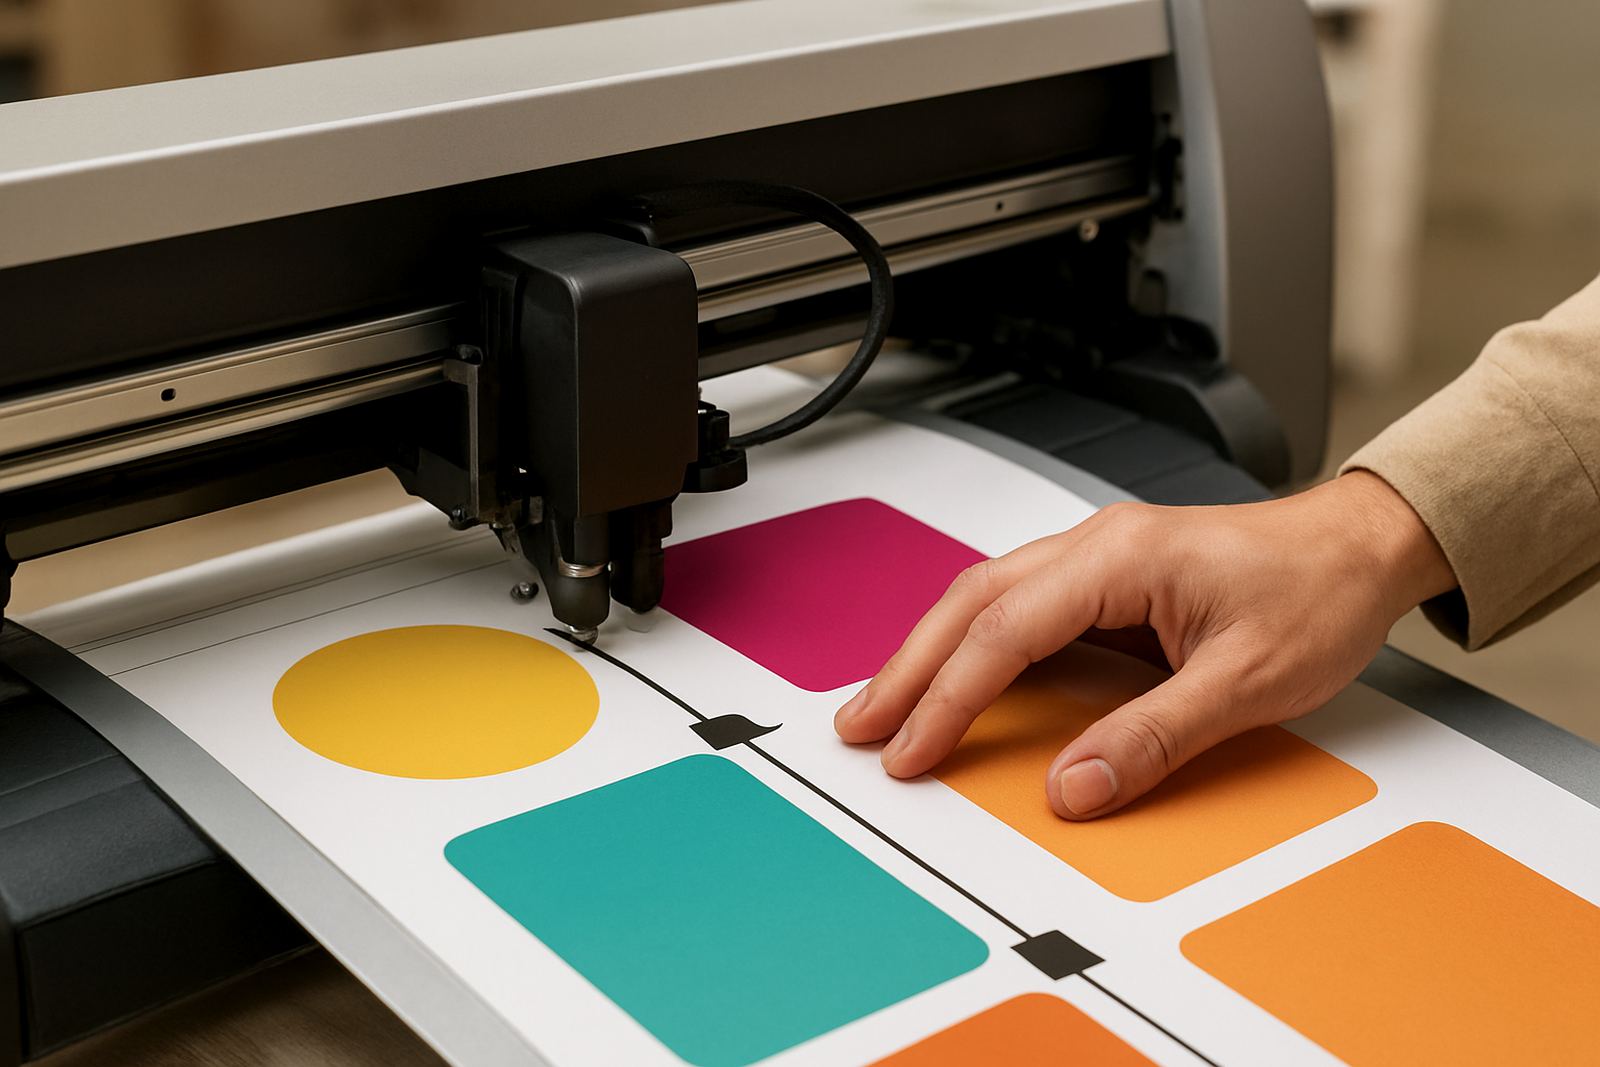
Optical registration marks are small printed targets that a cutter reads with a sensor before it starts the cut path. They tell the machine where the artwork actually sits on the sheet, which is vital when print and cut happen in two separate steps. Even a clean print can move a little during drying, handling or trimming, so the marks act as a fixed point of reference.
For signage shops in Johannesburg, that matters on everything from short-run promo labels to contour stickers for vehicle graphics. A millimetre off on a batch of 500 labels can mean wasted vinyl, unhappy clients and extra labour. Good registration setup helps the cutter follow the shape as intended, not where the operator hoped it would be.
- Marks help correct small print shifts.
- They reduce drift on longer cut paths.
- They improve repeatability across batches.
How the cutter reads the marks
The cutter’s sensor looks for the printed marks, then maps the artwork area between them. In a simple job, it finds the corner marks, confirms the sheet size, then calculates the exact cut position. On more detailed artwork, the machine may use several marks to check alignment from more than one angle.
If the marks are too faint, too glossy or placed too close to the cutline, the sensor can struggle. That is when operators start seeing missed starts, re-scans or cuts that wander. On some materials, especially reflective labels and laminated prints, it helps to keep the mark area clear and give the sensor a plain black target it can see without confusion.
- Use strong contrast between mark and background.
- Keep marks outside the finished artwork.
- Leave enough quiet space around each mark.
Artwork setup that saves time later
Most registration problems begin in the artwork file, not at the cutter. The marks need to be positioned with enough margin, the cut path needs to be accurate, and the printed job should allow for a stable reading area. If the design is packed too tight to the edge, the cutter may not have enough room to find the marks or complete the contour cleanly.
In practice, a tidy setup usually starts with standard mark placement, sensible spacing and a cut line that matches the finished outline exactly. Keep the artwork and marks on the same layer structure used by your team, so nobody removes or shifts them before printing. That sounds basic, but in a busy production room with 10 jobs on the go, small errors add up fast.
- Place marks far enough from the trim edge.
- Confirm the cut line is closed and continuous.
- Check that scaling is locked before output.
Material choices that affect registration accuracy
Some materials are easier for the sensor to read than others. White vinyl with a matte laminate is usually straightforward. Clear film, silver media and glossy finishes can be trickier because light reflection can interfere with the sensor. In coastal areas like Durban or Port Elizabeth, humidity can also cause media to curl slightly, which changes how the sheet lies under the head.
In Gauteng, dust and static are common issues, especially in dry months or during load-shedding when climate control stops and the room heats up. If the sheet lifts at one corner or drifts while loading, the registration scan may be correct at the start and off by the end. That is why clean rollers, flat media and proper storage make a real difference. You cant expect a precise cut from warped stock.
- Store media flat and away from heat.
- Let printed sheets dry before cutting.
- Handle laminated jobs with clean hands to avoid scuffing the marks.
A Johannesburg example from a busy production floor
At a print shop in Isando, a run of contour-cut safety labels had to be ready for delivery to Midrand by the next morning. The print side looked perfect, but the first test sheet showed the cutter reading the marks late because the laminates edge had lifted slightly after the afternoon heat. The operator slowed the feed, re-flattened the sheet and adjusted the mark spacing on the next run.
That simple change cut the reject pile down to almost nothing. The job went out on time, and the client received labels that matched the shape exactly, not slightly oversized or clipped at the corners. In a production environment, this is where registration work pays for itself. One corrected setup can save hours of reprint and re-cut work.
For teams handling mixed volumes, the lesson is clear: check the sheet, not just the file. If the media has moved, the marks can only do so much.
Common mistakes and how operators avoid them
Most registration faults repeat in predictable ways. The sensor is not usually the real problem. More often, the issue is a file exported wrongly, marks placed too close to artwork, or a machine loaded slightly skew. A quick pre-run check catches most of these faults before the first full sheet is cut.
- Faint marks: Reprint with stronger black and better contrast.
- Skewed loading: Square the sheet before the sensor scan.
- Over-laminated marks: Keep gloss off the mark area where possible.
- Wrong scaling: Verify print size against the cut file.
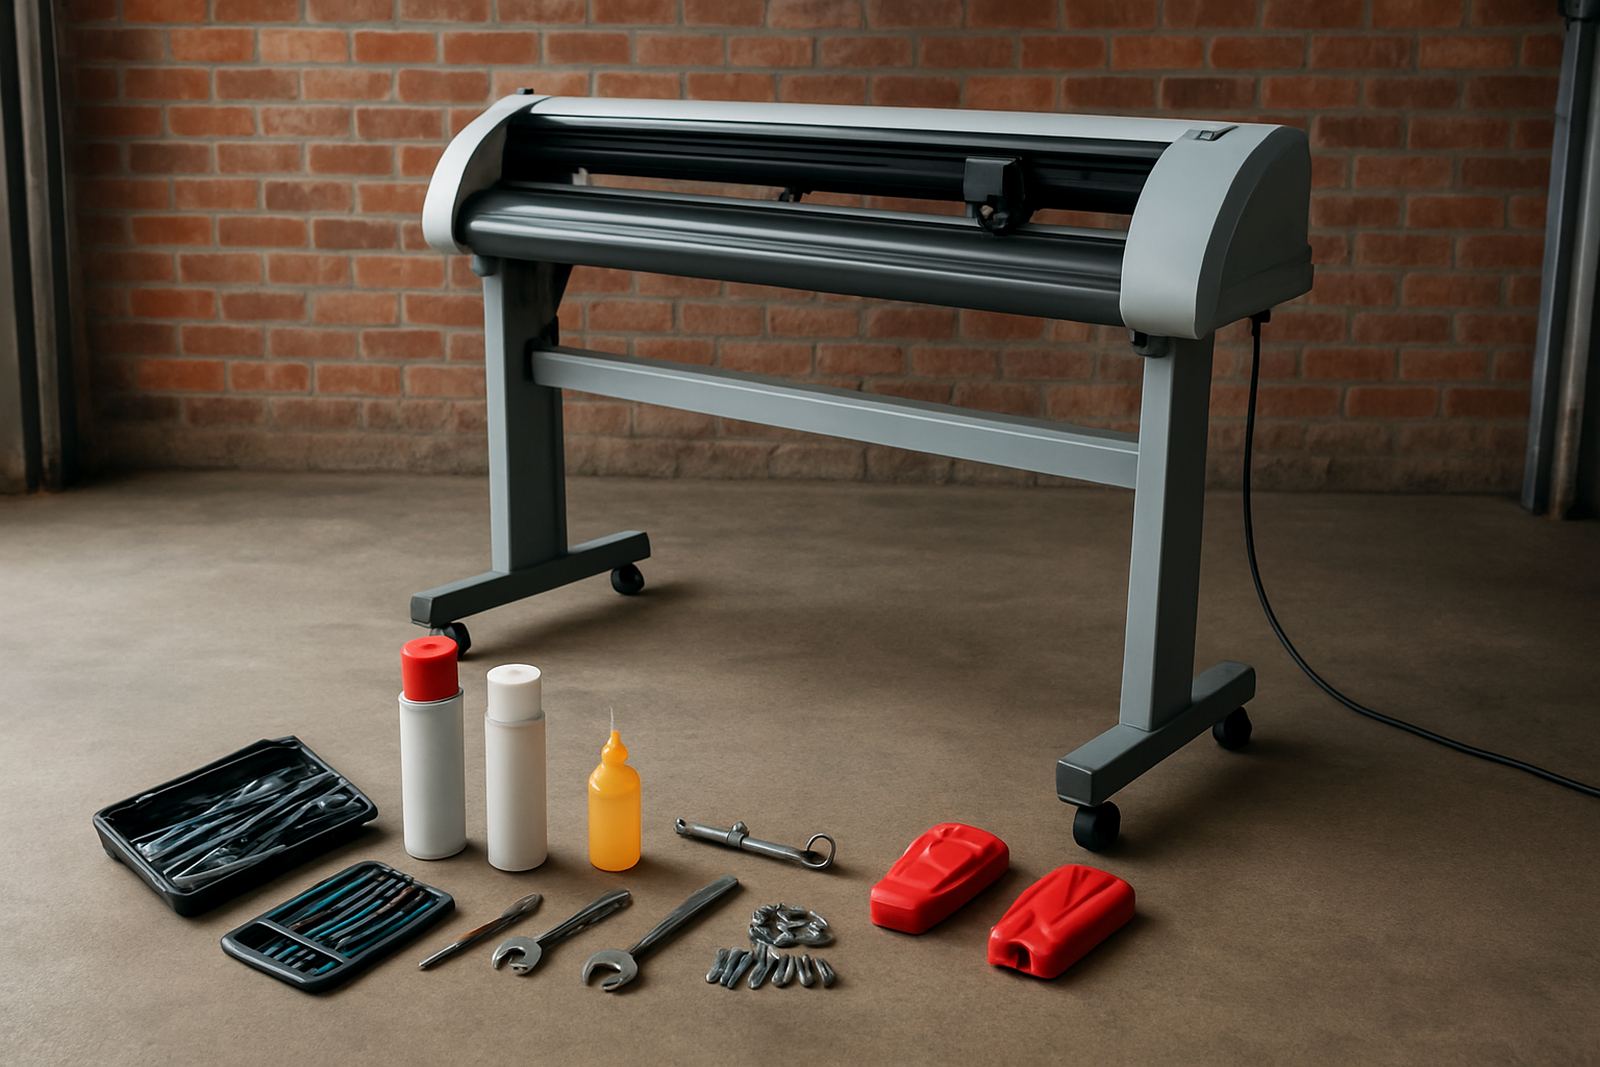
- Dirty sensor area: Clean the read head and surrounding path.
When a cutter misses more than once on the same job, stop and inspect the basics. Pushing through usually creates a bigger mess and another stack of waste.