Start with the floor, not the artwork
A floor graphic only performs well if the substrate is ready for it. Concrete, polished tile, sealed vinyl, painted screed and epoxy all behave differently, so the first step is to identify the surface and how much traffic it carries. A mall entrance in Sandton needs a different prep standard to a short-term promo in a Boksburg showroom. If the area gets trolleys, heels or frequent cleaning, the adhesive and the print face must be chosen with that abuse in mind.
Before anything is printed, check for dust, polish residue, silicone, floor wax, old adhesive and uneven patches. Even a clean looking floor can hide release agents that stop proper bonding. On newly finished floors, make sure sealers and paints have fully cured. Rushing this step is where many installations fail in the first week, especially on busy sites where staff are keen to open and the contractor is under pressure.
Choose the right material for foot traffic and cleaning
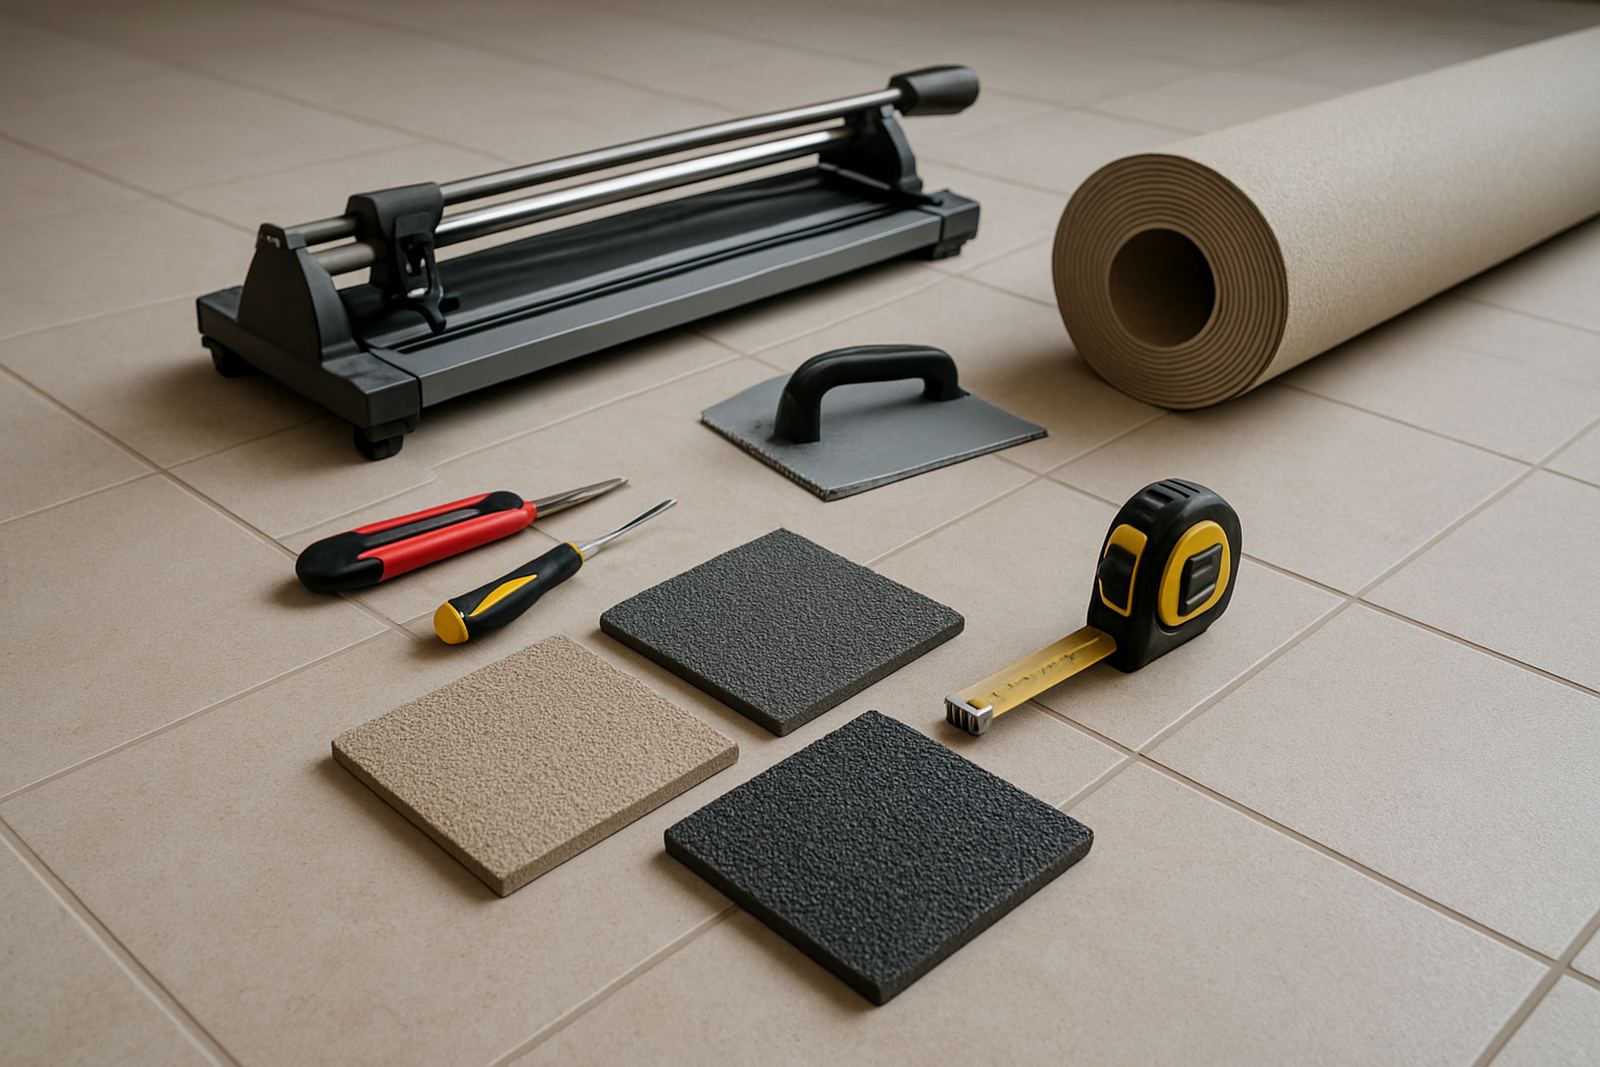
Not every printed sticker is safe for floors. A proper floor graphic normally needs a slip-rated laminate or textured surface, plus an adhesive that can handle traffic and routine cleaning. If the site uses strong detergents or frequent mop washing, the film needs to resist edge curl and surface wear. For short term promotions, removal should be clean and leave minimal residue. For long-term wayfinding, durability becomes the main concern.
- Anti-slip finish for indoor walkways, entrances and queue areas
- Suitable adhesive for tile, sealed concrete or smooth vinyl
- Print ink and laminate that can tolerate scuffs and cleaning
- Size matched to the walking line, not just the available space
- Removal plan if the campaign is temporary or seasonal
In Johannesburg humidity is not the same as Durban, but moisture from mopping, tracked rainwater and air-conditioned condensation still affects bonding. In coastal branches the prep has to be even more careful because dampness can creep in under the film if the floor is not properly dry.
Clean, dry and flat beats clever later
The best prep is plain discipline. Sweep first, then degrease, then dry again. If the floor carries dust from nearby building work or forklift movement, clean it twice. For outdoor covered areas, wait until the surface is free of moisture all the way through the pores, not just dry to the touch. On some sites, a hand wipe looks fine but leaves enough residue to weaken the bond. That small miss can cost a reprint and a return trip.
Any chips, grout gaps or broken tiles should be addressed before install. A floor graphic is not filler, so if there are raised edges or cracked concrete, the printed piece can bridge over those faults and wear out unevenly. For tiled floors, pay attention to grout lines because heavy foot traffic will push wear into the seams. The flatter the base, the cleaner the finish and the longer the graphic stays put.
Cut lines and registration must be set before output
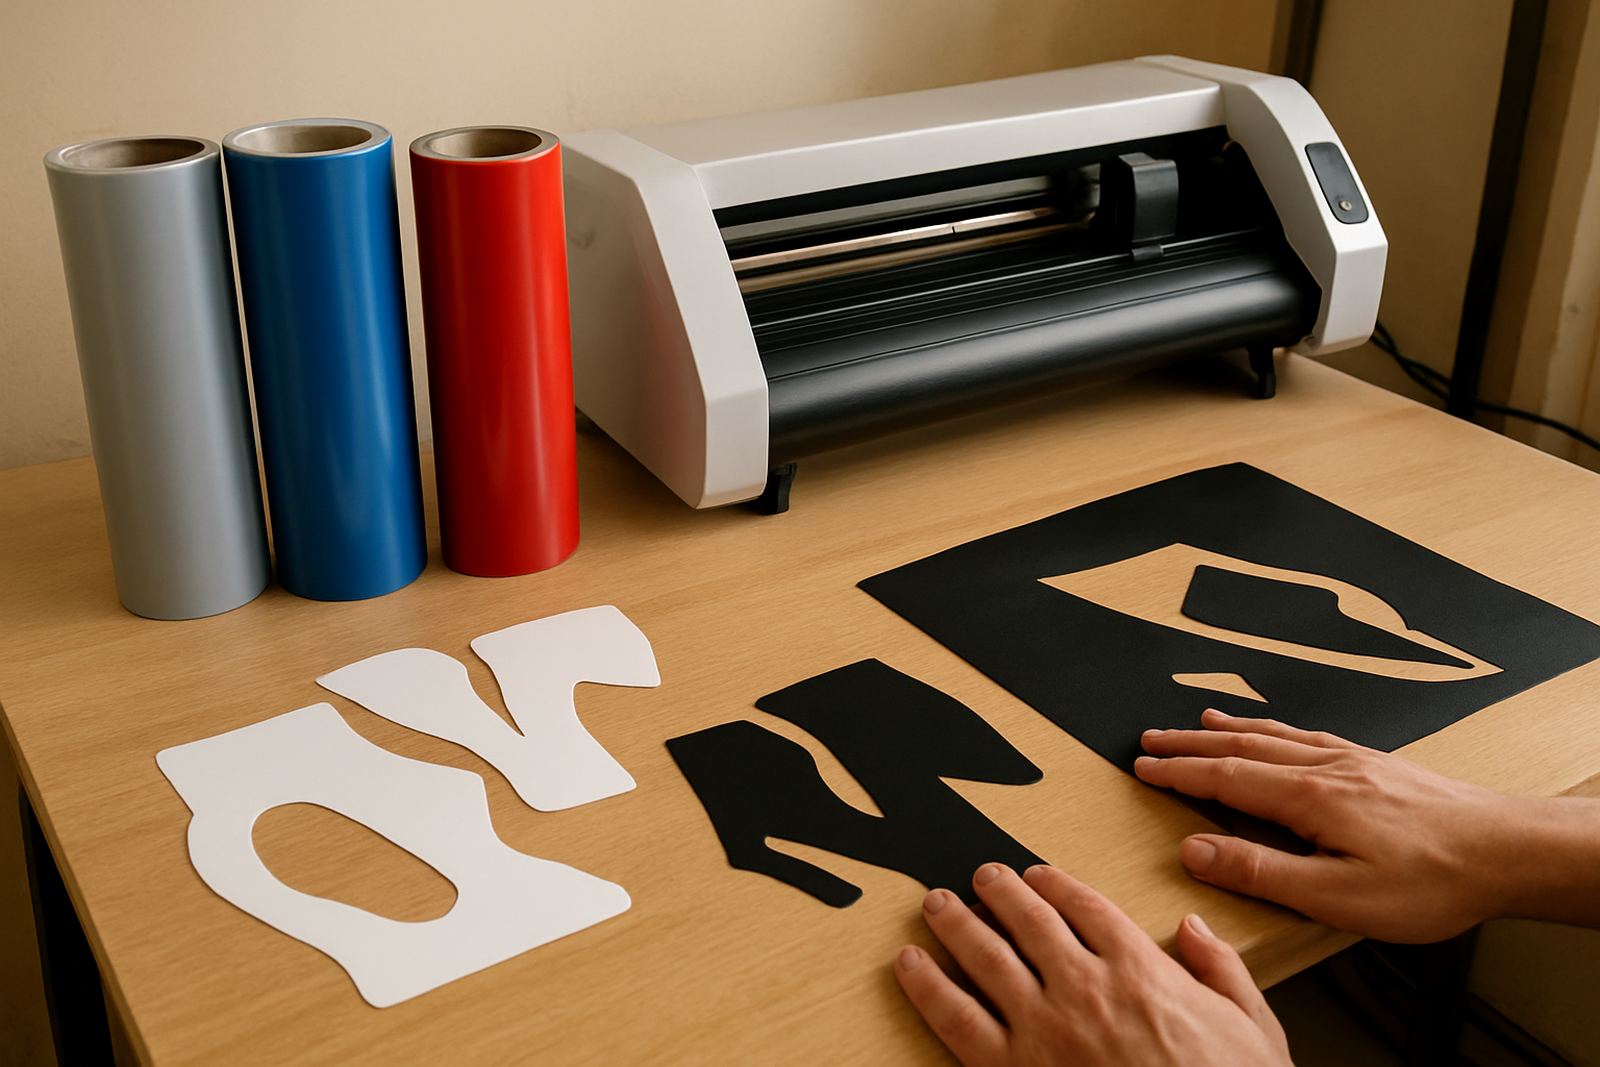
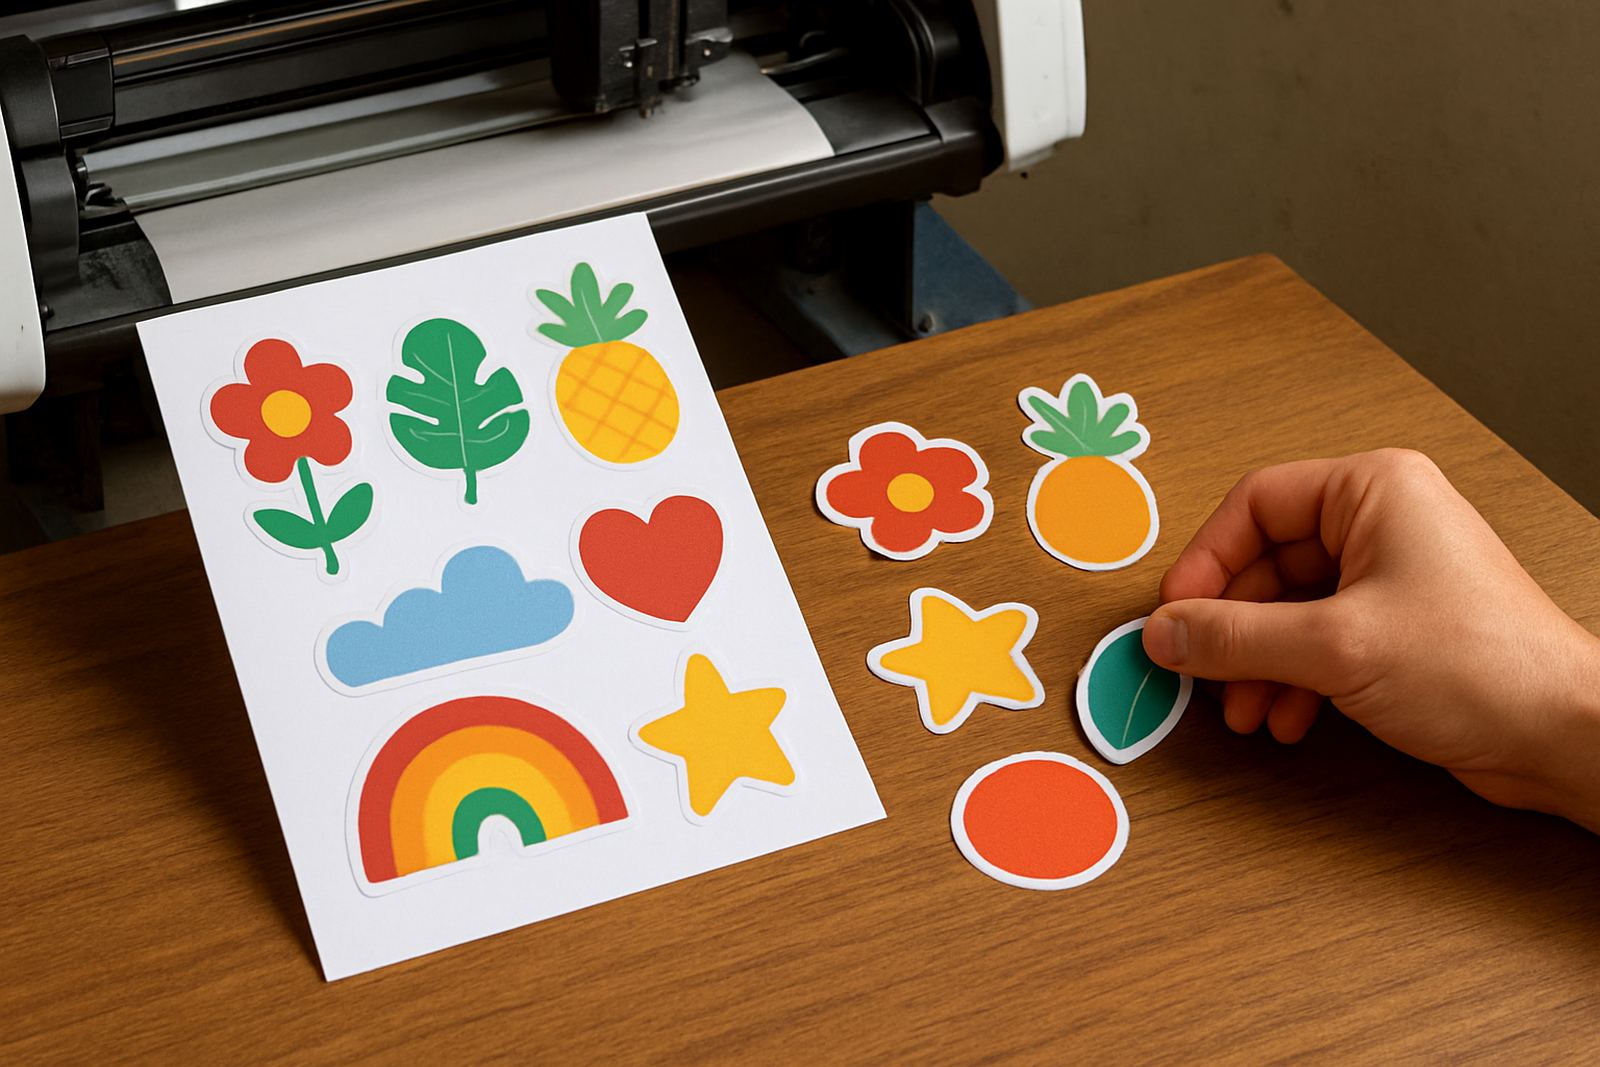
Floor graphics usually need accurate cut lines because the shape is often part of the message. Directional arrows, brand footprints, safety prompts and promotional icons all depend on a clean contour cut. If the registration marks are off by even a few millimetres, the outline can miss the print and leave a white halo or trim too close to the image. That shows up badly in a shopping centre where people see the floor at close range.
For multi-panel jobs, keep the artwork simple enough for installation alignment. Very fine points, tiny internal cut outs and thin bridges can lift early on floors with heavy traffic. If the job will be laid by a store team rather than an installer, the shape should allow for easy positioning and a little forgiveness. That is good preperation for fewer call backs later.
- Use clear registration marks and a proof that matches the final size
- Check that contour paths do not clip text or small icons
- Allow for trim tolerance on curved or irregular shapes
- Keep tiny details to a minimum where traffic is heavy
Plan the install around trading hours and load-shedding
Floor graphic prep is not only about the material, it is also about timing. Many South African sites cannot stop trading for long, so installs often happen before opening, after closing or in short access windows. That means the floor must be cleaned and left to settle before the applicator starts. If the space is still warm from mopping, a damp patch under the graphic can reduce adhesion.
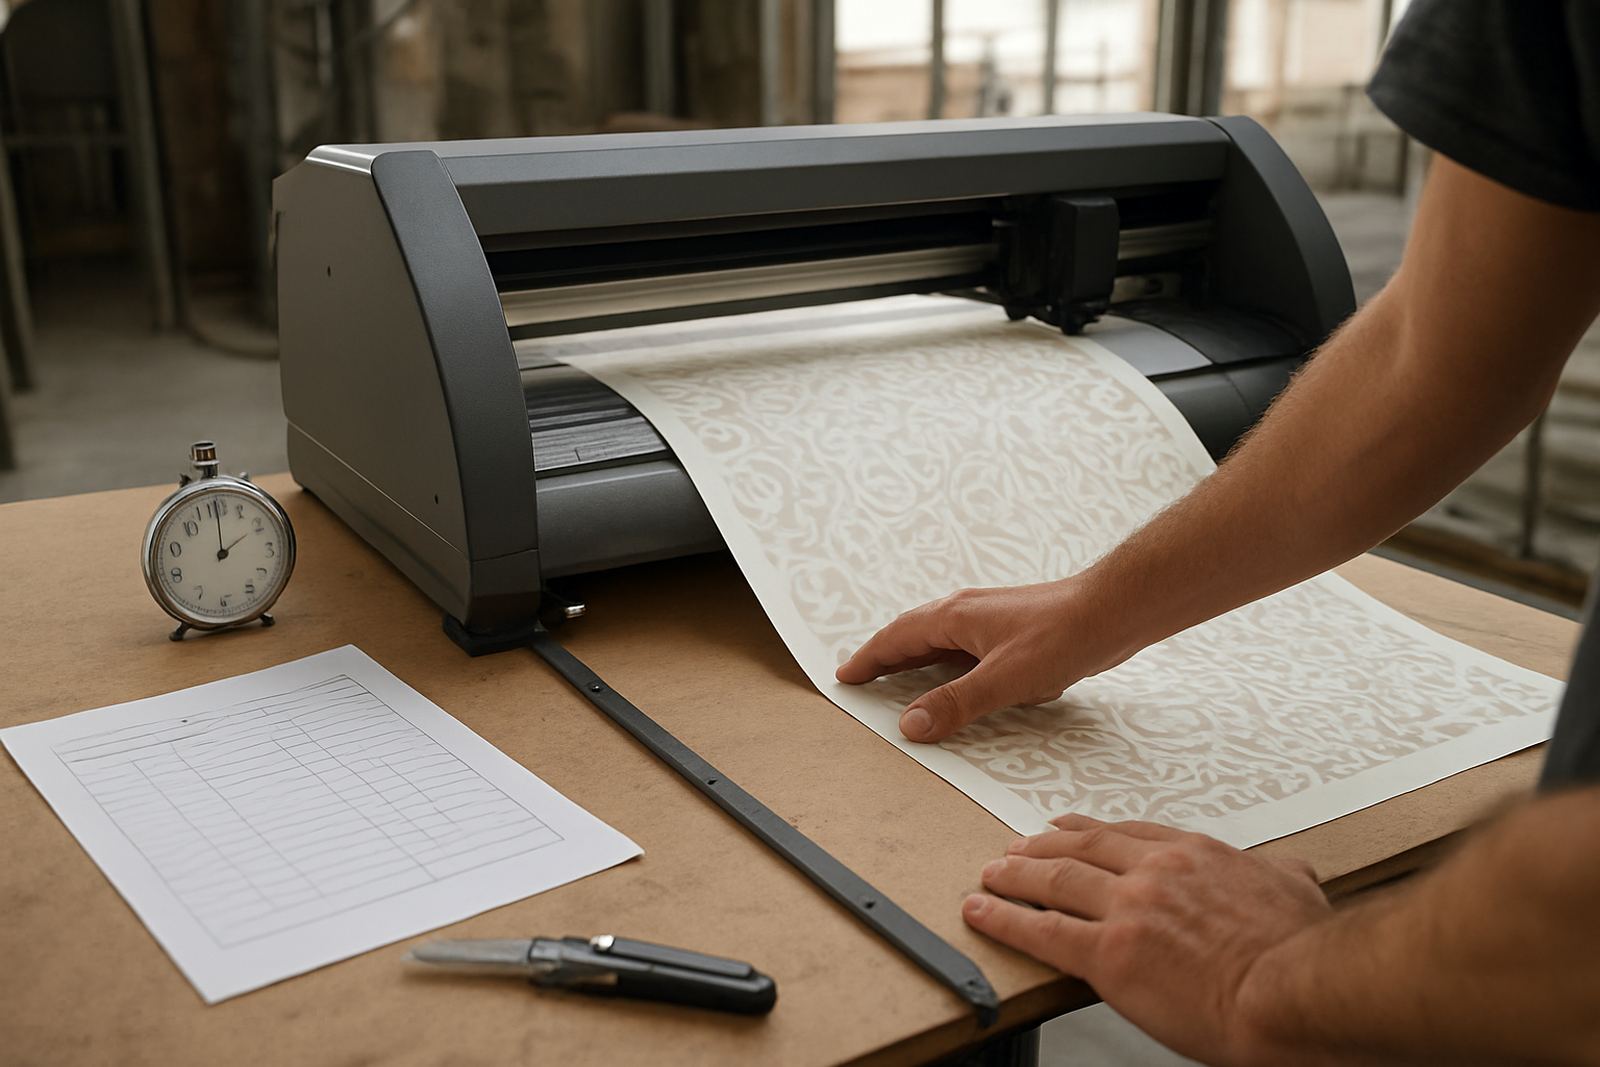
Load-shedding also matters when the job includes print drying, cutting and lamination. If power is unstable, production needs a plan for file handling, machine shutdown and safe restart. A cutter that loses position because of a bad stop can ruin a run of floor decals. On larger rollout jobs, keep the sequence tight so printed material is identified, sorted and installed in the right order without mix ups.
Use the right prep on safety, compliance and public access
High-traffic floor graphics are not just marketing. They can guide queues, support social distancing, direct foot flow or warn about a wet surface. In those cases the message must stay readable from standing height and the graphic cannot create a trip risk. Keep edges flush, avoid thick build-up and make sure the design does not sit across a crack, drain or uneven threshold.
Where municipal or site rules apply, especially in shopping centres, airports or public buildings, check whether temporary floor media needs approval. Some sites want proof of anti-slip performance or a method statement before installation. For event work in Johannesburg, Midrand or Germiston, venue management may also want install and removal times in writing. It saves everyone trouble if the prep pack includes floor type, size, placement, curing time and cleaning instructions.
A local example from a busy retail walkway
Take a midweek promotion in Isando where a retailer needs floor arrows leading customers from the entrance to a display bay. The walkway gets rainwater from the front door, trolley wheels from deliveries and cleaning twice a day. The prep starts with a surface check, then a full clean with the correct degreaser, then drying time before application. The graphic is cut with generous margins so the arrow stays legible even as the edges wear.
Because the store cannot close, the install is done after hours and the manager is given a simple handover: no wet mopping for the first curing period, no harsh scrubbers on the edges and no dragging of display stands over the print. That kind of preperation sounds basic, but it is what keeps the floor graphic neat for the full campaign instead of peeling by the weekend.
- Confirm floor type and traffic level before printing
- Clean, degrease and dry the surface fully
- Use anti-slip media suitable for the site
- Check contour cut accuracy and registration
- Allow cure time before heavy cleaning or traffic