Why transfer film behaves differently on a cutter
Heat-transfer film is not the same as standard vinyl. It is often softer, stretchier, and more sensitive to blade depth, which means a setting that works on self-adhesive vinyl can fail on garment film. If the blade is too deep, it scores the carrier and makes weeding messy. If it is too light, corners lift or small letters stay attached and the job slows right down.
For apparel work, the goal is a kiss cut through the top layer only. That sounds simple, but transfer films vary a lot in thickness, finish, and carrier stiffness. Matte films for cotton tees, reflective films for hi-vis wear, and stretch films for sports jerseys all need a slightly different approach. In a busy shop in Isando or Midrand, that means keeping a record of settings for each media type instead of guessing each time.
- Test a small corner before running the full sheet.
- Use the correct cut force for each film type.
- Keep the carrier clean and free of dust.
- Check whether the film is meant for a hot or cold peel.
Artwork cut lines that save time at the machine
Most cutting problems start before the blade even moves. Transfer film for apparel needs clean vector paths, closed shapes, and proper spacing between tiny details. Thin script fonts and overcomplicated logos can look fine on screen but turn into a weeding headache once cut. If you are preparing jobs for staff shirts, school events, or sports kits, simplify where you can and keep the artwork true to the garment size.
It also helps to think about production. A 300 mm wide chest logo cuts faster and weeds faster than a sheet packed edge to edge with tiny badges. Good nesting is useful, but leave enough room between objects so the blade does not nick the next shape. Small traps in the artwork, like open paths or double outlines, can waste film and time. And yes, one missing node can cost you a full re-cut.
- Convert text to outlines before sending to the cutter.
- Remove stray points and overlapping shapes.
- Leave practical gaps between repeated logos.
- Match the final cut size to the garment placement.
Loading media without wrinkling the carrier
Transfer film must sit flat through the machine. Any skew, curl, or ripple can throw off the registration on a long run. This matters even more on wider machines or when cutting from rolls, because the film can drift slightly under tension. In humid coastal areas, film may soften and pick up more curl, while in dry inland conditions static can make sheets cling in awkward ways. A good operator checks both feed alignment and the condition of the media before the first cut.
On a production floor in Johannesburg, a practical routine is to store film in the same room where it will be cut for a few hours before use. That gives the material time to settle. If sheets have been packed tightly, flatten them first. If rolls have a memory curl, slow down the feed and avoid forcing the edge under the pinch rollers crooked, because once the film starts running skew it will stay that way.
- Check that the leading edge is square before loading.
- Do not over-tighten roll tension.
- Keep the pinch rollers on clean, usable track marks.
- Let cold stock acclimatise before production.
Blade pressure, speed and the clean kiss cut
For most heat-transfer films, the safest method is to start conservatively and build up. Too much pressure can cut into the carrier and make weeding difficult, while excessive speed can pull corners loose on detailed work. A slower test run often gives a better result than trying to push through a large batch. On detailed lettering for uniforms or branded hoodies, a neat cut at moderate speed is usually better than a fast job with torn edges.
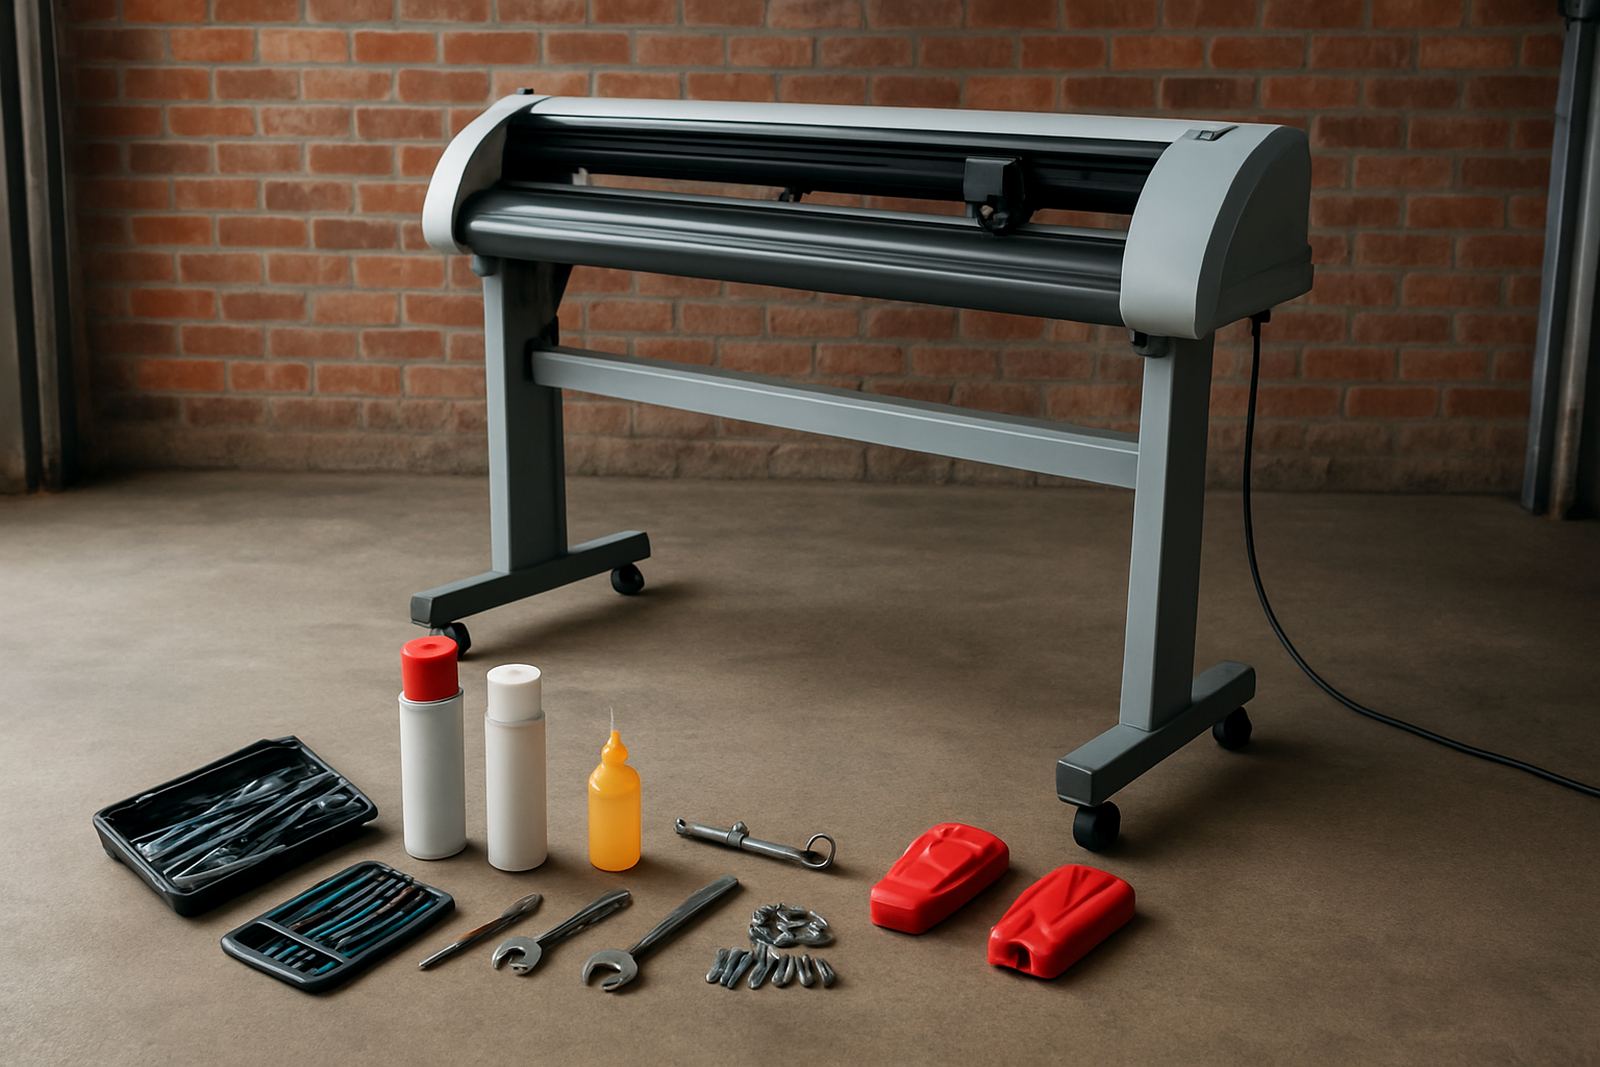
Pay close attention to blade wear. A blade that has already done a lot of work on thick media may leave ragged edges on transfer film. If the cut starts to look fuzzy or the corners begin to lift, do not keep adjusting the artwork first. Check the blade, holder, and pressure setting. The cutter can only do so much if the blade tip is blunt or the holder has play in it.
One common mistake is increasing pressure to solve a simple problem. That often creates another one. Adjust one setting at a time, test again, and keep a note of what changed. A few extra minutes at setup can save a costly reprint and re-cut later.
Weeding, lining up and pressing for apparel jobs
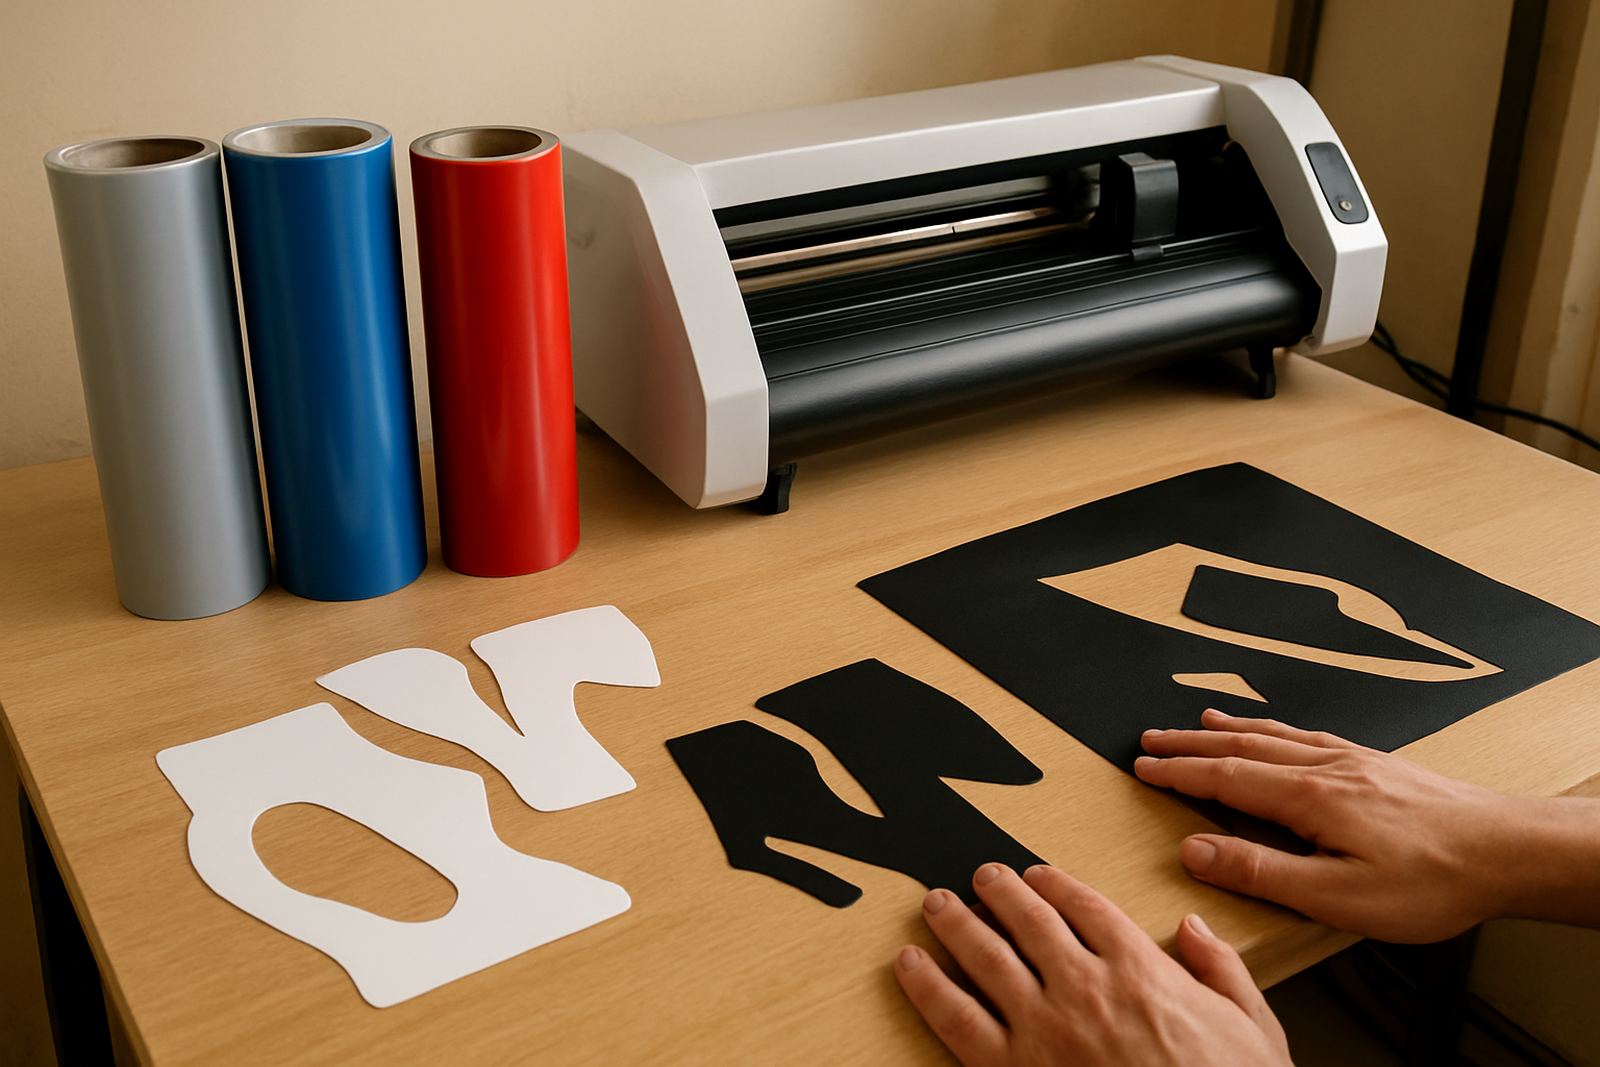
Good cutting should make the rest of the process easier. Once the film is cut, weeding needs a clean surface, decent lighting, and a method that suits the design size. Fine text and internal counters in letters such as O, P, and R need careful handling so the carrier does not lift. If the design is large, cut it into manageable sections and weed from one side to the other instead of rushing through the whole sheet at once.
After weeding, alignment for pressing matters just as much as the cut. Use a ruler, garment guide, or placement marks where needed. Sportswear usually needs a different position from a corporate golf shirt, and dark garments can make small registration mistakes very obvious. In shops serving Sandton offices and township school teams on the same day, consistency keeps the work looking professional across very different orders.
- Weed on a clean, flat table with enough light.
- Keep a lint roller nearby for garment prep.
- Use consistent press time and temperature for each film type.
- Check whether the film needs hot, warm, or cold peeling.
A Johannesburg example: from sample runs to daily production
In a practical Isando workflow, a printer may receive a last-minute order for 40 branded staff tees and a small batch of event shirts for a client in Sandton. The artwork is approved after lunch, the film is loaded straight from storage, and the operator checks cut lines before sending the sample. If the first sheet weeds cleanly, the rest of the run can follow with much less risk. If not, the team adjusts blade pressure and rechecks registration rather than pushing ahead and hoping for the best.
That habit matters in South African production conditions where load-shedding can interrupt a shift, staff may be split across multiple jobs, and turnaround times are tight. A recorded setup for each media type helps the next operator pick up where the last one stopped. It also helps when technicians install cutters nationwide and train teams on media loading, registration calibration, and troubleshooting. A little structure in the cutting room saves money on wasted film, wasted shirts, and rework that nobody wants.
For transfer film, the winning formula is simple: clean artwork, correct setup, steady handling, and a press-ready finish. Get those parts right, and the cut becomes the easy part.