What application tape does in a real install
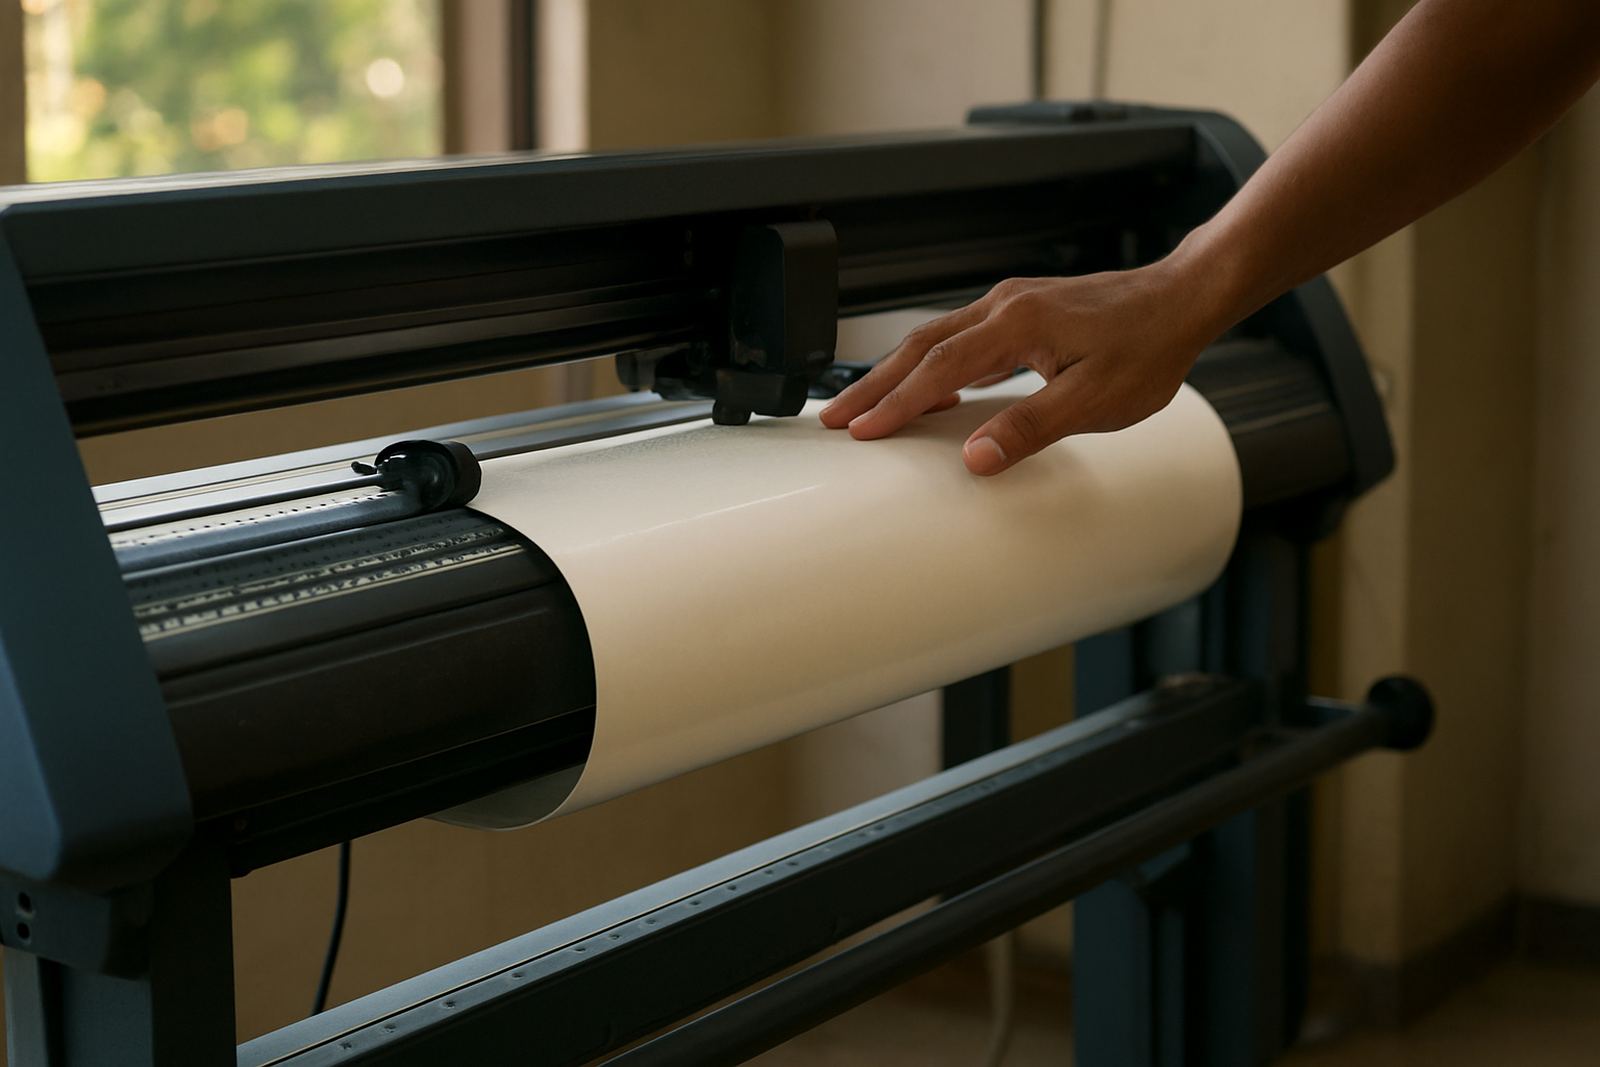
Application tape sits on top of a finished cut graphic and holds all the pieces in place while you lift the design off its release liner. It matters most when the artwork has thin strokes, small letters, fine lines or more than one separate part. On a simple single word you might manage by hand, but once the job gets busy or the design has tight spacing, tape keeps the spacing true.
In South African sign work, that usually means decals for shopfront glass in Sandton, fleet markings in Germiston, or direction signage for offices in Midrand. The aim is not just transfer, it is control. Good tape keeps the pieces aligned so you do not spend another 20 minutes re-picking letters from the table.
When you should use it and when you can skip it
Use application tape when the graphic must move as one unit from the backing paper to the final surface. That includes cut vinyl logos, window lettering, stencils, two-colour builds, and any artwork with islands such as the centre of an A or O. It is also useful when the surface is awkward, for example lightboxes, powder-coated panels, lightly textured walls or curved vehicle panels.
You can often skip it on oversized simple shapes, very large block letters, or short production runs where the material is easy to place by hand. Even then, it depends on the finish and the installer's experience. On a humid morning near the coast, or in a workshop where dust is moving around from other jobs, tape can make the difference between a clean lift and a re-cut.
- Use it for fine detail, multiple parts and layered graphics.
- Use it when the final surface gives little room for repositioning.
- Skip it only if the design is simple and the installer has full control.
Choosing the right tack for the graphic
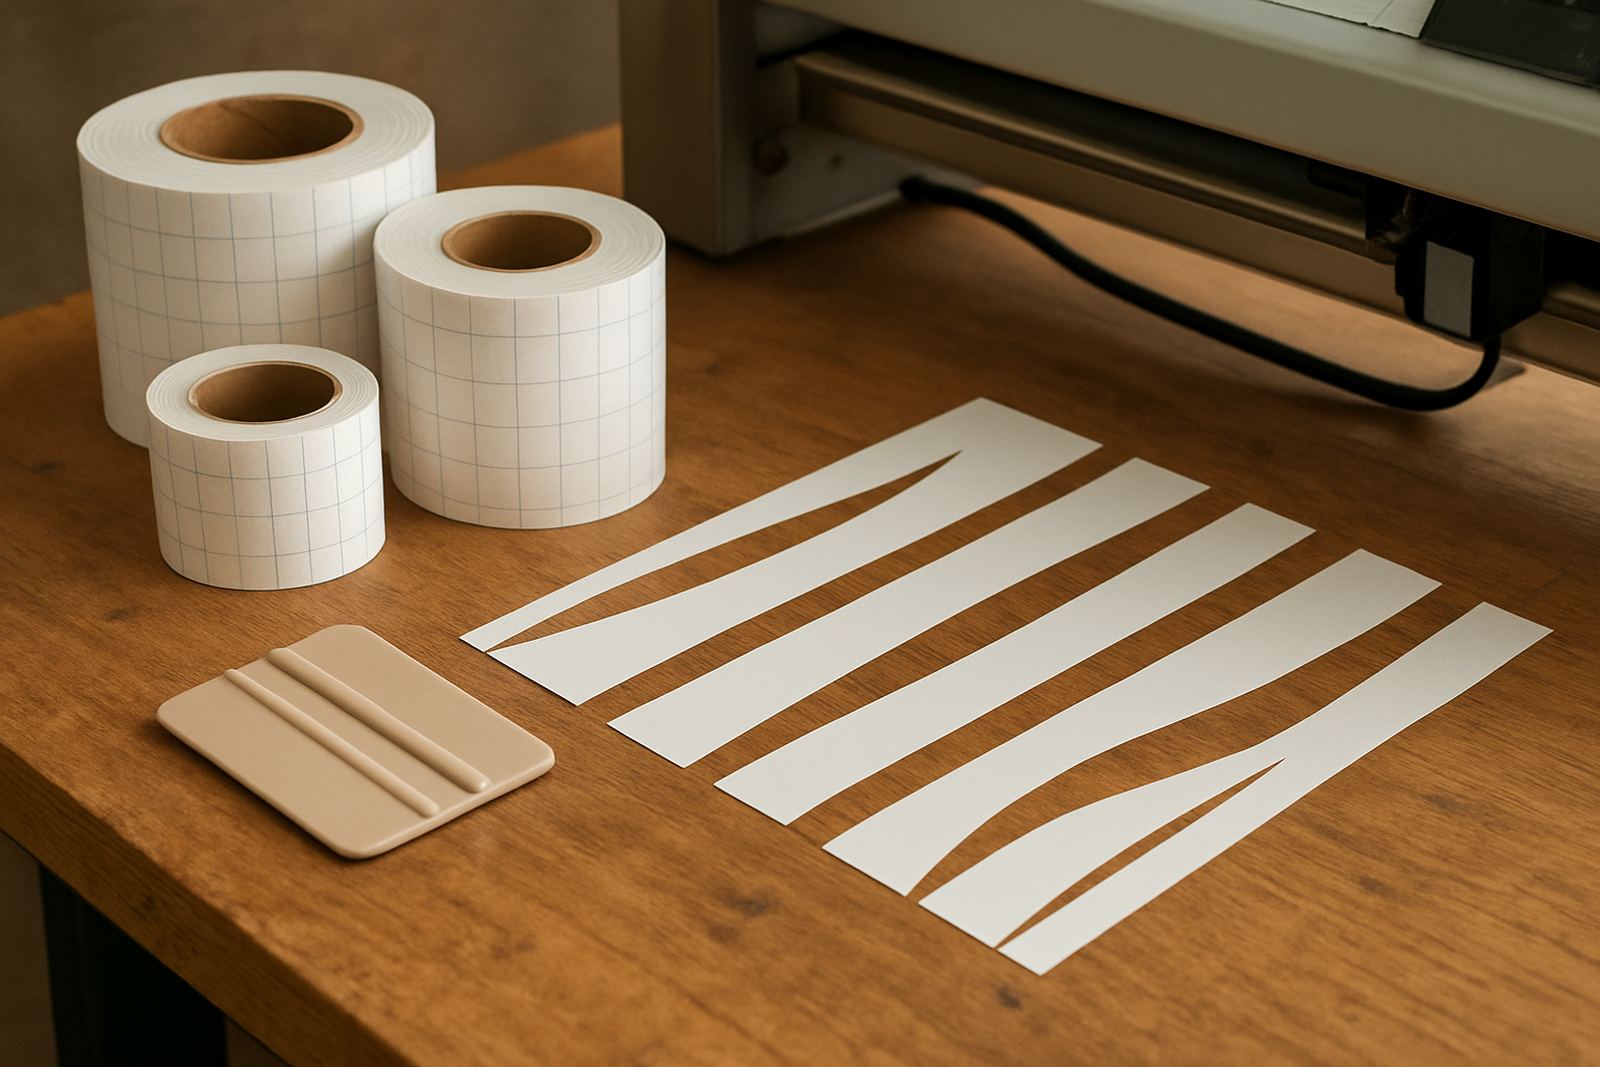
Not all application tape behaves the same. Low tack tape is better for delicate vinyl, frosted film details and jobs that must release cleanly after pressing. Medium tack suits general signage and promotional work. High tack is used when the vinyl is heavier, the transfer includes textured surfaces, or the design needs extra grip while lifting from the liner.
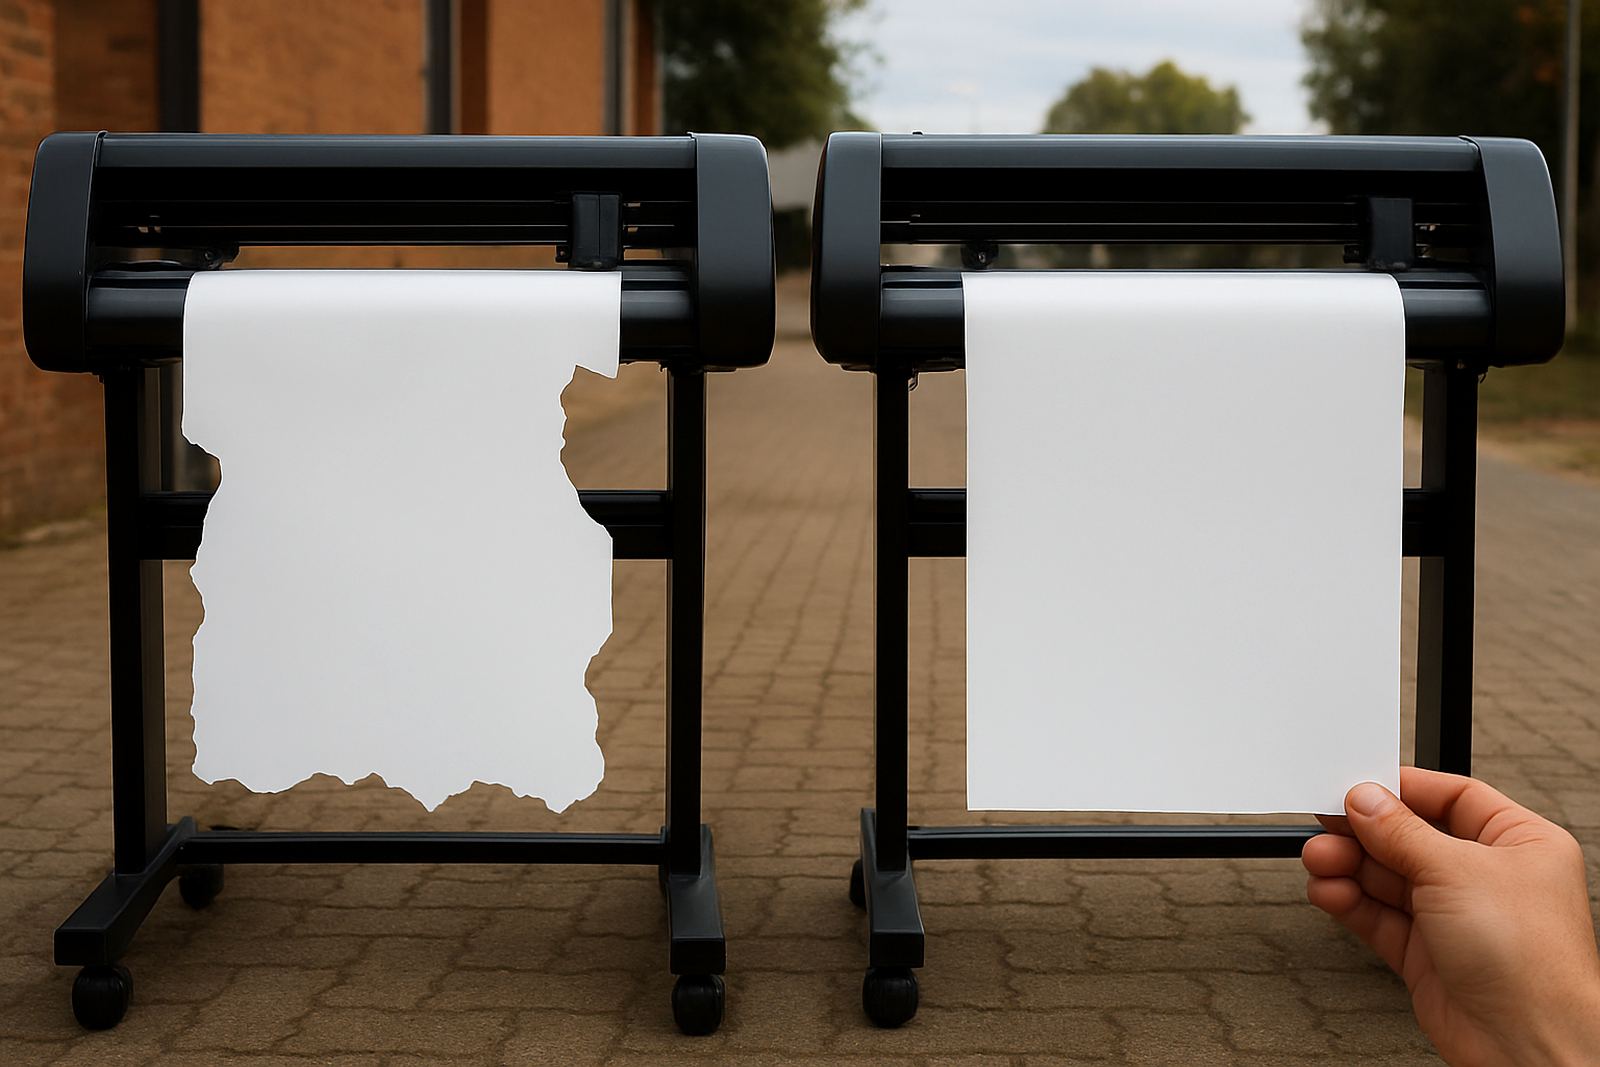
If the wrong tack is chosen, trouble starts quickly. Too strong and the tape can pull up small parts, especially with fresh cuts. Too weak and the graphic may stay behind on the liner or stretch while you are trying to position it. A good production room will match the tape to the film and the application method, not just grab whatever roll is closest.
- Low tack: fine detail, sensitive films, fresh prints.
- Medium tack: general vinyl lettering and signage.
- High tack: heavier cuts, textured surfaces, stubborn release liners.
How to apply it without bubbles or crooked transfer
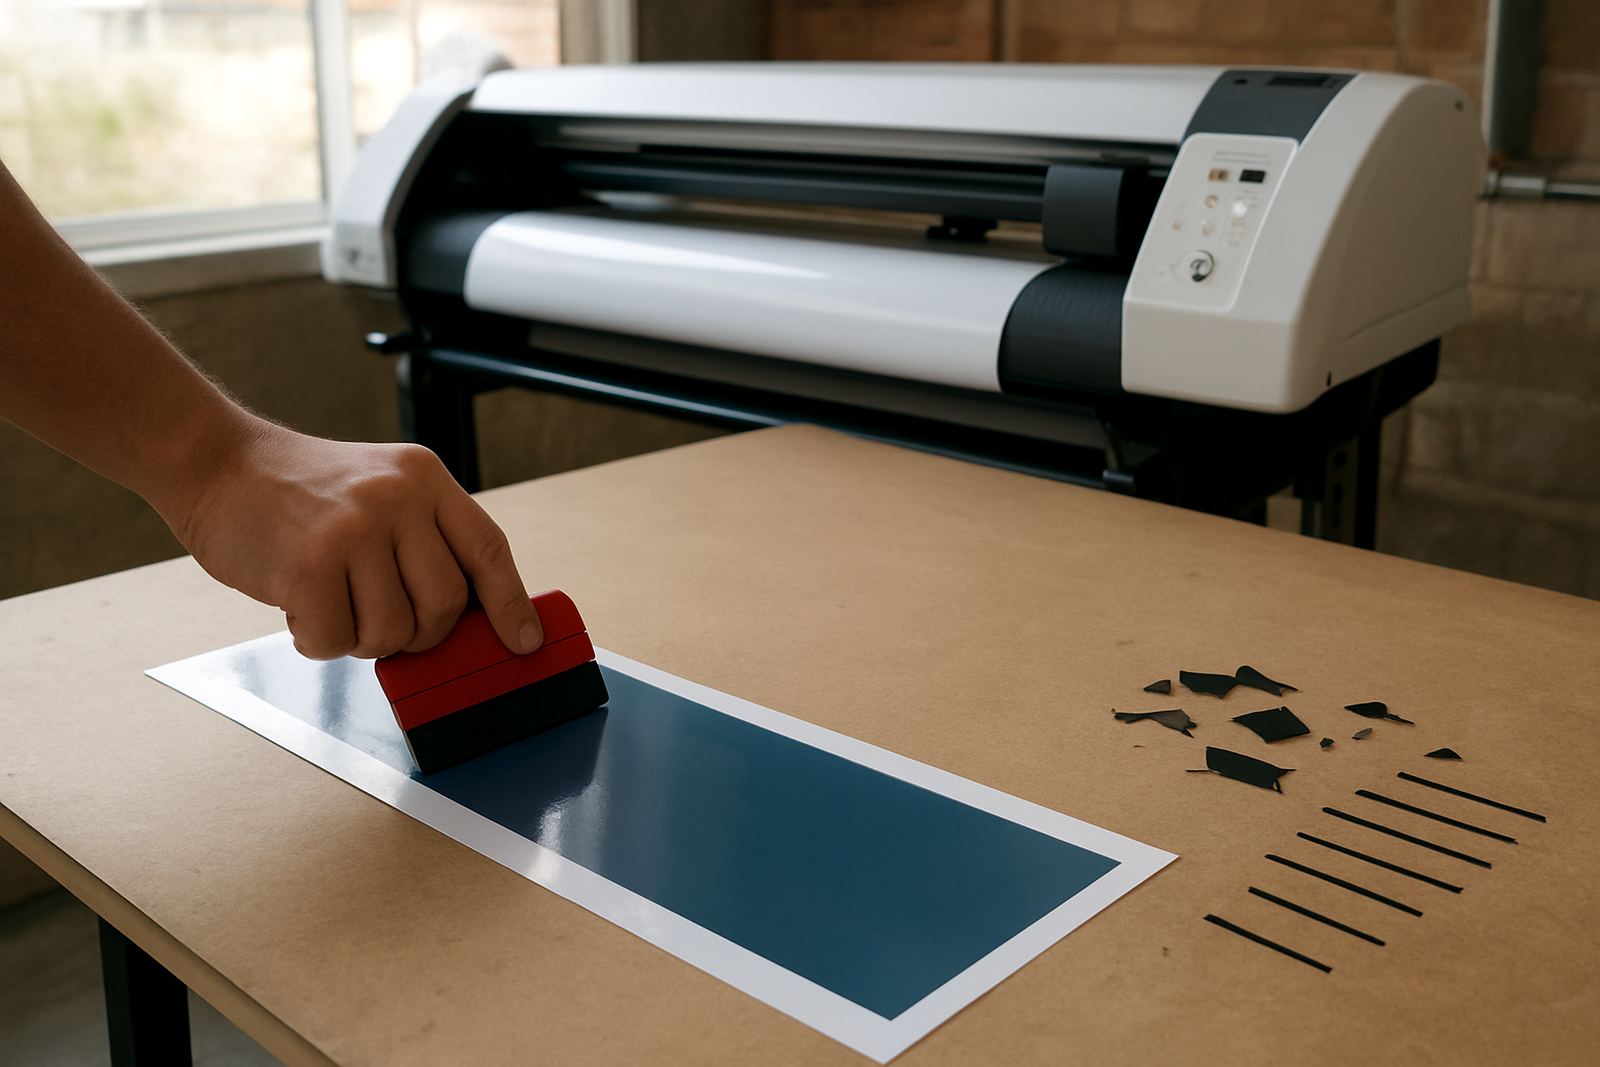
Start with a clean, flat workspace and trim the graphic to a sensible border. Weed the cut vinyl first, then lay the tape from one edge and press it down with a squeegee in overlapping strokes. Work from the centre outward so air does not get trapped. If the tape is too wide for the job, cut it down before you start. That small step saves a lot of wrinkling later.
Once the tape is on, check every fine element before lifting the graphic. If a letter starts to stay behind, put it back and burnish that area again. For longer runs, especially in production rooms where the load-shedding schedule is not always kind, it helps to keep the adhesive side of the tape off dusty benches and away from loose offcuts. A clean surface makes the difference between a neat lift and a frustrating rework.
Common mistakes that waste time and material
The biggest mistake is choosing tape after the vinyl has already been cut and weeded. That usually leads to the wrong tack or the wrong width. Another common problem is rushing the burnish stage. If the tape is not pressed firmly enough, some pieces release early and shift when you carry the graphic across the room.
Installers also get caught by temperature. Vinyl and tape behave differently in a cold Isando storeroom than they do on a hot panel in direct sun. If the material is stiff, let it settle to room temperature before you start. And if the job is going onto a dirty or damp surface, stop and fix the surface first. Tape can help with transfer, but it cannot make up for poor preparation.
- Do not choose tape after the cut is finished.
- Do not under-burnish the graphic before lifting.
- Do not apply to dusty, wet or oily surfaces.
- Do not ignore heat, cold or humidity on the day.
A Johannesburg example that shows the value
Think of a small signage run for a Sandton office reception area. The job includes a logo, a set of frosted glass privacy marks and a few thin line details around the entrance. Without application tape, each piece would need separate handling and the chance of misalignment would climb fast. With the right tape, the whole set transfers in one controlled move and the spacing stays true.
That same logic applies to fleet decals leaving a Boksburg workshop or window graphics fitted in Randburg on a windy afternoon. In each case, the tape is not the headline, but it is what keeps the final result tidy. In practical terms it means fewer returns, fewer wasted metres and less time on site with a client waiting for the finish. And that is where careful production starts to pay for itself.