Start With Clean Artwork and Proper Cut Lines
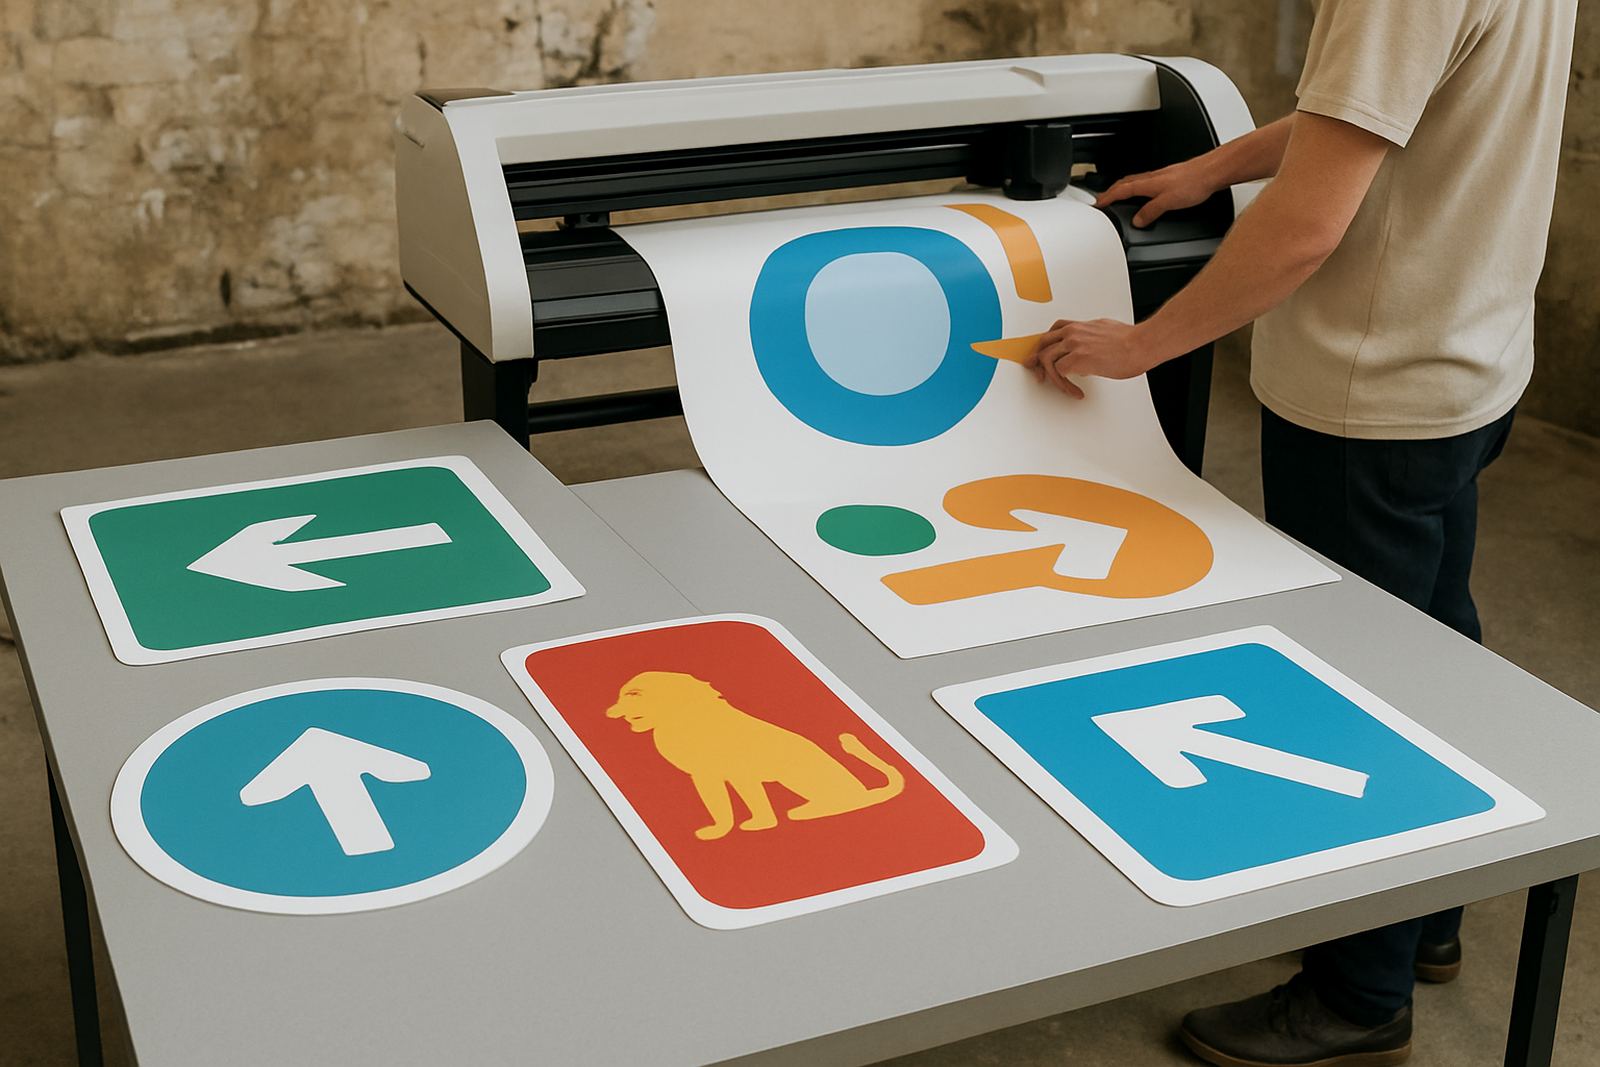
Most cutting problems begin before the media even reaches the plotter. Make sure the artwork is exported with clear cut paths, no doubled lines, and no tiny nodes that force the blade to change direction too often. If the file has been scaled, check that the cut line stayed locked to the print. A small shift at artwork stage can show up as a bad edge on every label or decal.
For shops handling signage, promos and custom graphics, one good habit is to separate print and cut prep. Keep a simple naming system for jobs, and confirm the cut layer is the only active cutting path. That saves time when the production floor is busy and someone is jumping between jobs after load-shedding or a power reset.
Prepare the Media Before Loading
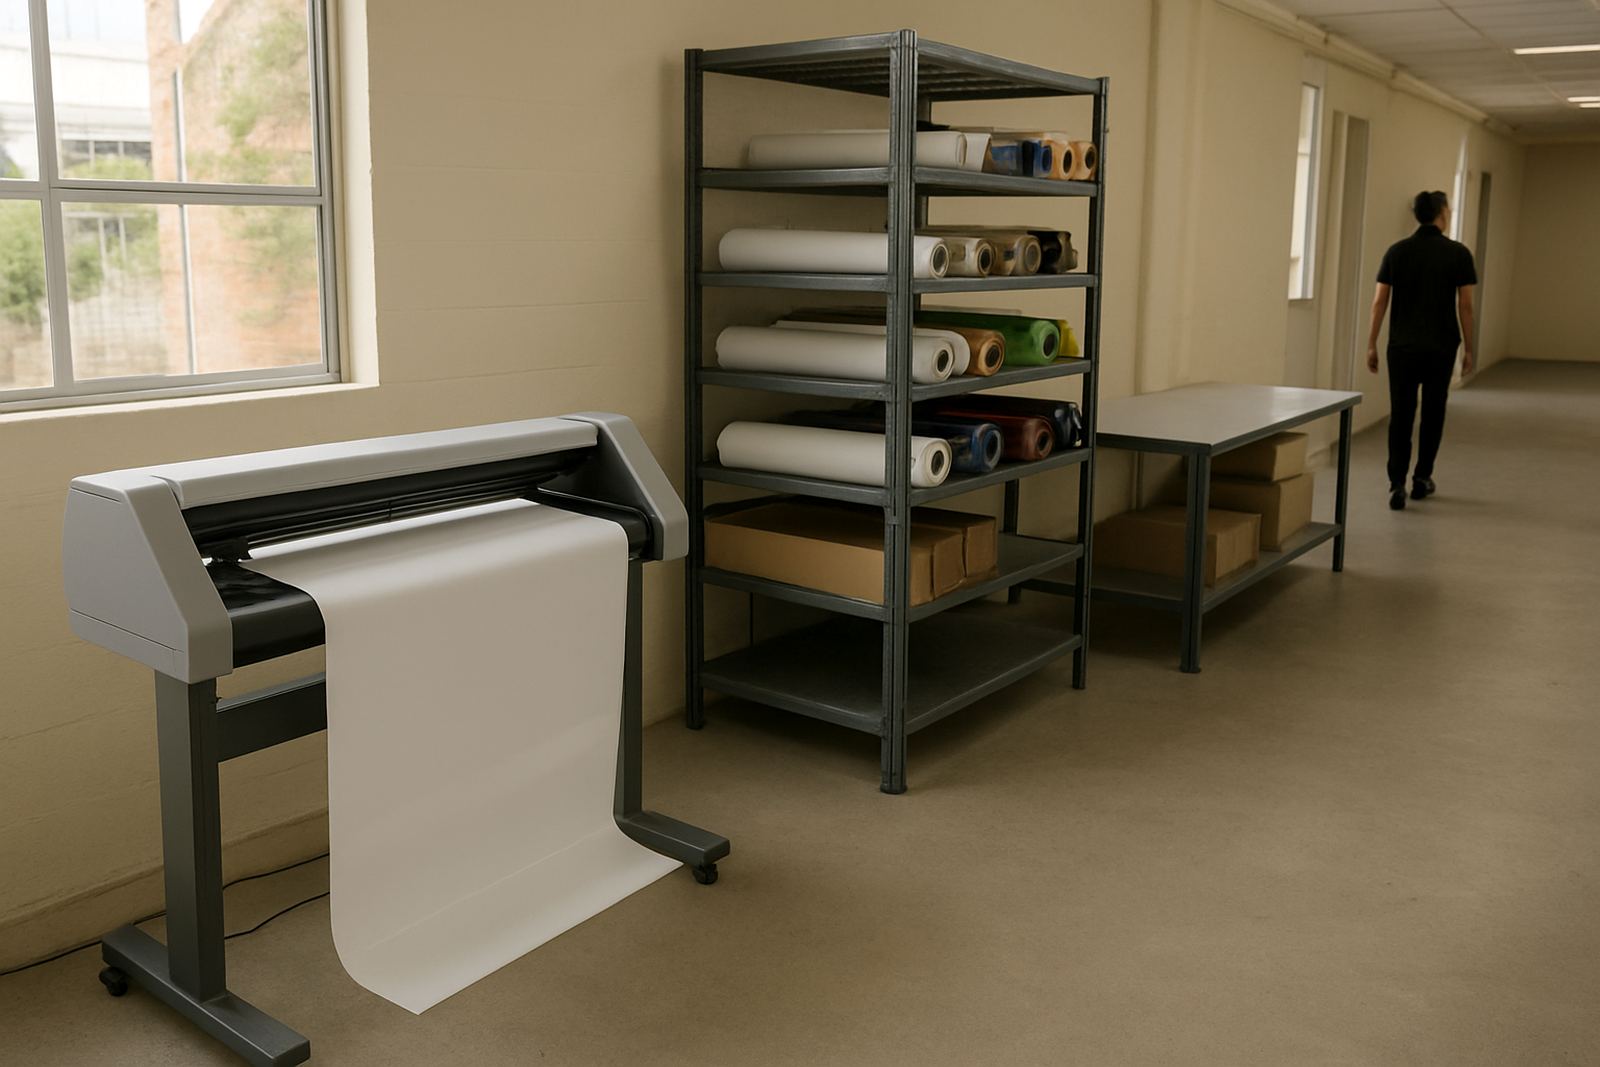
Media prep matters just as much as the machine settings. Roll stock should be stored flat in a dry area, away from direct sun and dust. In coastal humidity, allow material to settle before use, and in winter or air-conditioned rooms watch for curling at the edges. If the media is warped, the registration marks can read fine but the cut may drift at the outer edges.
- Check the roll for edge damage, dents or moisture.
- Trim the leading edge square before loading.
- Match the pinch roller position to the media width.
- Make sure the feed path is clear of scraps and adhesive build-up.
For heavier vinyl or laminated sheets, use the straightest possible feed path. A slight skew at loading can become a bigger issue over longer runs, especially on wider jobs. Keep it tidy from the start and you’ll save rework later, simple as that.
Set Blade Pressure and Offset Correctly
Blade pressure and offset should be checked for each media type, not guessed from the last job. A blade set too deep will score the backing and pull corners. Too little pressure leaves tabs and torn points. The same goes for offset, which affects how accurately the cutter changes direction at sharp angles and curves.
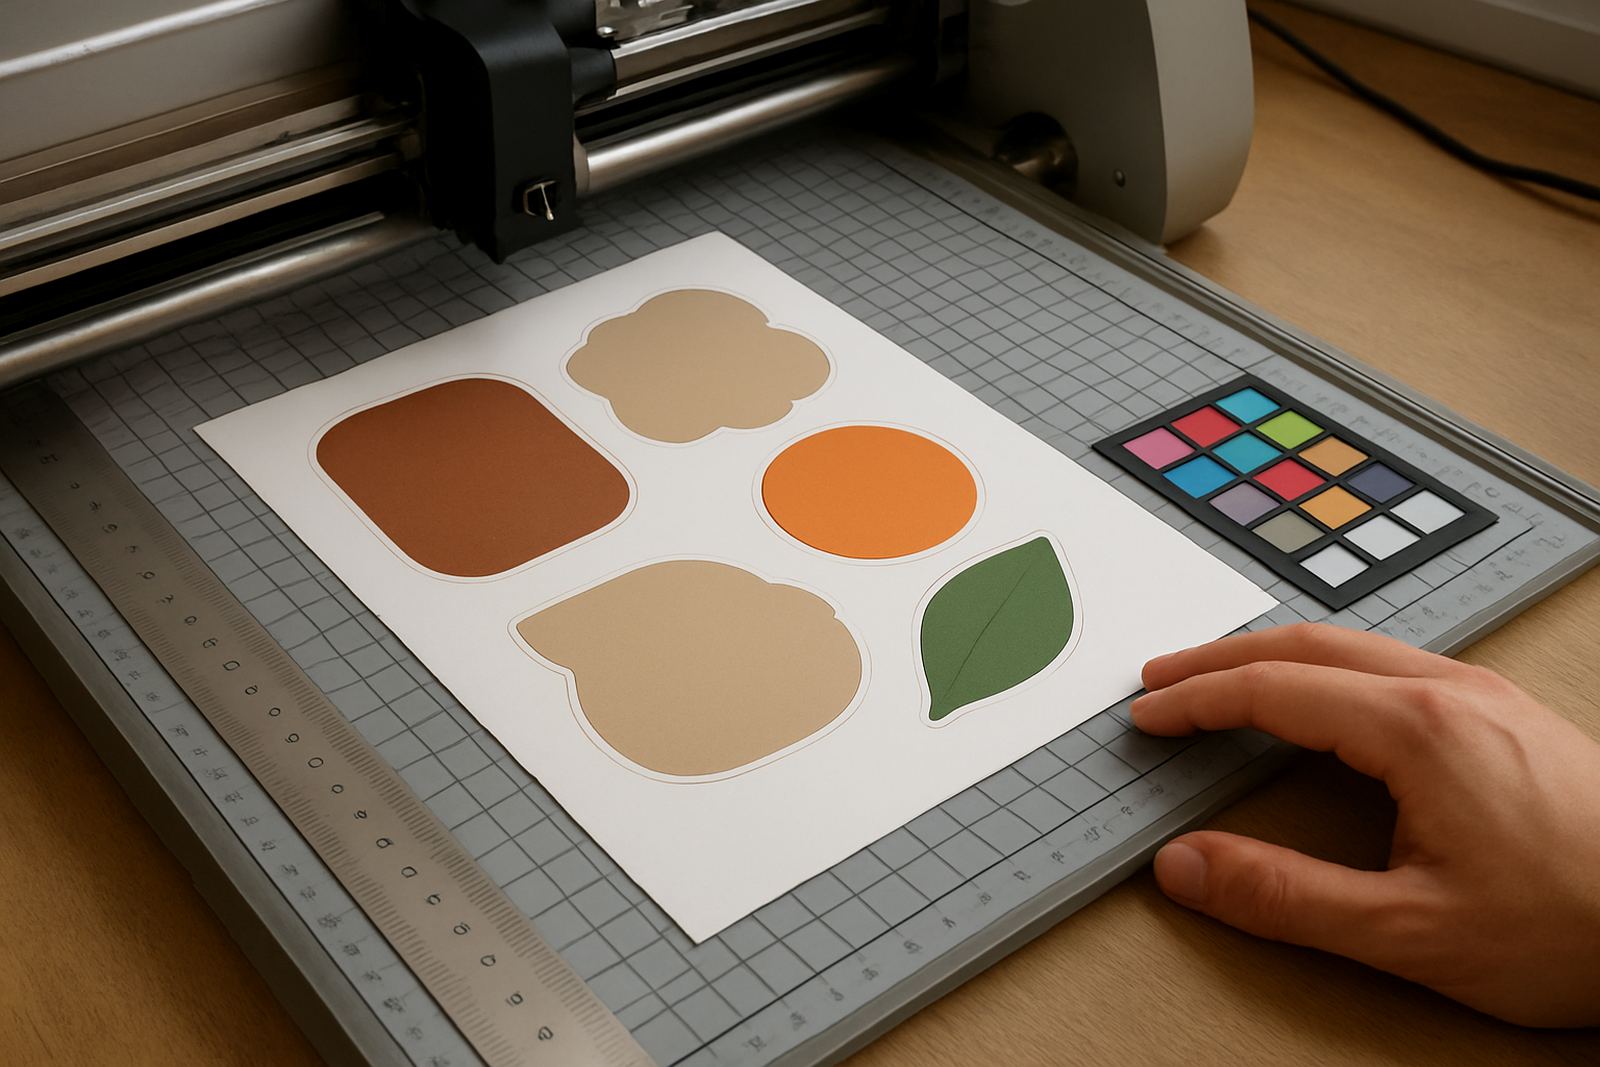
Run a small test cut before production. Look for clean weeding, crisp corners and no lifting at the joins. If the blade is dragging or leaving a ragged finish, back off and reset. On detailed work, a tiny adjustment can make a big difference to edge quality. It is worth taking an extra minute now instead of remaking a whole sheet later.
Register the Marks Before Full Production
Registration calibration is where precision really shows. Clean the sensors, check the reading position and make sure printed marks are dark enough for the machine to detect reliably. Faded marks, glossy laminate over the marks or poor print contrast can confuse the sensor and shift the cut path.
- Confirm the print is dry before measuring marks.
- Use the same lighting conditions where practical.
- Keep the sheet flat, no lifting corners.
- Test the first and last marks on longer jobs.
If the first cut is slightly out, stop and inspect the whole setup. It may be a media feed issue, a sensor position problem or a simple artwork scale mismatch. Do not push through the run hoping it will sort itself out, because it usually wont.
Control the Production Workflow on Busy Days
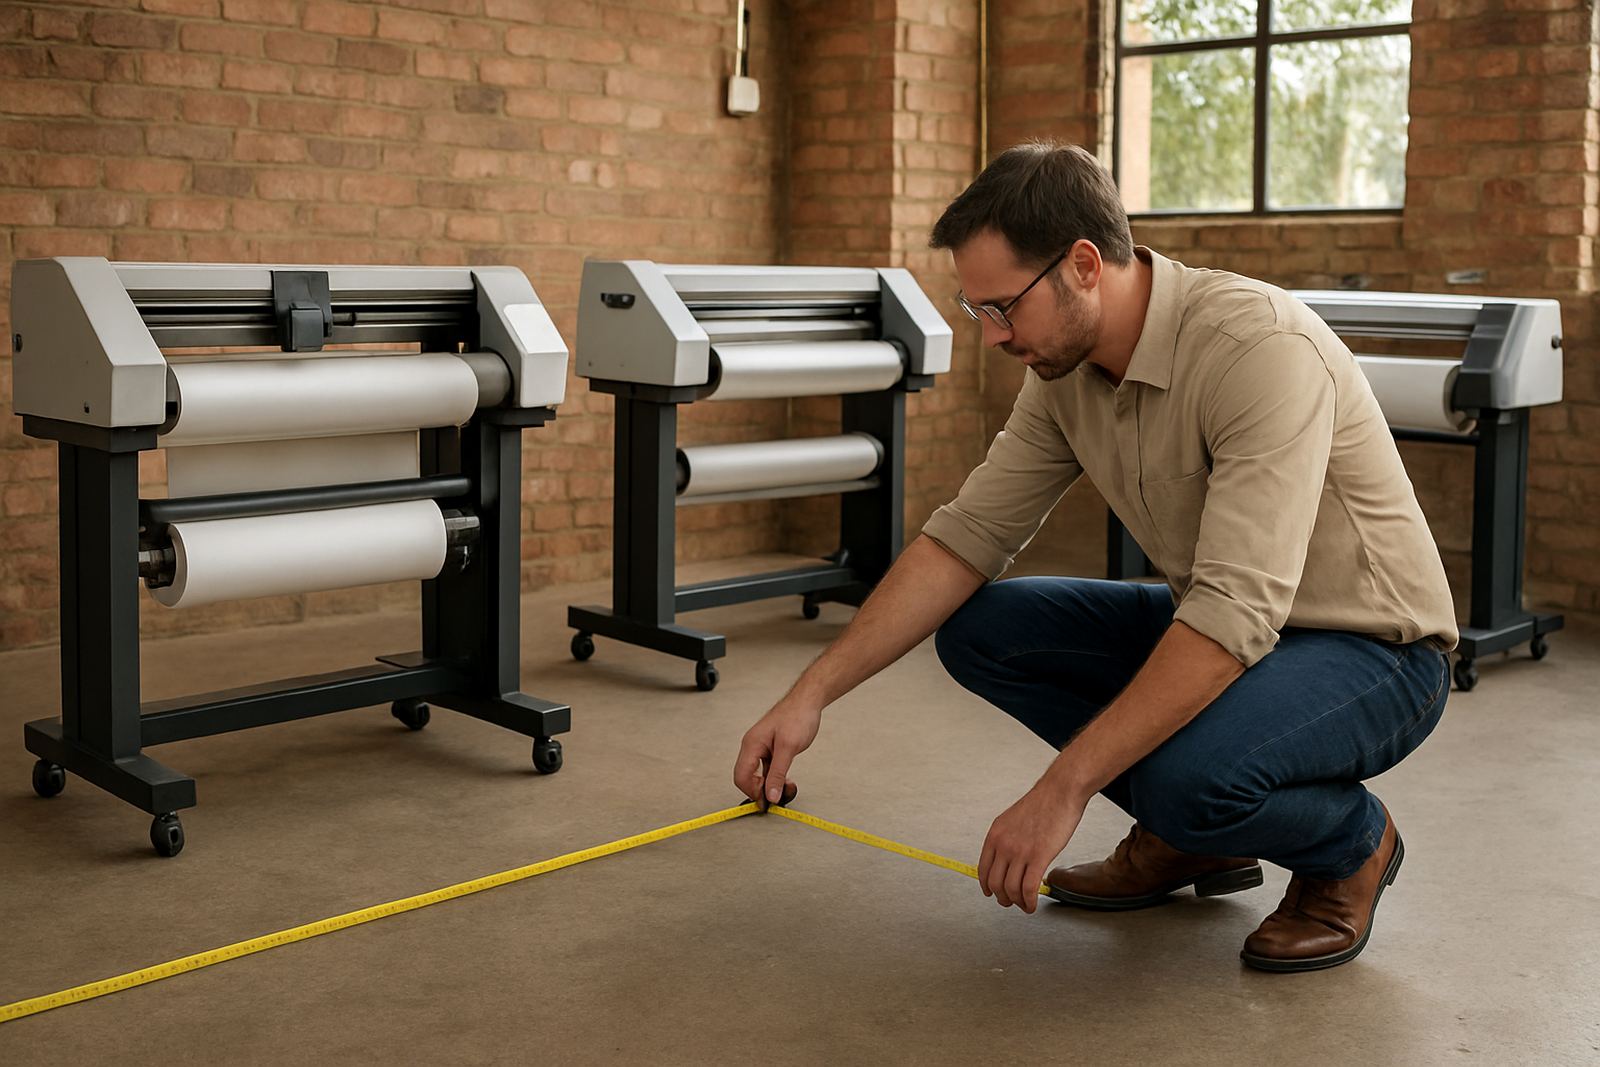
A tidy workflow reduces errors when the workshop is under pressure. Keep print-and-cut jobs separated from plain cutting jobs, and assign one person to confirm setup before production starts. In a team with operators, supervisors and technical support on hand, a clear handover prevents settings being changed halfway through a run.
Use a checklist for each new job: file approved, media loaded, blade checked, marks scanned, test cut approved. This is especially useful in Midrand, Sandton, Germiston, Boksburg and Randburg support environments where different staff may touch the same machine during the week. One small skip in process can turn into wasted material and lost time.
Keep the Cutter in Daily Working Order
Basic maintenance helps protect cut quality. Dust, adhesive residue and worn blades all affect the finish. Clean the carriage area, check rollers for wear and inspect the blade holder for play. If the cut starts to vary from one end of the job to the other, look at feed consistency before changing everything else.
For supervisors and new operators, short training sessions work well. Cover maintenance basics, troubleshooting steps and when to call for help. A team that knows how to spot the early signs of trouble can fix the small issues before they become expensive. That is true whether the cutter is in Isando or on a nationwide install site.
When in doubt, record the job settings after a successful run. Blade pressure, speed, offset and media type create a useful reference for the next similar order. It saves time and it gives the team a repeatable standard to work from.