Start With the Floor Plan and the Product Mix
Before moving anything into place, list the jobs you handle most often. Sticker sheets, short-run signage, labels, promo graphics and custom decals all need a different amount of bench space, drying space and offcut storage. A shop handling A3 and A2 sheets can work in a smaller room, but once you start cutting larger boards or high-volume runs, the space needs a clear path from loading to finishing.
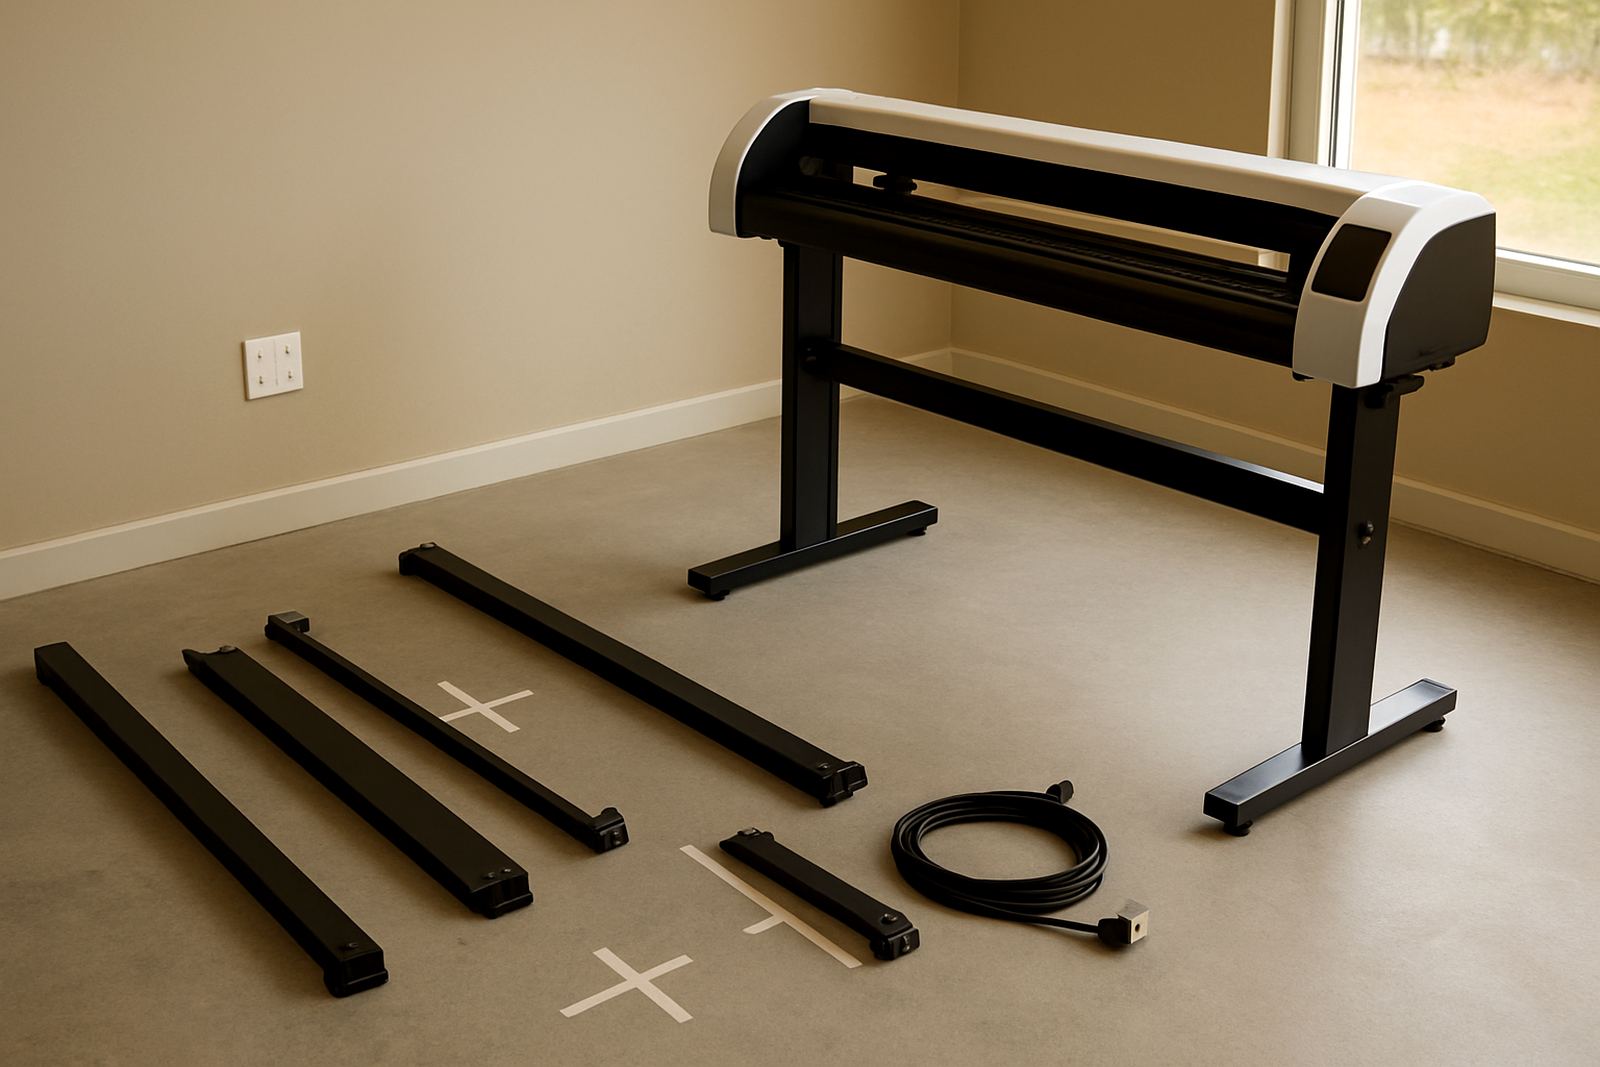
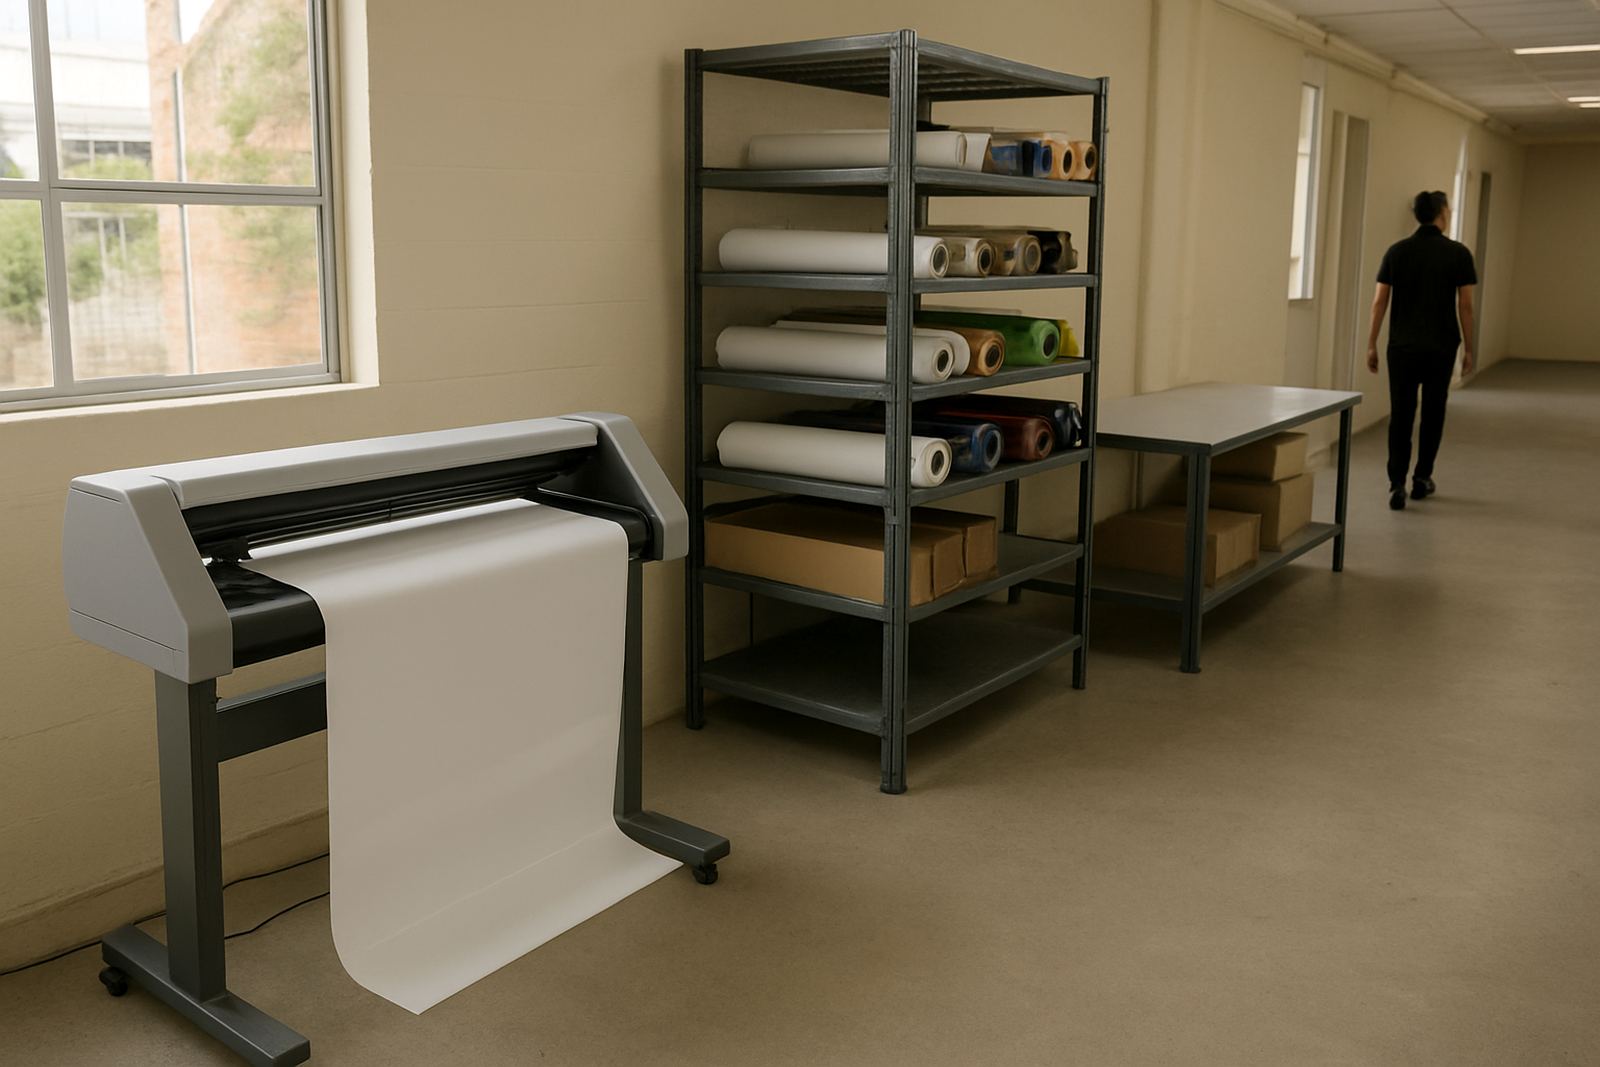
In Isando and surrounding industrial areas, many teams work in shared premises where every square metre matters. Measure the room and mark the main zones with masking tape on the floor first. Keep at least one straight route for moving media and finished sheets without crossing the operator's path. Leave enough clearance for opening covers, changing blades and reaching the back of the unit, not just the front.
- Mark an input area for uncut media and artwork files
- Mark a machine zone with clean access on all sides
- Set aside a finishing table for weeding, checking and packing
- Keep a storage bay for blades, spare mats and consumables
- Allow a rejected work tray so problem sheets do not mix with good stock
Place the Cutter Where Dust and Vibration Stay Low
Contour cutting depends on accurate registration, so the machine must sit on a level surface with very little vibration. Do not place it next to a door that slams, a compressor or a heavy press that shakes the floor. In buildings with roller doors, wind and dust can also affect sensors and media tracking. A quieter corner often gives better results than a bright open area with traffic moving past every minute.
If the production space is near a warehouse or loading bay, fit simple dust control measures. A rubber mat at the entrance, a weekly sweep and closed storage for roll stock can make a real difference. Coastal humidity can soften some media and adhesives, while dry inland air can add static. Plan for both by keeping stock wrapped until it is needed and storing delicate material flat, not leaning against a wall.
- Keep the machine on a level, rigid table or stand
- Avoid direct sun on the media path and sensors
- Place equipment away from open paint, spray or solvent work
- Use anti-static cleaning cloths where possible
- Check floor vibration before final positioning
Build a Clean Workflow From Artwork to Finished Sheet
A tidy workflow matters as much as the machine itself. Set up the room so each job moves in one direction only: artwork check, media loading, cut line setup, test cut, production, inspection and packing. When staff have to backtrack across the room, sheets get mixed up and the wrong file can be loaded. Keep printed job tickets visible and use one tray or rack per job.
It helps to separate design tasks from production tasks. The person preparing artwork should not also be hunting for roll stock while the cutter is running. A clear handoff lowers mistakes, especially when the machine is under pressure and the team is working to a same-day deadline. This is where simple checklists save time and stop repeat errors.
- Confirm artwork size, crop marks and cut line colour before printing
- Load the correct media type and note its width and thickness
- Run a registration check before the first production sheet
- Verify blade pressure and speed on a test sample
- Separate finished goods from work still waiting for inspection
Plan Power, Backup and Safe Cable Routing
Load-shedding and local supply dips can affect a cutting room more than many owners expect. A contour cutter that loses power mid-job can waste printed stock and throw the day behind schedule. Place the unit on a stable power circuit and keep the cable runs short and neat. Avoid loose extension leads across walkways where trolleys or boxes can snag them.
Where possible, group essential equipment on one protected circuit and test how long the setup can run on backup power. If you use a UPS or inverter, confirm that it supports the machine's start-up load and the small but important electronics around it. Good lighting is worth planning too. Operators need to see registration marks, blade wear and tiny nicks on media. Poor light leads to false faults and slow checking.
- Keep power cables off the floor or covered safely
- Label sockets for cutter, computer and support gear
- Test backup power during a normal production shift
- Use task lighting over the loading and inspection area
- Record the shut-down and restart steps for all operators
Set Up Storage for Blades, Media and Maintenance Tools
Small parts deserve proper storage because lost blades and mixed media cause expensive delays. Use sealed drawers or clearly labelled tubs for blades, holders, screws and cleaning tools. Keep media by type and thickness, with the oldest stock in front so nothing sits too long in a hot storeroom. In Johannesburg's dry months, some rolls can curl if left open, while in humid periods labels and liners can shift.
A maintenance shelf should include basic cleaning items, spare cutting strips if the machine uses them, and a simple logbook for service dates, faults and blade changes. Make it part of the daily close-down routine to return every item to the same place. If more than one person runs the machine, that routine stops the whole setup from turning into a guessing game.
- Separate blades by type, size and wear level
- Keep media flat, wrapped and off the floor
- Store cleaning cloths away from adhesive dust
- Keep a fault log beside the machine
- Review stock levels weekly so shortfalls are caught early
Train the Team Before Full Production Starts
Even a well planned room can perform badly if the team is not trained for the space. Start with operator induction on media loading, blade pressure, registration calibration and basic troubleshooting. Then add production workflow training so staff know who checks artwork, who loads sheets and who signs off finished work. This keeps standards steady across shifts and makes it easier to bring in a new operator when the workload grows.
For sites in Sandton, Midrand, Germiston, Boksburg and Randburg, on-site coaching can help standardise the setup across more than one room. A supervisor should know how to spot wear before it becomes a fault, and when a problem needs technical support instead of another test cut. Revisit the training after a few weeks of real jobs, not just on day one. That is often when the weak points show up.
- Show each operator how to set blade depth correctly
- Teach registration checks using a repeatable process
- Explain how to handle rejected sheets and re-cuts
- Keep a quick reference sheet near the machine
- Schedule refresher training after workflow changes
Use a Daily Checklist to Keep the Room Consistent
A checklist turns a good layout into a reliable production space. It should be short enough to use every day, but detailed enough to catch the usual problems before they waste material. Start with the room itself, then the machine, then the job file and finally the finished output. The order matters because many faults start before the first cut is made.
At the end of each shift, clear scraps, check blade wear, back up job settings and make sure stock is returned to its proper place. A room that is neat at 5 pm is quicker to restart the next morning. It also helps with audit trails and municipal or landlord inspections where clean access and safe storage are expected.
- Floor clear and walkways open
- Media wrapped or stored correctly
- Blade condition checked and logged
- Power and backup systems ready for the next shift
- Job files matched to the sheets on the bench