Start with the end use, not the machine spec
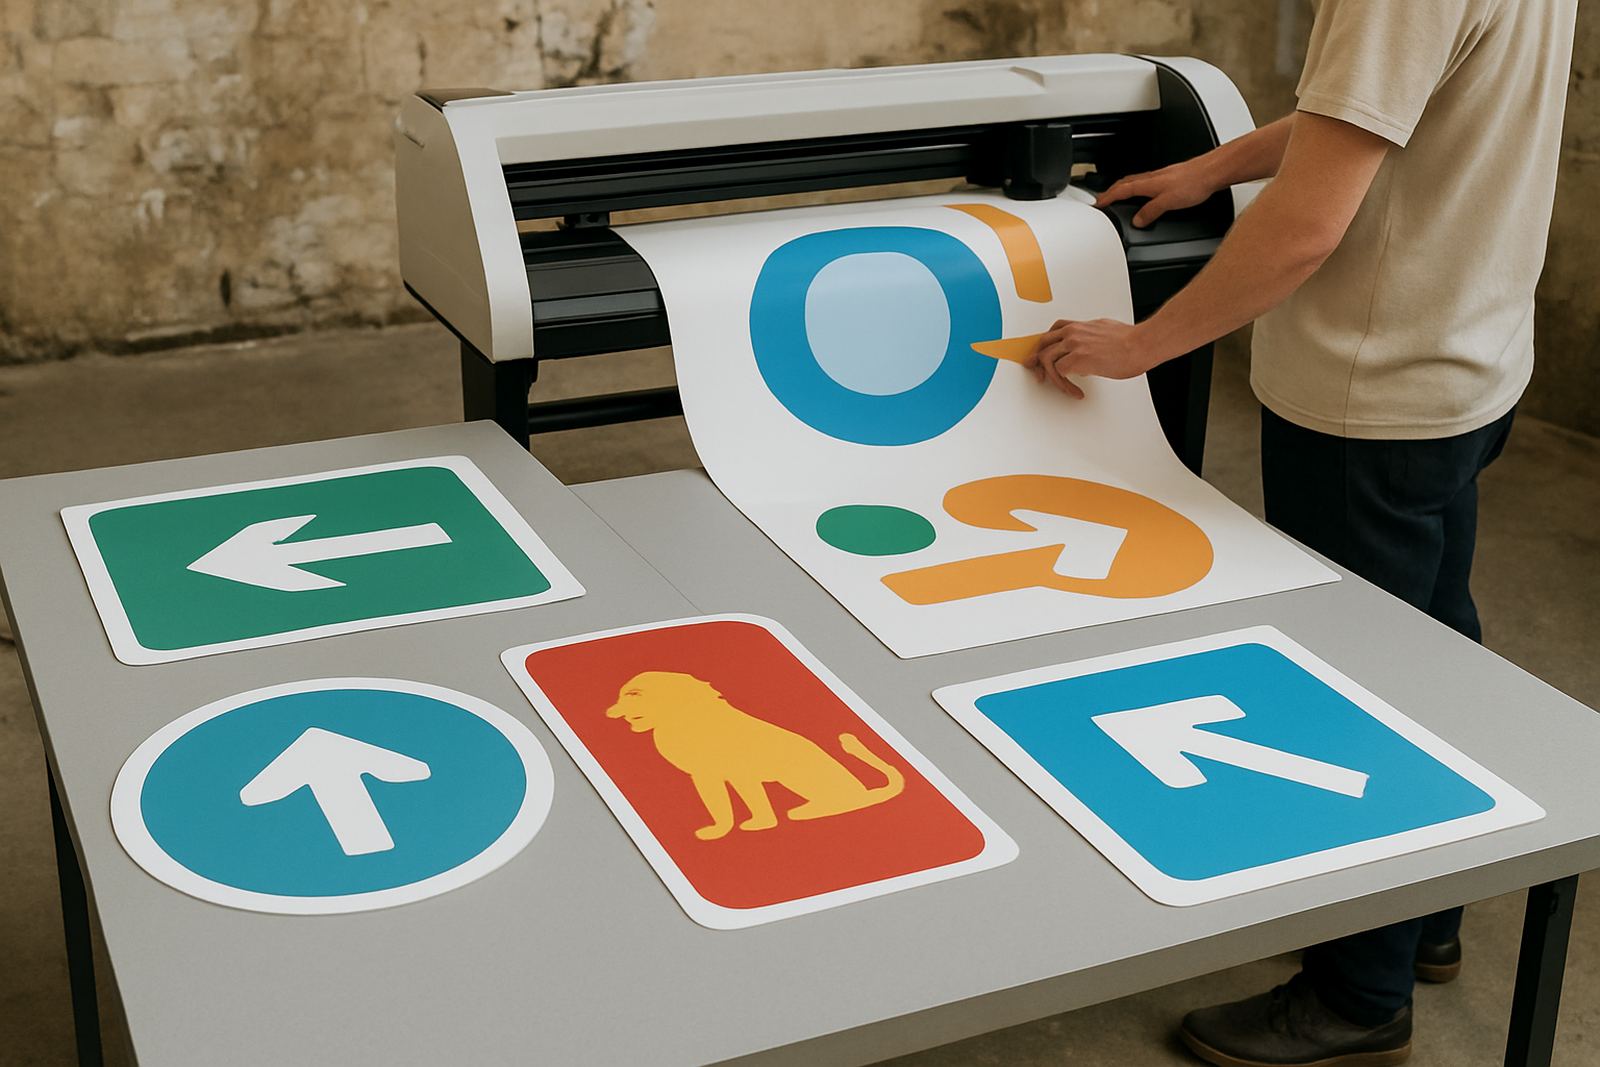
The best cutter choice starts with what the finished item must do. A short run of presentation stickers for a Sandton agency needs a different setup from reflective safety graphics for a Germiston workshop or window vinyl for a fleet in Midrand. Before you cut anything, confirm the substrate, the final size, the edge finish, and whether the job is for indoor use, outdoor use or handling in a busy environment.
Jobs for signage often need stronger hold and a cleaner edge, while promotional graphics may need faster turnaround and consistent repeatability. Coastal humidity can affect media curl and liner behaviour, and load-shedding can interrupt drying or print queues, so your workflow must allow for rest time and controlled handling. A cutter that suits one production style may slow another, so the application must lead the decision.
Choose cutter capability by job type and volume
Not every job needs the same bed size or tracking accuracy. Short runs with detailed shapes need solid registration and accurate blade response. Longer production batches need stable media feed, reliable pinch pressure and predictable repeat cutting. If you install cutters at multiple sites, like Isando, Randburg or Boksburg, keep the machine matched to the most common job mix in that branch, not the occasional special order.
- Small decals and labels: choose fine control, low drag and clean corner recovery.
- Vehicle graphics and fleet markings: prioritise tracking, longer media runs and accurate panel repeatability.
- Point of sale graphics: allow for fast turnarounds and easy operator setup.
- Signage lettering: focus on clean weeding, stable pressure and accurate registration.
- Reflective or thicker media: check blade condition, force range and feed consistency.
For shops that handle mixed work, a machine with good adjustment range is usually more practical than one set up only for high-speed production. If the cutter is too aggressive, you score the liner. Too light and you leave fibres or incomplete cuts, which adds manual cleanup and delays installation.
Set blade pressure and speed to suit the material
Blade setup should always follow the material, not habit. Calendered vinyl, polyester labels and thicker laminates each react differently to pressure. Start with a simple test cut, then check whether the corner lifts cleanly and the liner stays intact. If the blade is set too deep, the job may look fine until weeding starts and the backing tears in the corners.
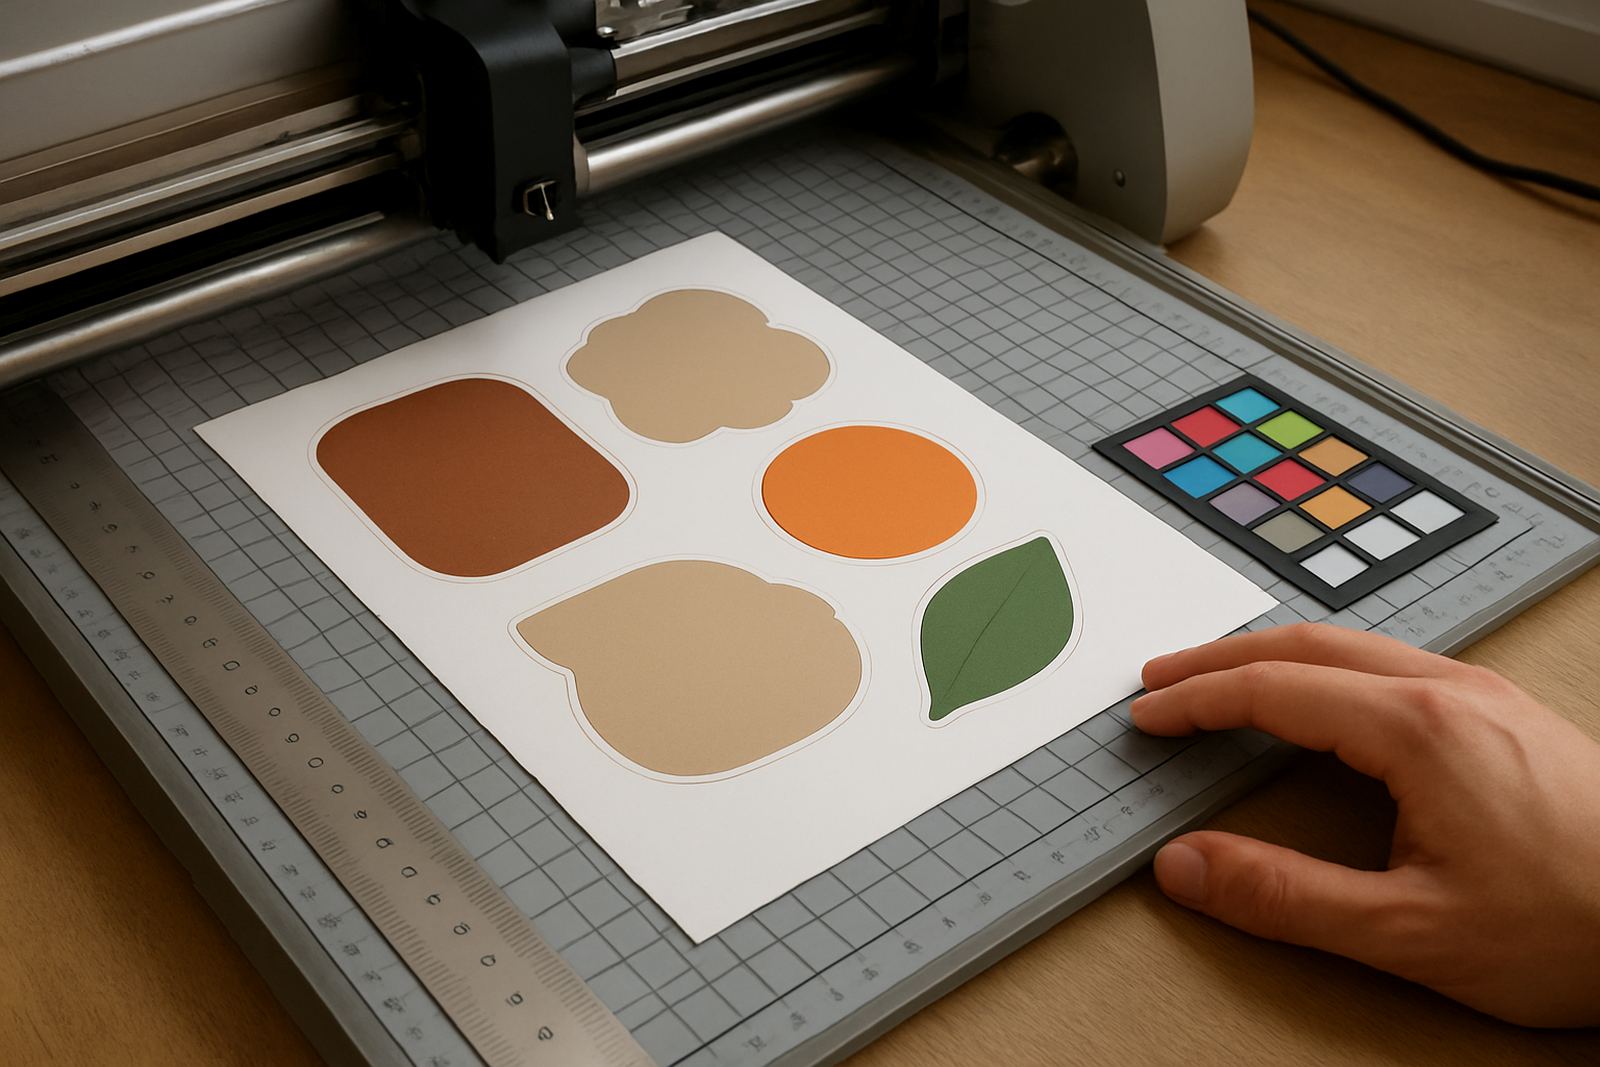
Speed should be reduced when the artwork has tight curves, small internal shapes or fine text. A slower pass often produces better results than a fast one that leaves jagged points. On jobs with registration marks, take extra care during calibration so the cutter reads consistently across the sheet. That matters on print-and-cut work, where a few millimetres can throw off an entire set of labels.
- Check blade depth before every new material.
- Run a test square and triangle on offcut media.
- Reduce speed for small lettering and intricate shapes.
- Increase force only until the liner cuts cleanly, not more.
- Recheck pressure after blade changes or long production runs.
Build a cleaner print-and-cut workflow
Print-and-cut work needs discipline from artwork through to final trim. Cut lines must be set correctly, registration marks placed properly and media loaded square. If the media is skewed at the start, the cutter will chase the error for the rest of the sheet. Good workflow also saves time on repeat jobs because operators can use the same steps every time, which lowers mistakes during busy periods.
For teams in Johannesburg and the surrounding industrial areas, a practical production flow helps when deadlines land on the same day as power interruptions or courier collections. Keep printed sheets flat, allow for drying time and store finished work where dust will not settle on adhesive edges. Training new staff on these basics makes a noticeable difference to output quality.
- Confirm artwork size and cut paths before printing.
- Print registration marks with enough margin for the cutter to read.
- Load media square and lock the pinch rollers evenly.
- Run a first sheet slowly, then confirm alignment before batch cutting.
- Keep a log of successful settings for common materials.
Plan for installation, support and operator training
When a cutter is installed nationwide, the real value comes from how well the team can use it on day two, not just day one. Operators should know how to load media, set blade pressure, calibrate registration and clear simple faults without waiting for every issue to stop production. A short induction can prevent repeated errors that waste vinyl and slow the whole line.
Supervisor coaching is useful where more than one person touches the machine. One operator may be strong on setup while another handles finishing, so the workflow has to be shared clearly. In busy shops, a support call often starts with a small issue like a missed mark or a loose roll, but that can point to a wider process problem. fix the process and the fault often disappears.
Use a maintenance routine that matches real production
Maintenance should follow the job load. High-volume label cutting, daily sticker work and regular vinyl runs all wear parts differently. Dust, adhesive residue and worn blades are the common causes of poor cutting, so the machine needs routine checks, not only repairs after something goes wrong. In humid areas and in workshops near open loading bays, keep consumables covered and the machine clean.
A basic maintenance schedule helps keep output steady through the month. It also makes troubleshooting faster because the team knows what has already been checked. If the machine starts missing corners, dragging on thin material or lifting corners during weeding, look first at blade wear, pressure settings and media loading before assuming a bigger fault.
- Clean cutting paths and rollers at the end of each shift.
- Inspect blades and replace them when edges dull.
- Check pinch roller grip and media tracking weekly.
- Store media flat and away from heat or damp.
- Record recurring faults so support can identify patterns quickly.