When vehicle decals need to do more than look neat
Most vehicle decal work starts with a simple business need. A courier wants every bakkie to carry the same contact number. A service company wants its vans to be easy to spot in traffic and at client sites. A franchise needs each branch vehicle to look the same from Sandton to Germiston. The main job is not decoration, it is visibility, identification and a tidy finish that still looks right after months on the road.
For decals on daily-use vehicles, the pressure points are usually heat, rain, washing and constant door movement. In Gauteng, dust and strong sun can age poor vinyl quickly. Near the coast, humidity can loosen weak adhesive edges if the prep work was rushed. Good vehicle graphics need the right film, the right cut line and a proper install on clean panels, mirrors and curved guards. That is where the difference shows, and yes it shows fast.
Typical equipment set for clean, repeatable cuts
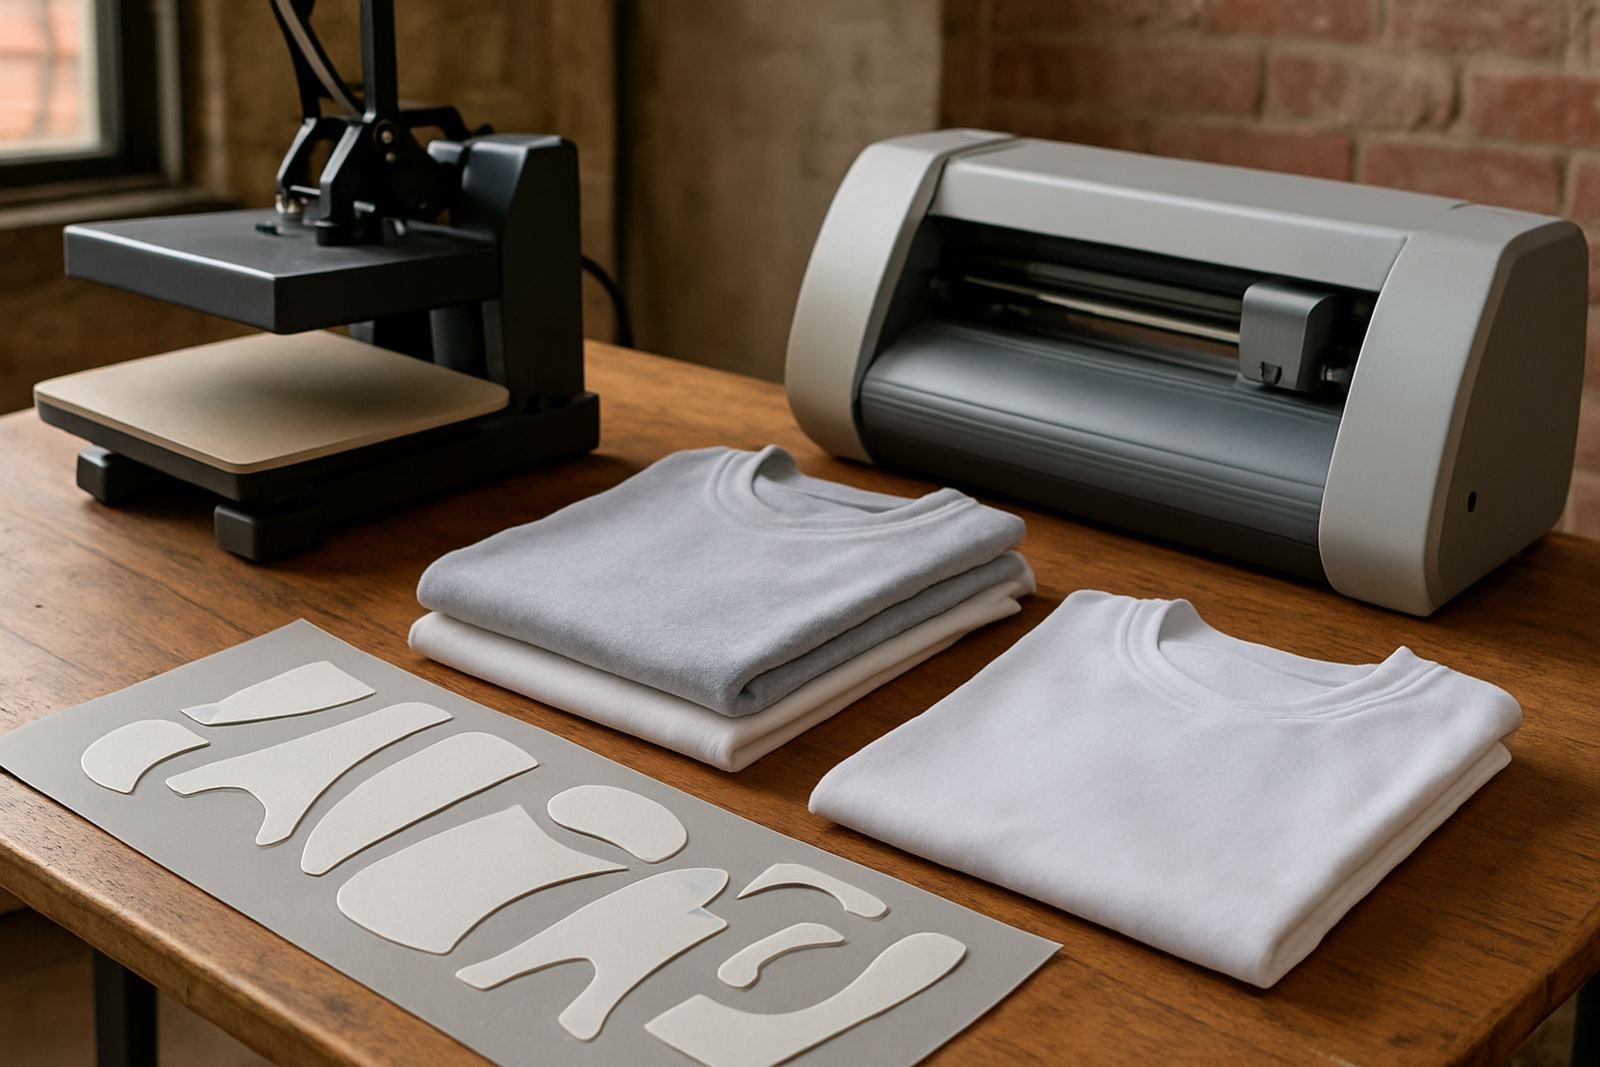
Vehicle decal production usually combines print-and-cut equipment with a contour cutting setup for logos, numbering, stripes and individual letters. For fleet branding, the work often includes test cuts, registration checks and media loading that stays consistent across several jobs. If the vinyl is being weeded by hand after cutting, blade pressure and speed need to be set carefully to avoid lifting the backing or scoring the face film.
- Print-and-cut contour plotter for shaped logos and contour stickers
- Vinyl cutter for lettering, numbers and simple stripe sets
- Matching design files with proper cut lines and bleed
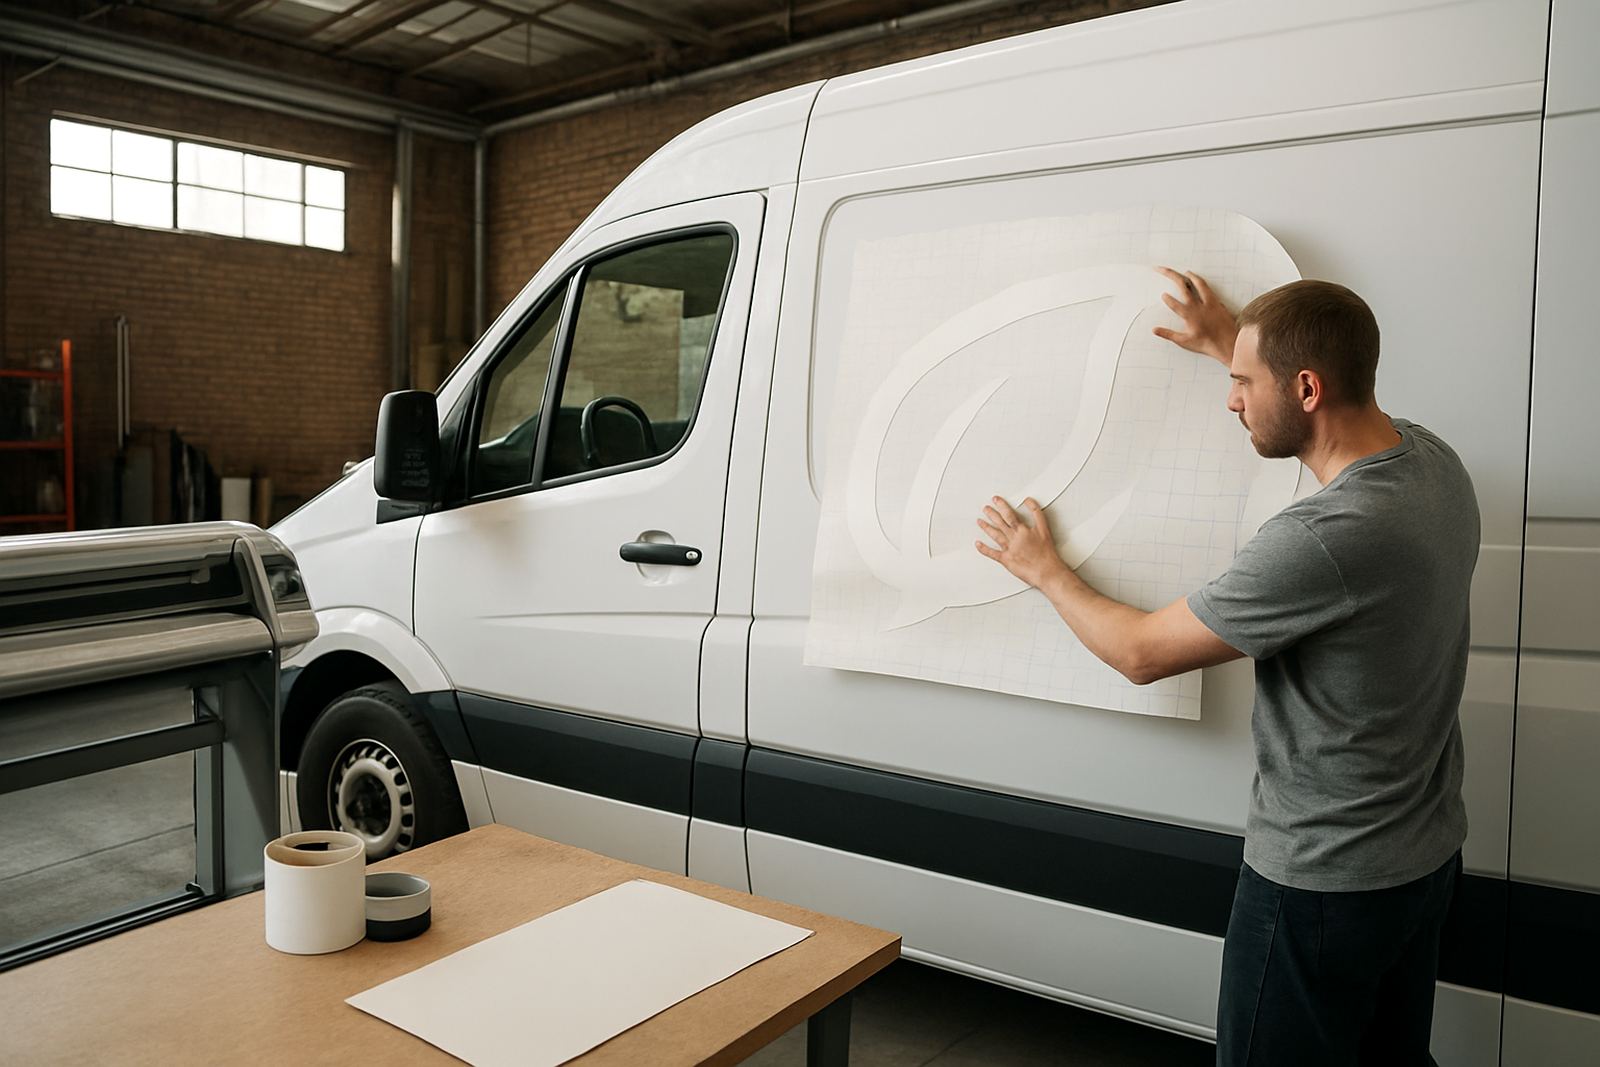
- Application tools, squeegees and masking tape for installation
- Cleaning supplies for panel prep before fitting
Businesses doing regular fleet work also benefit from a fixed production process. That includes operator induction, artwork cut lines, blade pressure setup, registration calibration and basic maintenance. A missed calibration can throw out a whole batch of decals, and when you are doing 12 delivery vans at once that gets expensive quickly.
Planning the layout before the first cut
Good layout planning makes vehicle decals easier to read and easier to install. Start with the vehicle type and the distance from which people will see it. A logo on a hatchback needs stronger contrast and simpler wording than a side panel on a box van. On most fleet jobs, the side doors, rear doors and tailgate give the best value because they stay visible in traffic and at loading bays.
Keep the design clear around door handles, fuel caps, rubbing strips and panel gaps. Text that sits across two panels can work, but only if the install is planned properly and the customer understands that doors move. For bakkies and commercial vans, it is usually better to place the main name high on the body and the contact number lower where it can be read quickly. A rushed layout often looks fine on screen, then looks cramped on a real panel. That mistake costs time on site and can mean re-cutting material.
- Use fewer words and larger type for moving traffic
- Check the exact panel measurements before cutting
- Allow for curves, trims and door seams
- Match colours to the bodywork and not just the artwork proof
Common mistakes that waste material and labour
The biggest mistake is treating every vehicle like a flat board. Cars and vans have curves, recesses and parts that move, so a design that is too detailed can fail during fitting. Another common issue is poor artwork setup. If the cut lines are not clean, the plotter will track badly and the weeded pieces will tear. This is where registration calibration and test cuts save money.
On-site prep is another weak point. Dust, polish residue and wax stop the adhesive from gripping properly. In a humid or hot workshop, installers also need to manage handling time so the film does not stretch or pick up dirt. Some teams skip a proper troubleshooting session and then wonder why corners lift after the first wash. It is usually not the vinyl alone, it is the process. Small detail but it matters.
- Skipping panel cleaning before fitting
- Using tiny text that cannot be read at speed
- Cutting without checking registration marks
- Applying decals to damp or overheated panels
Budget ranges for vehicle decal work in Rand
Budget depends on size, detail, material type and whether the job is a one-off or a fleet repeat. For South African businesses, entry-level decal work for a single vehicle can start from about R650 to R1,500 for simple lettering or small logos. Mid-range branding with side panels, rear text and more detail often falls between R1,800 and R4,500 per vehicle. Full commercial coverage, shaped logos and multiple colour elements can move higher, especially if there is install time on site.
Fleet orders usually price better per unit because the artwork and setup are shared. A 5 vehicle set may cost less per unit than a single urgent job, even if the total spend is higher. For larger rollout work across Johannesburg, Midrand, Boksburg or Sandton, it helps to budget for design revisions, test cuts and installation scheduling. If the vehicles are used every day, the cost of a rushed reprint is often worse than doing it properly first time.
What to ask before you approve the job
Before signing off vehicle decals, ask for the final size, the material choice and the fitting method. Confirm whether the decals are for permanent branding or removable campaign graphics. If the fleet includes different models, each body shape should be checked individually because one size does not suit every van. For businesses with branch vehicles, it also helps to keep a standard artwork pack so later reorders match the first batch without drift.
Contour Cutting works with businesses that need precise cut work, operator guidance and consistent production on repeat vehicle jobs. From Isando and the wider Johannesburg area, we support cutter installs nationwide and assist with training, setup and troubleshooting where needed. If you are planning decals for cars, vans or delivery vehicles, keep the design simple, measure properly and budget for proper preparation. That is the difference between a decal that lasts and one that starts peeling before the month is out.