When Wall Decals Make Sense in a Busy Space
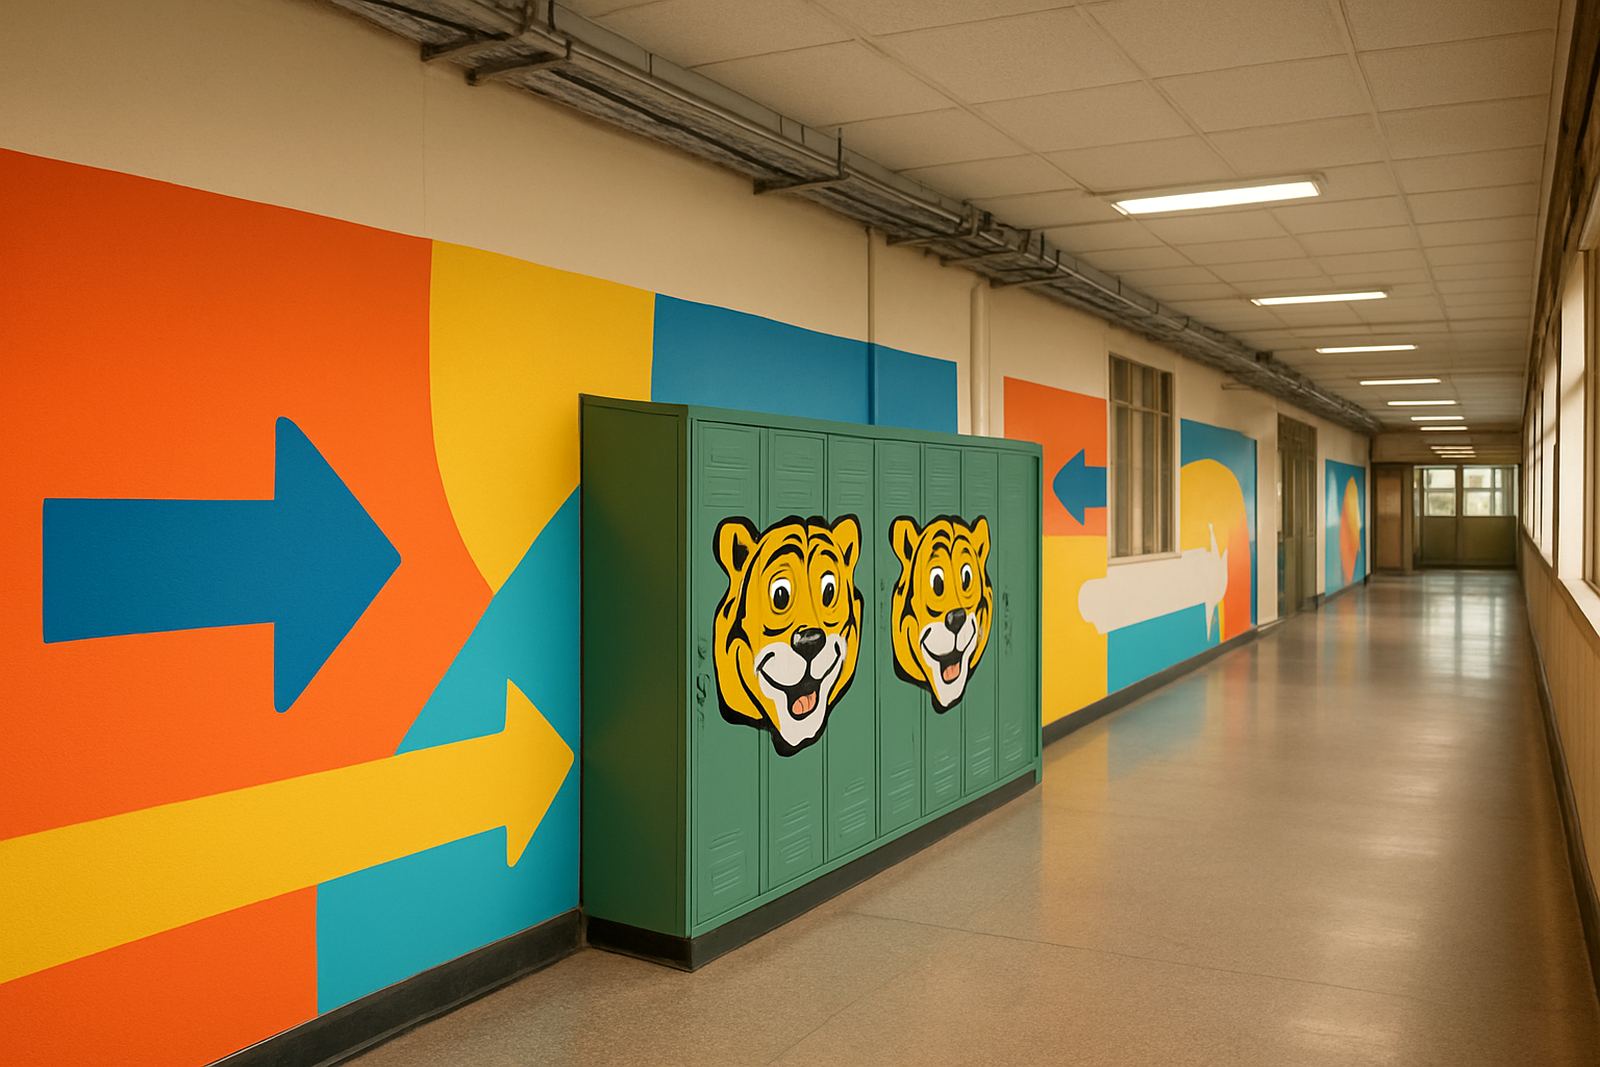
Wall decals are a good fit when you need visual impact without drilling, framing or painting over a whole room. Offices use them for reception walls, meeting rooms and passage branding. Schools use them for classroom themes, signage and reading corners. Event teams use them for temporary branding, sponsor panels and stage backdrops. In retail and hospitality, they help keep the space fresh while avoiding long shutdowns.
For businesses in Johannesburg, Sandton, Midrand, Germiston, Boksburg and Randburg, the usual challenge is not only the look but also the wall condition. Painted drywall, plaster, sealed brick and partition board all behave differently. A good decal plan starts with the wall finish, the room use, and how long the graphic must stay up. On coastal sites, humidity can make the wrong material lift at the edges, so the spec matters from the start.
Typical Print-and-Cut Setup for Clean Edges
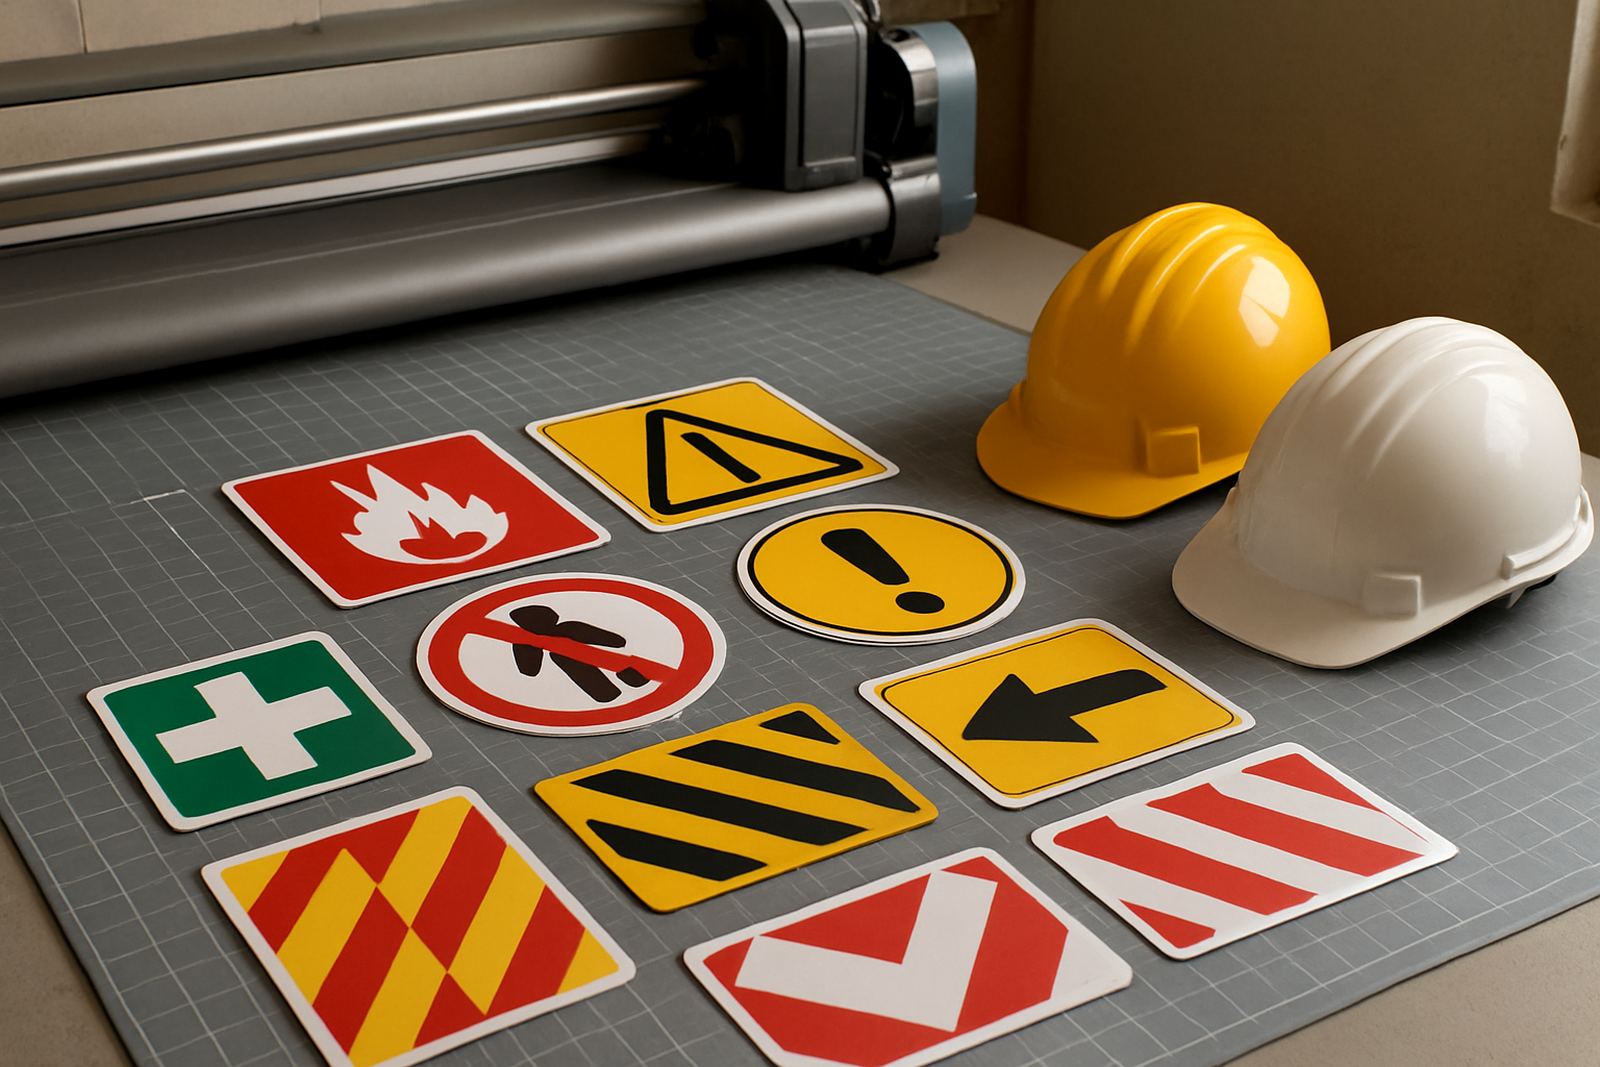
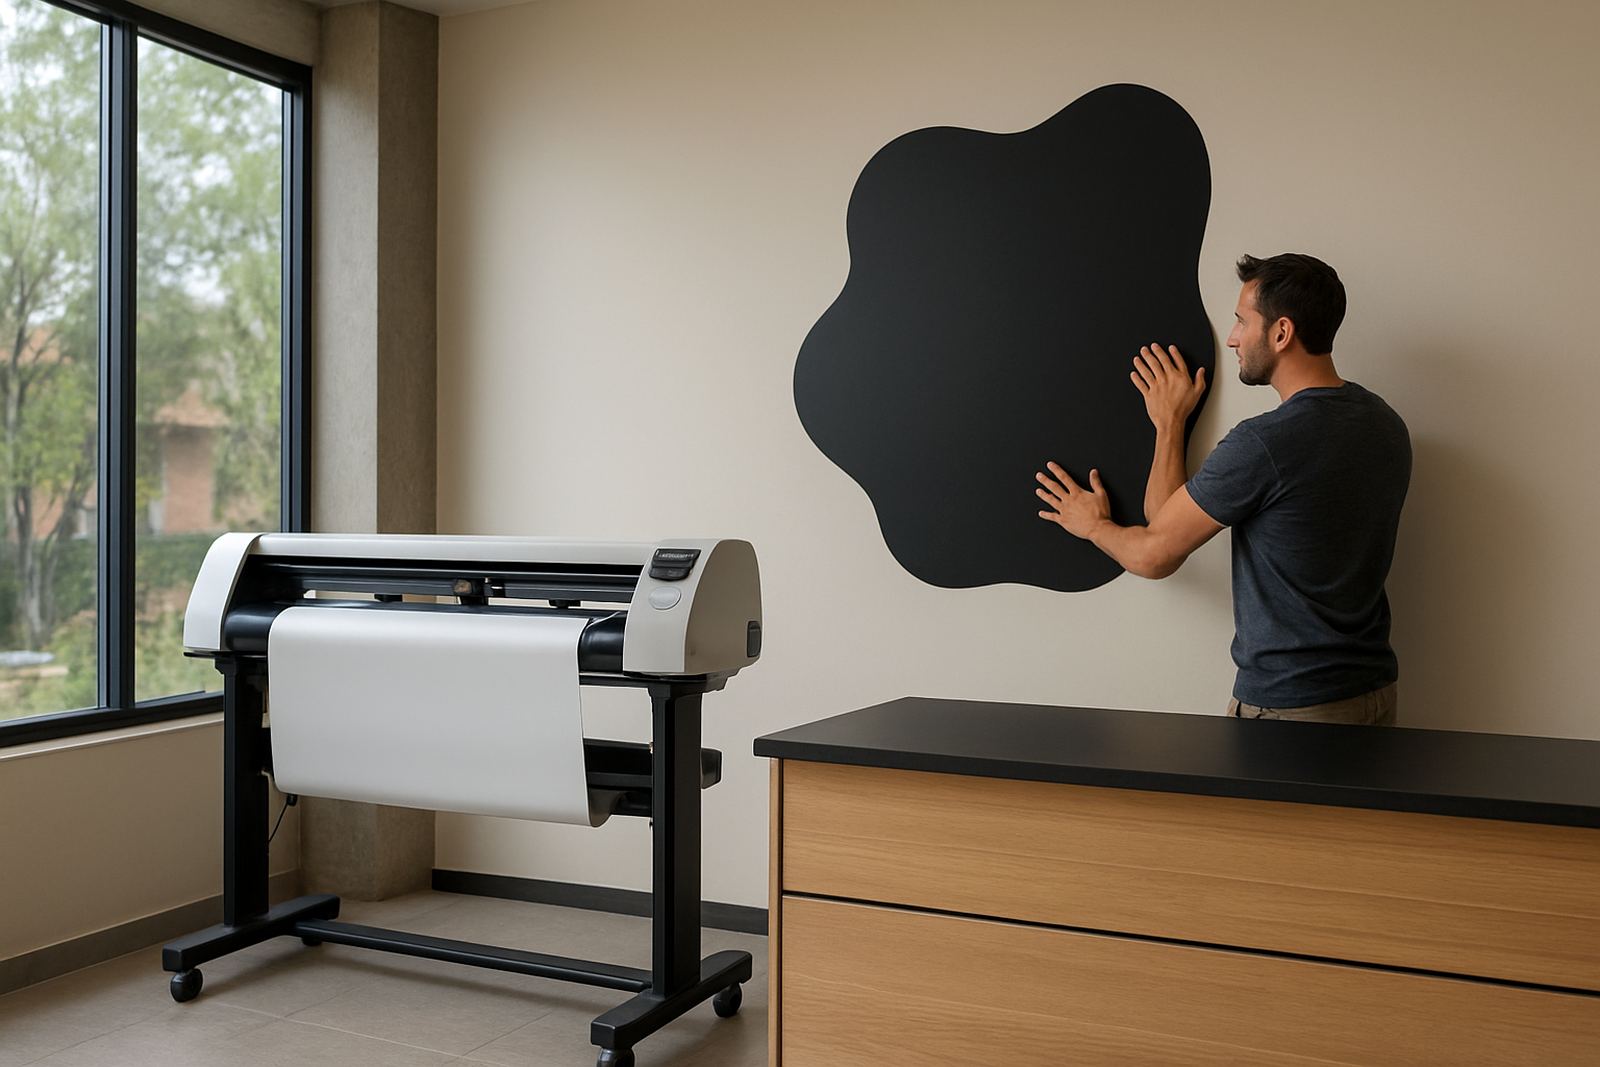
Wall decal work usually needs a printer for the graphic, a contour cutter for the outline, and the right laminating and application tools. If the design includes logos, icons or large lettering, the cut line must be set properly so the decal peels cleanly and installs without ragged edges. For bigger runs, registration calibration and blade pressure setup save time and material waste.
Contour Cutting commonly supports teams with:
- Operator induction for new staff working on wall graphics
- Artwork cut lines so logos and shapes trim accurately
- Media loading for vinyls, films and special wall materials
- Blade pressure setup for tidy cuts on different thicknesses
- Registration calibration for print-and-cut accuracy
- Production workflows for repeat decal jobs
Load-shedding can interrupt production if a job is halfway through cutting or laminating. It helps to batch the wall decal work into planned runs, keep backups of artwork files and allow a little extra time for finish checks. That way a small power cut does not turn into a missed install date.
Planning the Wall Layout Before Anything Is Printed
A wall decal is only as good as the layout around it. Measure the wall carefully, note switches, fire equipment, windows, doors and skirting, then plan the visual around those fixed points. For schools and municipal sites, also check any rules about safety notices, evacution routes and content placement before installation. A decal that lands across a notice board or exit sign can become a compliance issue very quickly.
The best planning steps are simple and practical:
- Take full wall measurements, including height at more than one point
- Check the paint age and whether the wall has dust, flaking or damp patches
- Confirm viewing distance so text size stays readable
- Allow clearance around handles, plugs, alarm points and skirtings
- Decide if the graphic must be removable or long-term
If the graphic is for an interior branding wall in a reception area, bigger shapes and bolder text usually work better than fine detail. For classrooms or training rooms, simpler sections are easier to replace later if the message changes.
Common Mistakes That Cost Time and Money
The most common mistake is choosing a decal material for the look rather than the wall. Another one is skipping surface prep. Dust, waxy paint, damp corners and fresh paint that has not cured can all cause lifting. On some jobs the print looks perfect on the table, then starts to fail on the wall because the surface was never checked properly.
Other mistakes to avoid include:
- Using lettering that is too small for the room size
- Ignoring wall texture on rough plaster or old paint
- Measuring only once instead of checking the wall at several points
- Installing too soon after painting, especially on new builds
- Forgetting that schools and busy offices need easy cleaning around the decal
For coastal sites and high-touch areas, maintenance basics matter. Condensation, cleaning chemicals and constant handling can shorten the life of a decal if the finish is not suited to the space. A quick training session with the team who will look after the wall often prevents avoidable damage. Sometimes the issue is not the graphic at all, just poor aftercare.
Budget Ranges for South African Wall Decals
Wall decal budgets depend on size, cut complexity, installation access and the material spec. A small office logo panel may start around R1,500 to R3,500. Medium wall branding for a reception, classroom or corridor can land between R4,000 and R12,000. Larger interior branding projects, especially where there is complex cutting or multiple walls, often range from R15,000 to R45,000 or more.
Nationwide installs need travel, site access planning and sometimes after-hours fitting to avoid disruption. In places like offices at the East Rand, shopping centre back-of-house areas or school premises with strict access times, installation windows can affect the cost more than the print itself. Good planning at the quoting stage keeps the final bill easier to manage.
Support for Installers and In-House Teams
Some clients want a full supply-and-install service, while others already have a team and only need cut support, calibration or refresher training. Contour Cutting works from Isando in Johannesburg and supports cutter installs nationwide, with support areas including Sandton, Midrand, Germiston, Boksburg and Randburg. That makes it easier to sort production issues without waiting days for answers.
Training and support services can include:
- Remote refresher sessions for operators and supervisors
- Troubleshooting on print and cut alignment
- Maintenance basics for keeping the cutter in good order
- Supervisor coaching for consistent output across shifts
- Production workflow advice for repeat wall decal work
For businesses that handle regular interior graphics, this kind of support saves material and keeps turnaround steady. It also helps new staff settle faster, which matters when deadlines are tight and the client wants the wall ready before a launch or term start.