When a sticker job has to work hard for the brand
Promotional stickers are often the smallest item in a campaign, yet they are the one people keep, peel, hand out and stick on bottles, laptops, boxes or display units. That means the cut has to be clean, the backing must release neatly, and the print must hold up in offices, warehouses, courier packs and shopfront windows. If the stickers are for Johannesburg events, Cape Town retail packs or Durban coastal deliveries, the material choice matters just as much as the artwork.
At Contour Cutting we work with businesses that need sticker runs for launches, trade shows, product inserts, seasonal specials and internal brand rollout. Some need 200 pieces for a short promotion, others need 20 000 for packing lines and distributor kits. The same basic rule applies every time: the cutting process must match the media, the adhesive and the shape of the final sticker.
- Great for giveaways, pack-in cards, courier inserts and event handouts
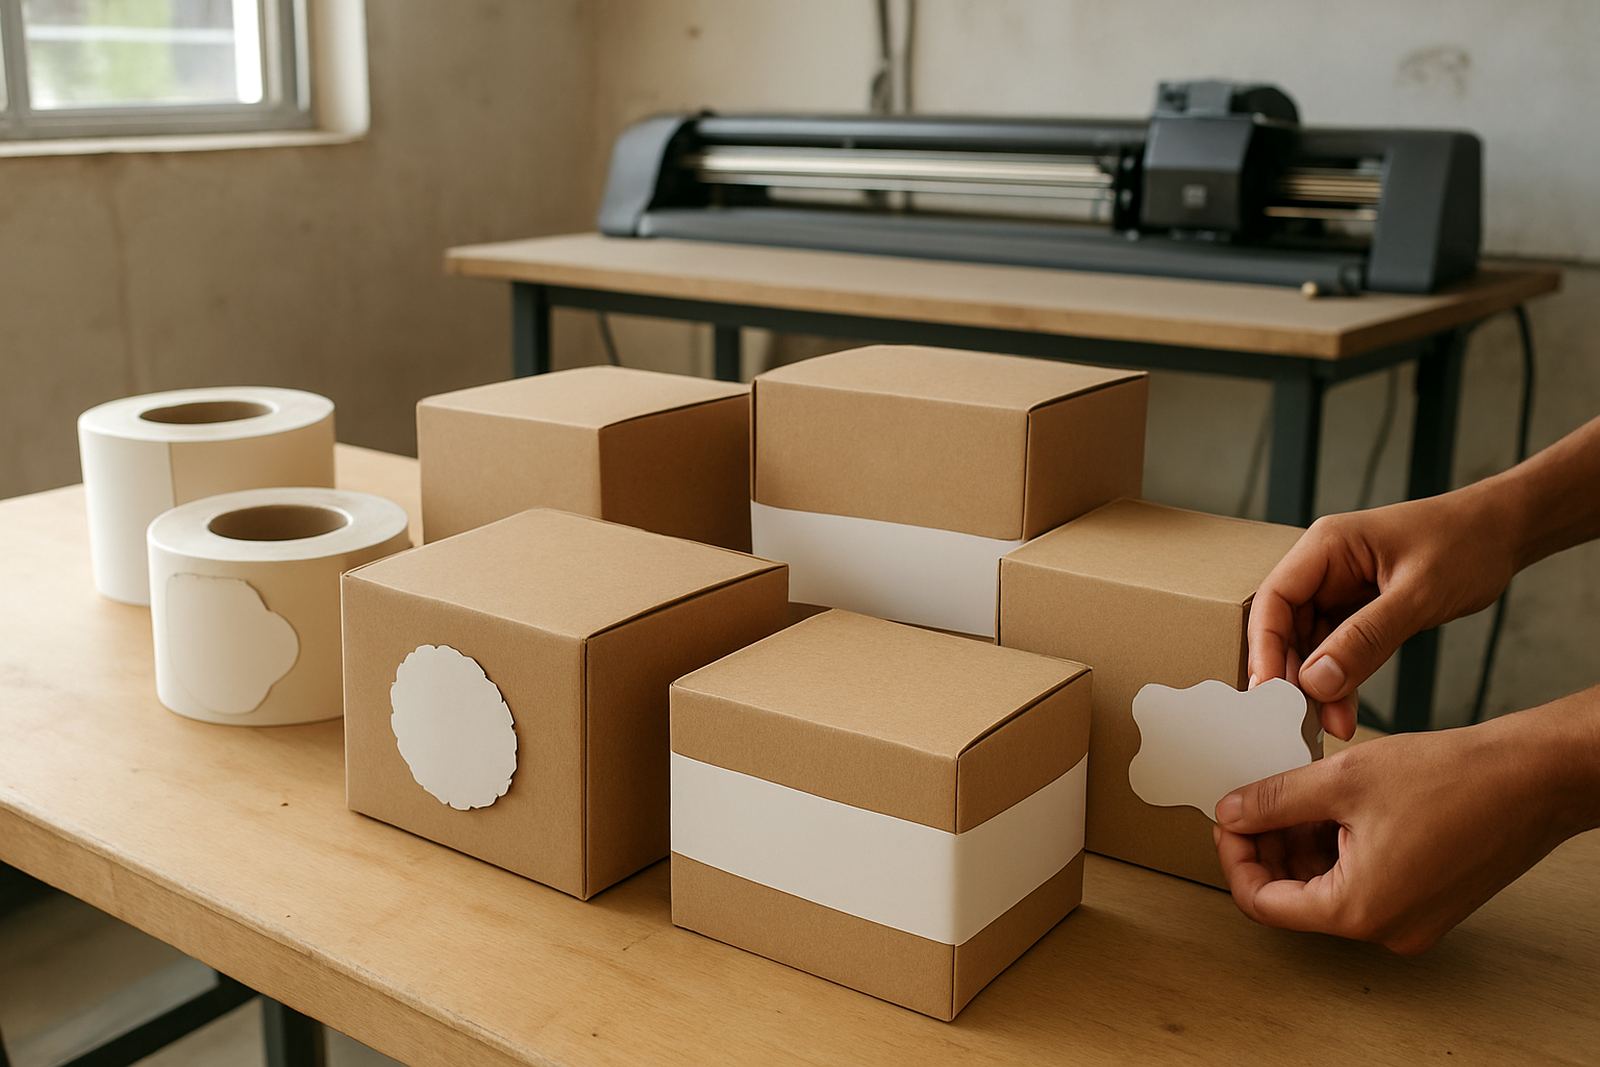
- Suitable for round, oval, shaped and kiss-cut sticker formats
- Useful for short runs and repeat jobs where artwork changes often
Typical print-and-cut equipment for sticker production
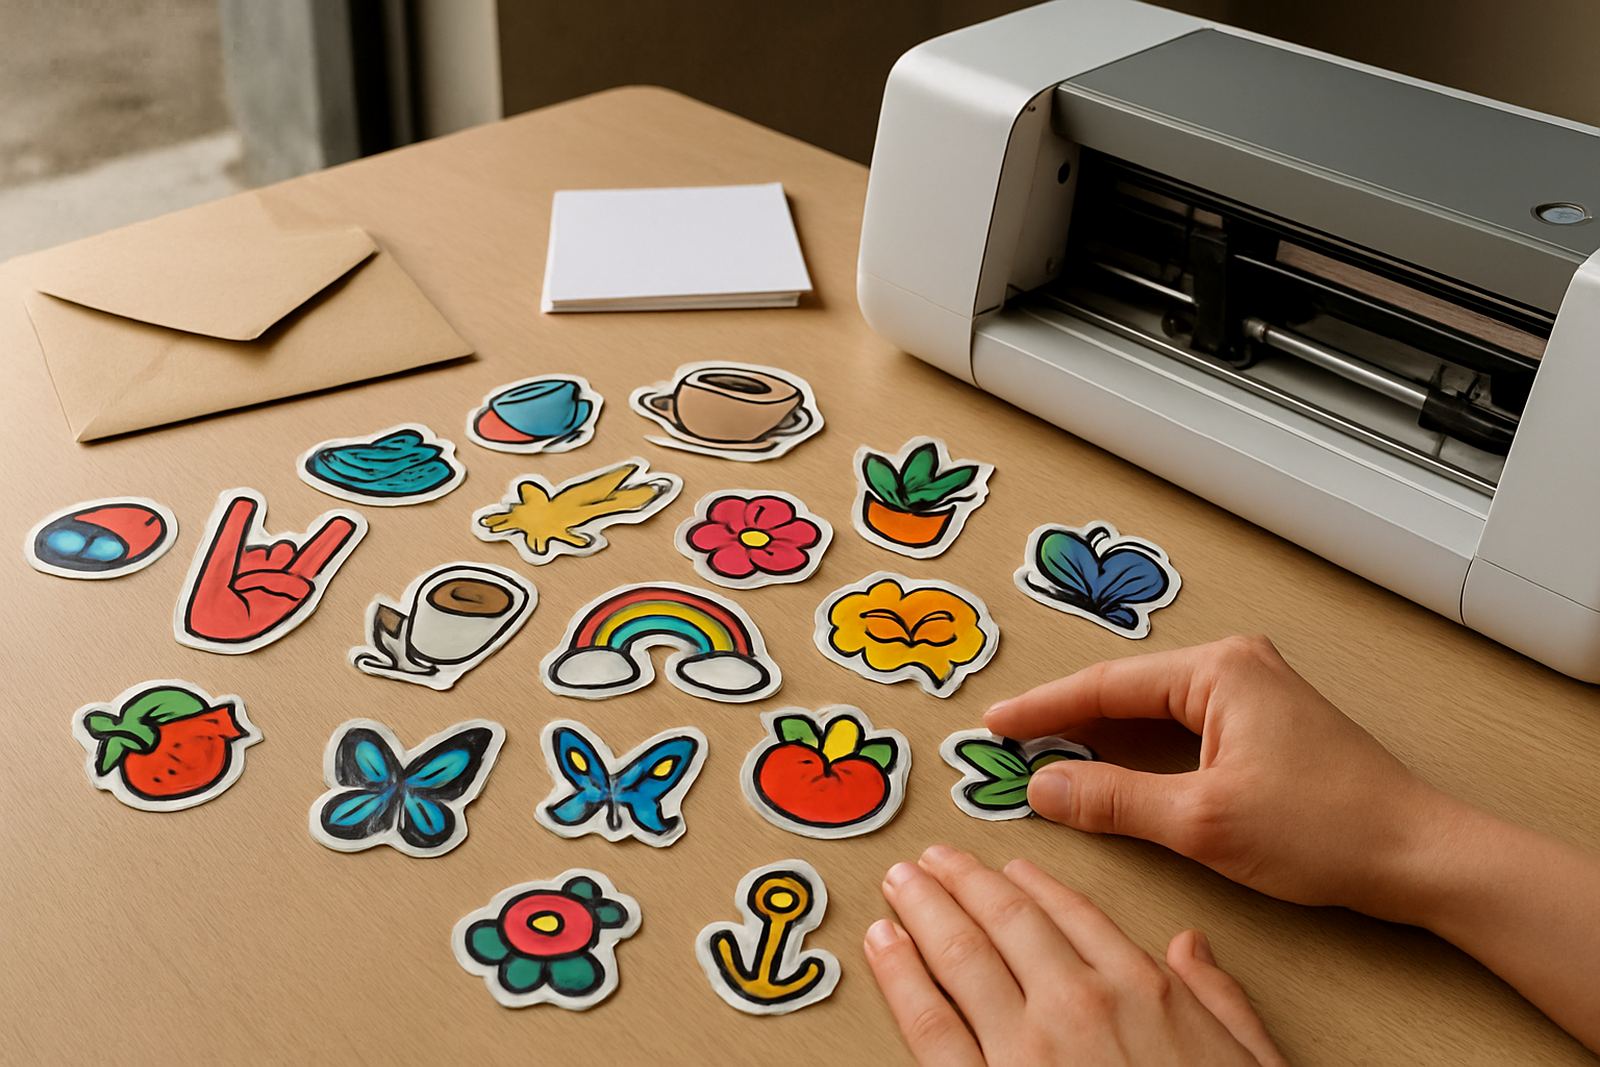
Promotional sticker work usually starts with a print-and-cut setup that can handle registration marks accurately and maintain consistent blade pressure across different films. For vinyl decals, clear labels, paper stickers and laminated promotional sets, the cutter must track properly and keep tight tolerance on fine corners, small text and detailed contours.
A typical setup includes a printed sheet or roll, a registration reading system, calibrated blade depth, and a clean feed path for the media. In our experience, operators often lose time because the blade is set too deep or the media has shifted slightly during loading. That small error can cause lifting edges, rough kiss cuts or a full reprint. In humid areas near the coast, media can also curl and affect tracking, while load-shedding back-up planning in Gauteng keeps production moving when power dips.
- Print-and-cut plotter for contour shapes and kiss-cut labels
- Flat or roll-fed media depending on quantity and layout
- Lamination where extra scuff resistance or water resistance is needed
- Cutting test strips before full production starts
Planning the layout so the stickers run cleanly
The best sticker jobs begin with a layout that suits the sheet size or roll width. If the artwork is planned badly, you waste media, slow down cutting and increase the risk of registration failure. For campaign stickers, we advise setting a sensible bleed, leaving enough spacing between cuts and keeping the design shapes consistent where possible. Very thin points and tiny internal cut areas can look sharp on screen but become troublesome on the cutter.
Artwork should be supplied with cut lines set clearly and, where relevant, grouped by size. If a client wants one campaign to include 60 mm round stickers, 90 mm shape cuts and a few small seal labels, it is usually better to split them into separate production sets rather than forcing everything into one sheet. This makes finishing easier and keeps sorting tidy for fulfilment teams.
- Keep 2 mm to 3 mm bleed where the artwork extends to the edge
- Leave enough space between stickers for easy weeding and cutting
- Use bold type for small stickers so text stays readable after trimming
- Match the layout to the final use, not only to the artwork size
Where sticker campaigns usually go wrong
Most problems are not caused by the sticker material itself. They come from rushed artwork, poor calibration or the wrong adhesive for the surface. A box label for dry indoor storage is not the same as a sticker for a chilled bottle pack or a product that will sit in a warm delivery van. For outdoor branding, cheap paper stock can fail quickly, especially in sun and moisture. On smooth plastic, low-grade adhesive can lift at the corners within days.
Another common issue is expecting the cutter to fix artwork that has no proper cut line or has been scaled during export. Once the file is wrong, even a well tuned machine will follow the wrong path. We also see jobs where the printer and cutter are not speaking the same registration language, which leads to off-centre cuts and wasted sheets. It is frustrating, and avoidable.
- Wrong adhesive choice for boxes, glass, plastic or powder-coated surfaces
- Cut lines too close to the artwork edge
- Missing registration marks or inconsistent file scaling
- No test run before the full batch starts
What the right sticker setup costs in Rand
Sticker budgets depend on size, stock, adhesive, finishing and quantity. Small campaign runs are often affordable, but the cost per sticker drops sharply once the layout and cutting setup are locked in. For a simple promotional run of a few hundred units, businesses often spend from about R850 to R2 500 depending on the material and finishing. Mid-sized branded jobs for 1 000 to 5 000 stickers can range from about R2 500 to R9 500, especially if there is lamination or multiple size sets.
For high volume work, the budget can sit above R10 000, particularly where the stickers are part of ongoing retail packing, franchise distribution or event fulfilment. If a business is doing recurring promotional campaigns across Sandton, Midrand, Germiston or Boksburg, it is worth planning one master layout that can be repeated with only artwork changes. That saves time and keeps the unit cost down. A clean spec sheet also helps with quoting and avoids back-and-forth when a deadline is tight.
Support for installs, operator training and repeat production
Sticker production runs smoother when the team knows how to load media, set blade pressure and check registration before full output begins. Contour Cutting supports operator induction, maintenance basics, troubleshooting and supervisor coaching for businesses that want more consistency from their cutter setup. We also assist with remote refresher sessions when a team changes or production gets busy.
For Gauteng customers in Isando, Sandton, Midrand, Germiston, Boksburg and Randburg, support can be structured around the actual production environment. For nationwide cutter installs, the same practical approach applies: get the machine level, confirm media handling, set realistic cut speeds and make sure the workflow is simple enough for the operators on shift. A sticker line does not need fancy talk. It needs stable output, clean edges and a team that can keep the job moving when orders pile up.
- Operator Induction for new staff and seasonal team members
- Artwork Cut Lines and registration calibration setup
- Blade pressure setup for different sticker stocks
- Troubleshooting and production workflow coaching