When helmet and bike graphics need to look factory-clean
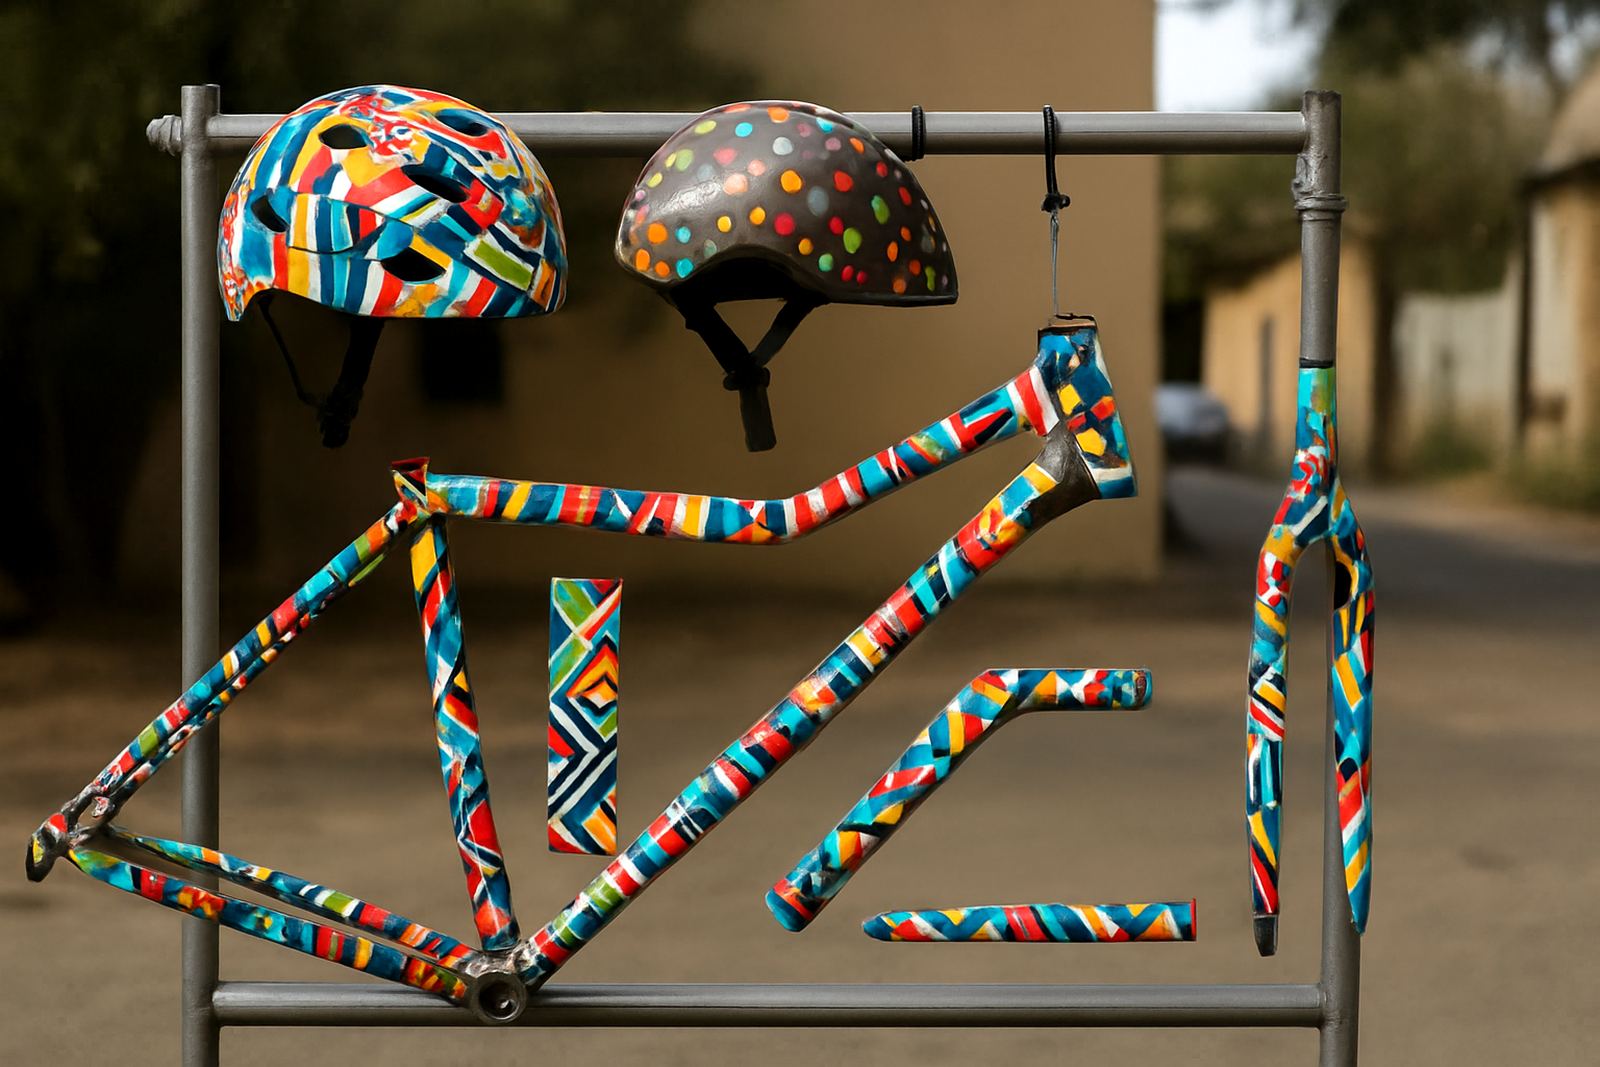
Helmet bike graphics are a different job from flat signage. A helmet has curves, vents, ridges and compound shapes, while bicycle frames bring tubes, bottle bosses and tight corners that can lift a decal if the vinyl is not cut and applied properly. For race teams, bicycle retailers, wrap shops and creative studios, the end result must hold up to handling, washing and daily use.
Customers usually come in with short-run personalisation work, team colours, sponsor names, race numbers, safety labels or custom artwork for a one-off build. The challenge is not only the printing, it is the cut line, sizing and fit. A decal that is 2 mm off can look uneven on a helmet shell or sit crooked across a frame tube, so planning matters from the start.
In Gauteng, especially around Isando, Sandton, Midrand and Germiston, many shops are handling mixed production days. One job may be a run of 12 helmets, then a single mountain bike frame, then a set of pit boards. That means the cutter must be accurate, quick to set up and easy to train on.
Equipment set that suits small runs and repeat work
For helmet and bicycle graphics, the typical set is a print-and-cut contour plotter, a computer with artwork software, a printer for colour decals and a good laminating method where needed. Some shops also keep a separate cutter for pre-coloured vinyl, reflective material or number sets. The key is repeatable registration, because these jobs often use small elements and tight curves.
Contour Cutting works with operators who need proper setup for this kind of production. That includes:
- Operator induction for new staff
- Artwork cut lines so the machine follows the design cleanly
- Media loading for different vinyl and sticker stocks
- Blade pressure setup for thin films and heavier laminated media
- Registration calibration for accurate print-and-cut jobs
- Maintenance basics and troubleshooting session support
For businesses in Boksburg, Randburg and the wider Johannesburg area, training also helps reduce waste when switching between helmet decals and bike frame graphics. A slight setup error can ruin a batch, especially on smaller items where the margins are tight.
Planning layout so decals fit helmets and frames properly
The best layout starts with the object itself. Measure the helmet shell, visor area, rear curve and any vent openings. For bicycles, check tube diameter, frame size, fork shape and where the decal will sit near cables or hinges. If the graphic crosses a bend, plan for split pieces instead of forcing one large sticker over the shape.
A good production plan usually includes test prints, cut line checks and a dry fit before final application. It also helps to keep artwork in scaled templates for common items like full-face helmets, road helmets, BMX frames and mountain bikes. When the same sizes are used often, you can save time and keep colour placement consistent. Small labels and sponsor marks should be spaced with enough bleed, otherwise the cut can clip the text, which is a common mistake.
Humidity near coastal installs is one thing, but in Johannesburg the bigger issue is dust, workshop heat and rushed turnaround. Clean surfaces, proper pressure setting and careful application matter more than people think. A helmet decal that looks fine in the bay may fail once the rider starts washing it or exposes it to sun and sweat.
Common mistakes that cost time and stock
Helmet and bike graphics look simple until the artwork gets to the cutter. The usual problems are poor contour lines, oversized jobs, weak edge finishing and using the wrong media for the surface. Curved polycarbonate shells, painted frames and textured coatings all behave differently, so one setting does not suit every job.
Shops often lose money on these errors:
- Cut lines that are too close to text or fine detail
- Applying one-piece stickers over curves that should be segmented
- Skipping registration calibration after media changes
- Using a blade pressure that marks the liner or fails to cut cleanly
- Not allowing for handling space around vents, bottle bosses and sharp edges
- Rushing delivery without a test application
Another common issue is overpromising on detail. Very small lettering may look sharp on screen, but once it is cut and applied to a helmet, it can be hard to read. For safety-related items, clarity should come first. If the graphic is decorative, keep the detail sharp but not too fine, because tiny parts lift easier and can look untidy after a few rides.
Budget ranges for South African customers
Pricing depends on quantity, artwork complexity, whether the job is print-and-cut or plain vinyl, and whether installation is included. For small helmet decal sets, many South African customers budget from about R450 to R1,500 per helmet depending on the number of colours and finishes. Bicycle graphics often range from R350 to R1,200 per frame for standard custom work. Motorsport-style personalisation, with numbers, sponsor marks and layered elements, can move into the R1,500 to R4,500 range for a set.
For production businesses, the machine and support side should be planned as well. If you are setting up an in-house workflow or replacing worn equipment, the real cost is not just the cutter. It is setup, operator training, maintenance and the time lost when registration is off. A proper induction and calibration session often saves more than it costs over the first few jobs.
Contour Cutting supports businesses nationwide with cutter installs and remote refresher support, while local teams in Isando, Sandton, Midrand, Germiston and Randburg can help with practical production advice. The aim is simple: fewer rejects, cleaner edges and a finish that holds up under normal use, not only on day one.
Why detail work needs steady support from setup to finish
Helmet and bike graphics are high-detail work, so the operator needs more than just a machine. They need a process that keeps the artwork accurate from file to cut to application. That includes blade checks, clean media handling, consistent pressure settings and clear cut planning for each shape. If the shop prints one day and cuts the next, media should be stored flat and protected from dust and moisture.
Contour Cutting, based in Isando, Johannesburg, works with production teams that want practical support for this type of job. With services like supervisor coaching, troubleshooting sessions and remote refresher training, the aim is to keep the production floor steady even when deadlines are tight. That matters for shops handling race prep, retail orders and one-off personalised sets at the same time.
For helmet bike graphics, precision is not a luxury. It is what makes the final piece look intentional, clean and worth paying for.