When one sticker sheet has to do the work of many SKUs
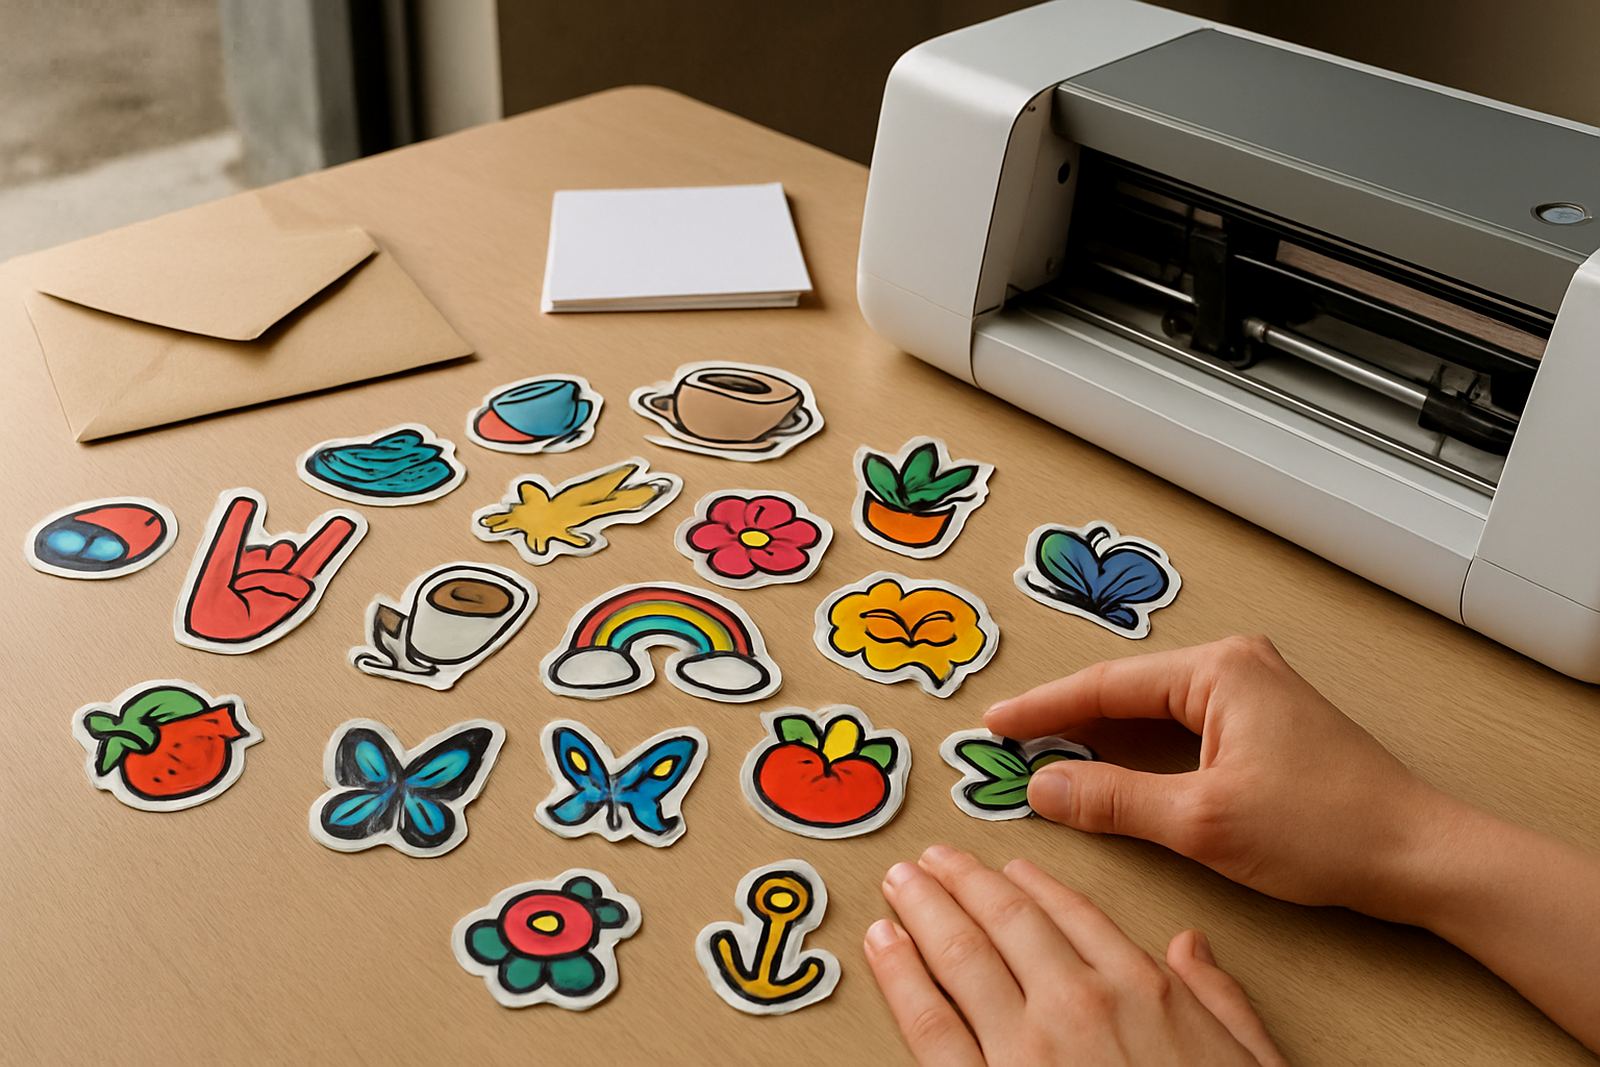
Custom sticker sheets suit businesses that sell small art packs, branded giveaways, character sets, event merch, or retail sticker packs. Instead of cutting each item separately, the sheet lets you print multiple designs on one page and finish them in a single pass. That matters when you are balancing short runs, tight deadlines and changing artwork. A seller in Sandton may need 50 sheets for a market weekend, while a creator in Cape Town may want 500 sheets for a launch and a restock next month.
For many clients, the challenge is not the printing itself, it is planning the sheet so the cut lines make sense, the spacing is clean, and the final pack feels worth the price. If the stickers are for retail, presentation is everything. If they are for a promotion, speed and consistency count more. We look at the actual use case first, then match the sheet size, material and cutter workflow to suit it. That usually saves money and avoids rework later.
Typical equipment set for clean print-and-cut sheets
A proper sticker sheet setup usually includes a print unit, a contour cutter, a laminate if the sticker needs extra protection, and a workstation for artwork checks. For larger volumes, a roll-fed setup is often easier. For smaller mixed designs, sheet-fed media can be practical. In Isando and the surrounding industrial areas, many teams also keep a spare blade set, a calibration sheet and a simple lighting check area because load-shedding can interrupt a run at the worst time.
- Print unit with accurate colour output and stable feed
- Contour cutter with reliable registration reading
- Media suited to gloss, matt, vinyl or removable use
- Optional laminate for handling, moisture and scuff resistance
- Blade, holder and pressure settings matched to material thickness
For coastal clients working in humid conditions, especially where stickers are packed for courier delivery, we often suggest tighter drying time and careful stacking so sheets do not curl. A sharp cutter cannot fix poor media handling.
Layout planning that keeps production moving
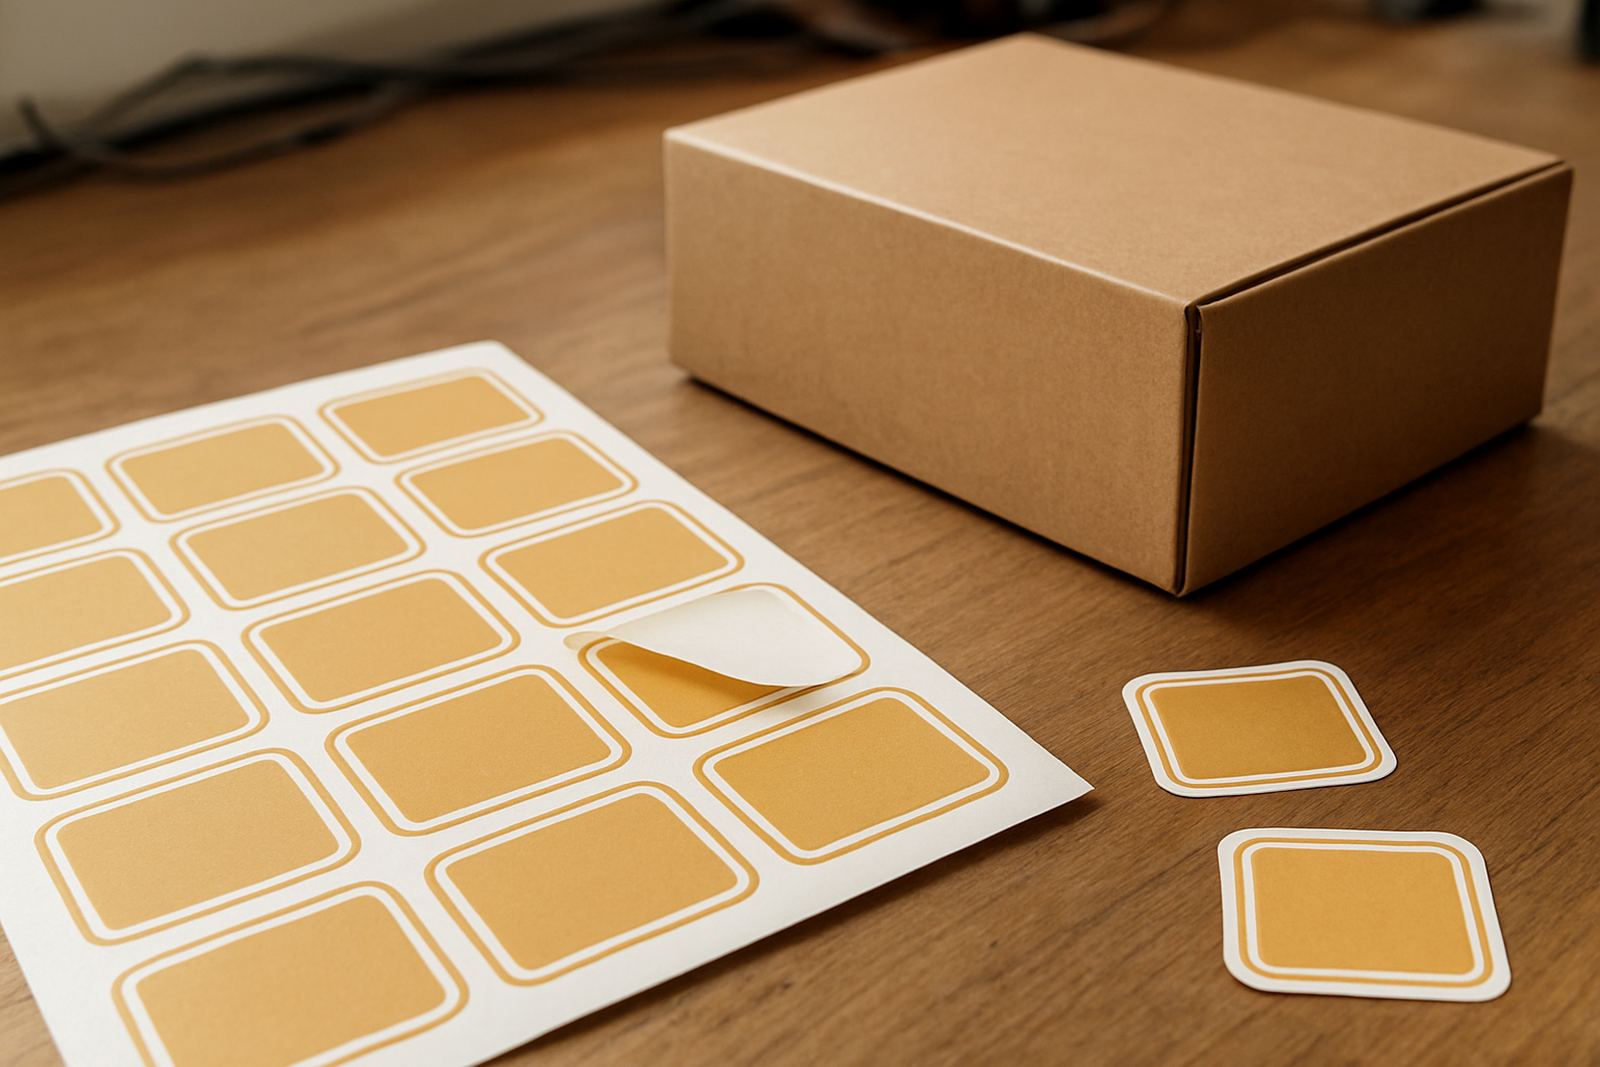
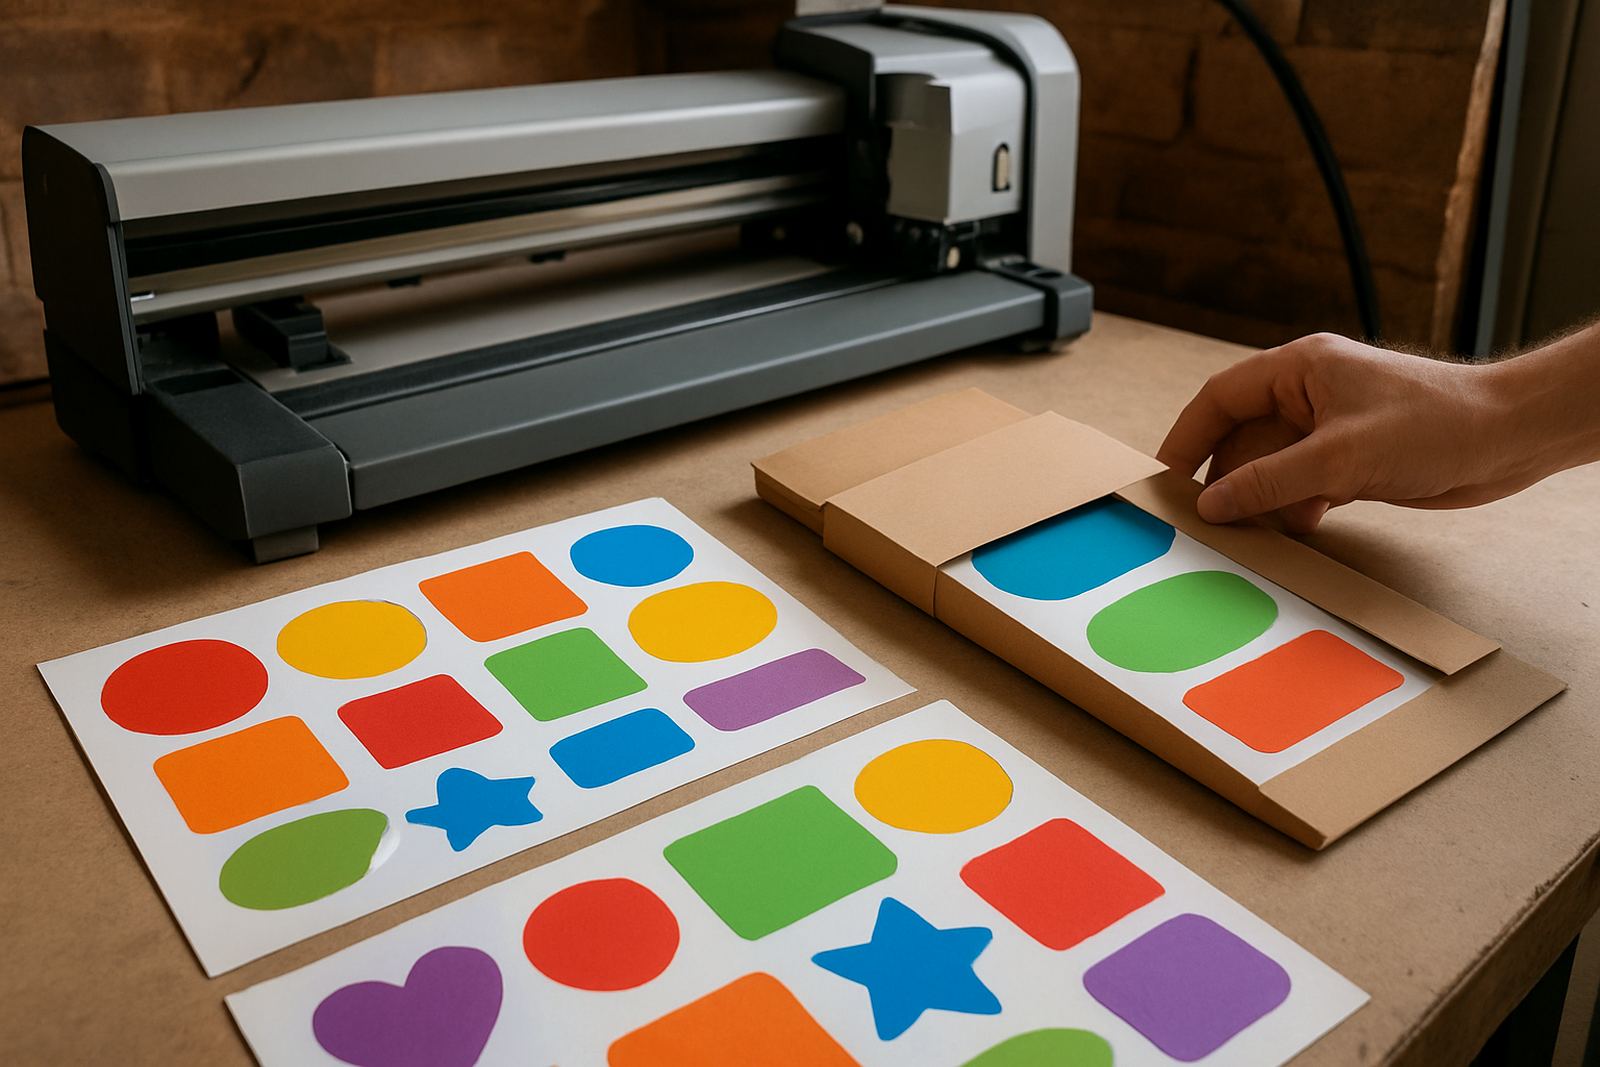
The best sticker sheets are planned from the start, not patched together later. Start by deciding how many designs must fit on one sheet, then allow enough space between cut lines so the cutter does not lift corners or nick adjoining stickers. Keep similar sizes grouped together if the pack includes multiple shapes. That makes sorting easier for staff and speeds up packing. It also helps if you need reorders, because the layout stays familiar.
Good layout also means thinking about bleed, safe zones and the outer sheet border. If a sticker is meant to be peeled by hand, leave enough margin around the edge. If the design has fine text or tiny details, make the artwork a little larger than you first planned. Small items can look neat on screen but become messy once cut. A practical rule is to test the first sheet at real size before committing to a larger run.
- Leave space for crop marks and registration marks
- Use consistent spacing between designs
- Group similar shape sizes where possible
- Allow for bleed on full-colour artwork
- Keep peel edges easy to grip for the end user
Common mistakes that waste media and money
One of the biggest mistakes is trying to cut too close to the artwork. That can leave ragged edges or weak corners that peel early. Another common issue is not matching blade pressure to the material. Too much pressure can score the backing paper, while too little leaves corners attached. Registration errors are also frequent when the print is rushed or the sheet is fed slightly skew. On busy production floors, that tiny misfeed can ruin a full batch.
Artwork errors happen too. Files arrive with missing cut lines, doubled paths, or tiny objects that are impossible to weed neatly. Some clients also forget that laminated sheets are thicker and need adjustment on the cutter. A quick setup session usually prevents these issues. We see it often in Johannesburg, where teams want fast turnaround and assume the machine will correct the file. It wont. The file still has to be right.
What sticker sheet projects normally cost in Rand
Budget depends on quantity, artwork complexity, material choice and whether you need one-off setup or repeat production. For simple test sheets, expect lower setup costs and a small print run charge. For retail packs with several shapes, matt or gloss laminate, and careful weed-friendly spacing, the price rises because the workflow takes longer. Businesses often compare sticker sheets to loose kiss-cut stickers and find the sheet format better value when they need mixed designs.
As a practical guide, small starter jobs may begin around R950 to R2 500, while regular production runs for branded or retail use often sit between R3 500 and R12 000 depending on quantity. Larger campaigns, custom finishing and installation-ready packs can go higher. We always advise clients to budget for a sample first, especially if the stickers will be sold at markets in Pretoria, distributed through shops in Midrand, or packed for courier across the country.
Who uses custom sticker sheets well and how to brief the job
Artists use sticker sheets for character sets, planners and collector packs. Brands use them for promos, product inserts and event handouts. Sellers use them for themed bundles, seasonal packs and online orders. The best brief is simple and specific: tell us the final sheet size, the number of designs, whether the stickers are for indoor or outdoor use, and if the finish must handle water, sunlight or frequent handling.
Our Johannesburg base in Isando supports cutters and production work nationwide, with help available through Sandton, Midrand, Germiston, Boksburg and Randburg. That local coverage matters when you need operator induction, blade pressure setup, registration calibration or a troubleshooting session after a difficult batch. If your team is building a new sticker range, we can help you set a repeatable process so the next run matches the first one without guesswork.