Start With the Right Artwork Format
For contour-cut work, send artwork that is easy to read, scale and separate from the cut line. Keep the visual artwork and the cut path clearly defined, and make sure the file opens without missing fonts or linked images. If the design includes a logo, shape or sticker pack, each item should be placed so the cutter can read it without confusion.
Where possible, work from vector artwork for the cut line. That gives cleaner corners and smoother curves, especially on small decals, labels and promo stickers. Raster artwork can still be used for the print side, but the contour path itself must be accurate and closed.
- Use a print-ready file with the cut line on a separate layer or spot colour
- Set the document to the final finished size, not a guess
- Keep all text outlined or supplied with the font files
- Check that placed images are embedded or supplied correctly
Build Cut Paths That the Plotter Can Read
The cut path needs to be a clean, closed outline around each item. Avoid double lines, open ends and extra nodes that slow the job down. If the shape is too busy, simplify it before production. A neat path helps the operator get the pressure, speed and knife setting right first time.
When there are multiple items on one sheet, leave enough space between them so the blade does not chase tight corners or lift the media. This is especially important on thin vinyl and laminated prints used for signage or branded packs. A path that is too close to another object can cause poor weeding and wasted stock.
- Close every cut path fully
- Remove overlapping outlines and hidden objects
- Keep cut lines separate from artwork and background fills
- Leave practical spacing between repeated shapes
Place Registration Marks in the Correct Position
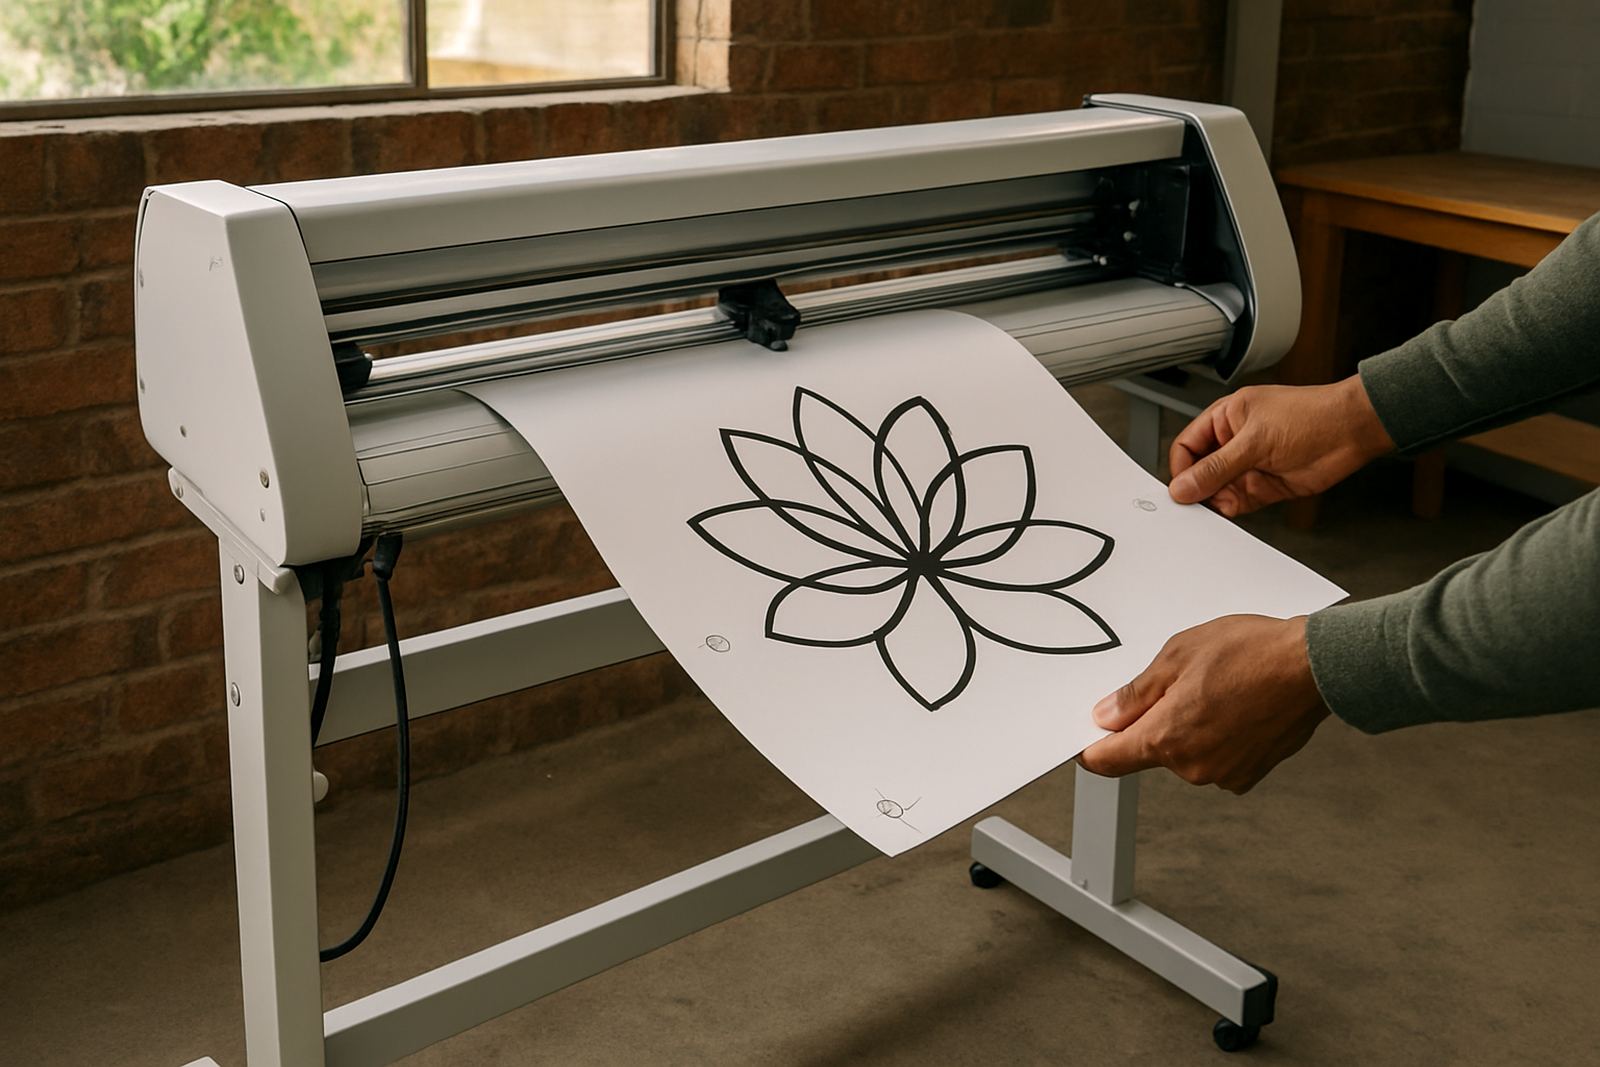
Registration marks let the machine find the printed image before it starts cutting. Place them in a standard layout with enough clear space around each mark so the sensor can read them. Do not put marks too close to artwork, crop lines or borders because that can confuse the read.
Keep the marks consistent across the sheet and make sure they print dark and clean. If the sheet is crowded, reduce the layout or split the job into smaller runs. On glossy media and laminated vinyl, a dirty mark or heavy reflection can affect the read, so keep the area around the marks free of print and fingerprints.
- Use the same mark style across the whole job
- Leave a clear margin around each mark
- Do not place artwork over the registration area
- Check the marks print solidly and at full contrast
Set Media Size, Bleed and Safe Areas
Practical file checks before you send a job
Before sending artwork for contour cutting, do a final pass on the file itself. This reduces call-backs and saves time in production, especially when the team is working through multiple jobs in one shift or during load-shedding windows.
- Confirm all text is legible at the final size
- Check the cut line is on the correct layer or colour
- Make sure there are no missing links or broken images
- Verify the document opens at the correct scale
- Remove stray points, hidden shapes and duplicate paths
If a file is being shared by email, include a PDF for viewing and the editable production file where needed. If you are not sure, ask for a quick file check before print starts, it can save a full rework.
Common Problems and How to Avoid Them
The most common issues are wrong scaling, missing marks and cut lines that do not match the print. Another frequent problem is artwork created in a low-resolution image only, which looks fine on screen but gives poor edges once cut. A slightly skewed sheet, or a mark that is not printed dark enough, can also throw off the calibration.
For coastal humidity or dusty workshop conditions, store media flat and handle sheets with clean hands. Moisture can cause curling or feeding issues, while dust may affect reading and blade performance. If the job is for outdoor use, plan for lamination and allow the print to dry properly before cutting.