Office glazing brief for a busy Rosebank client
The client was a professional office tenant in Rosebank, Johannesburg, needing glass graphics for meeting room and front office glazing. The brief was straightforward: reduce direct sightlines, keep the space bright, and add branded detail that felt crisp rather than heavy.
The glazing was already installed and the work area stayed active during business hours, so the graphics had to be installed with minimum disruption. We also had to work around standard office access, cleaners, and a reception area that could not be blocked for long. In a setting like this, even a small alignment error shows, so the cut lines and placement had to be spot on.
- Project type: privacy strips and branding elements for internal office glass
- Area: Rosebank, Johannesburg
- Use: meeting rooms, reception glazing and client-facing partitions
- Finish required: neat, readable and office appropriate
What the client needed from the graphics
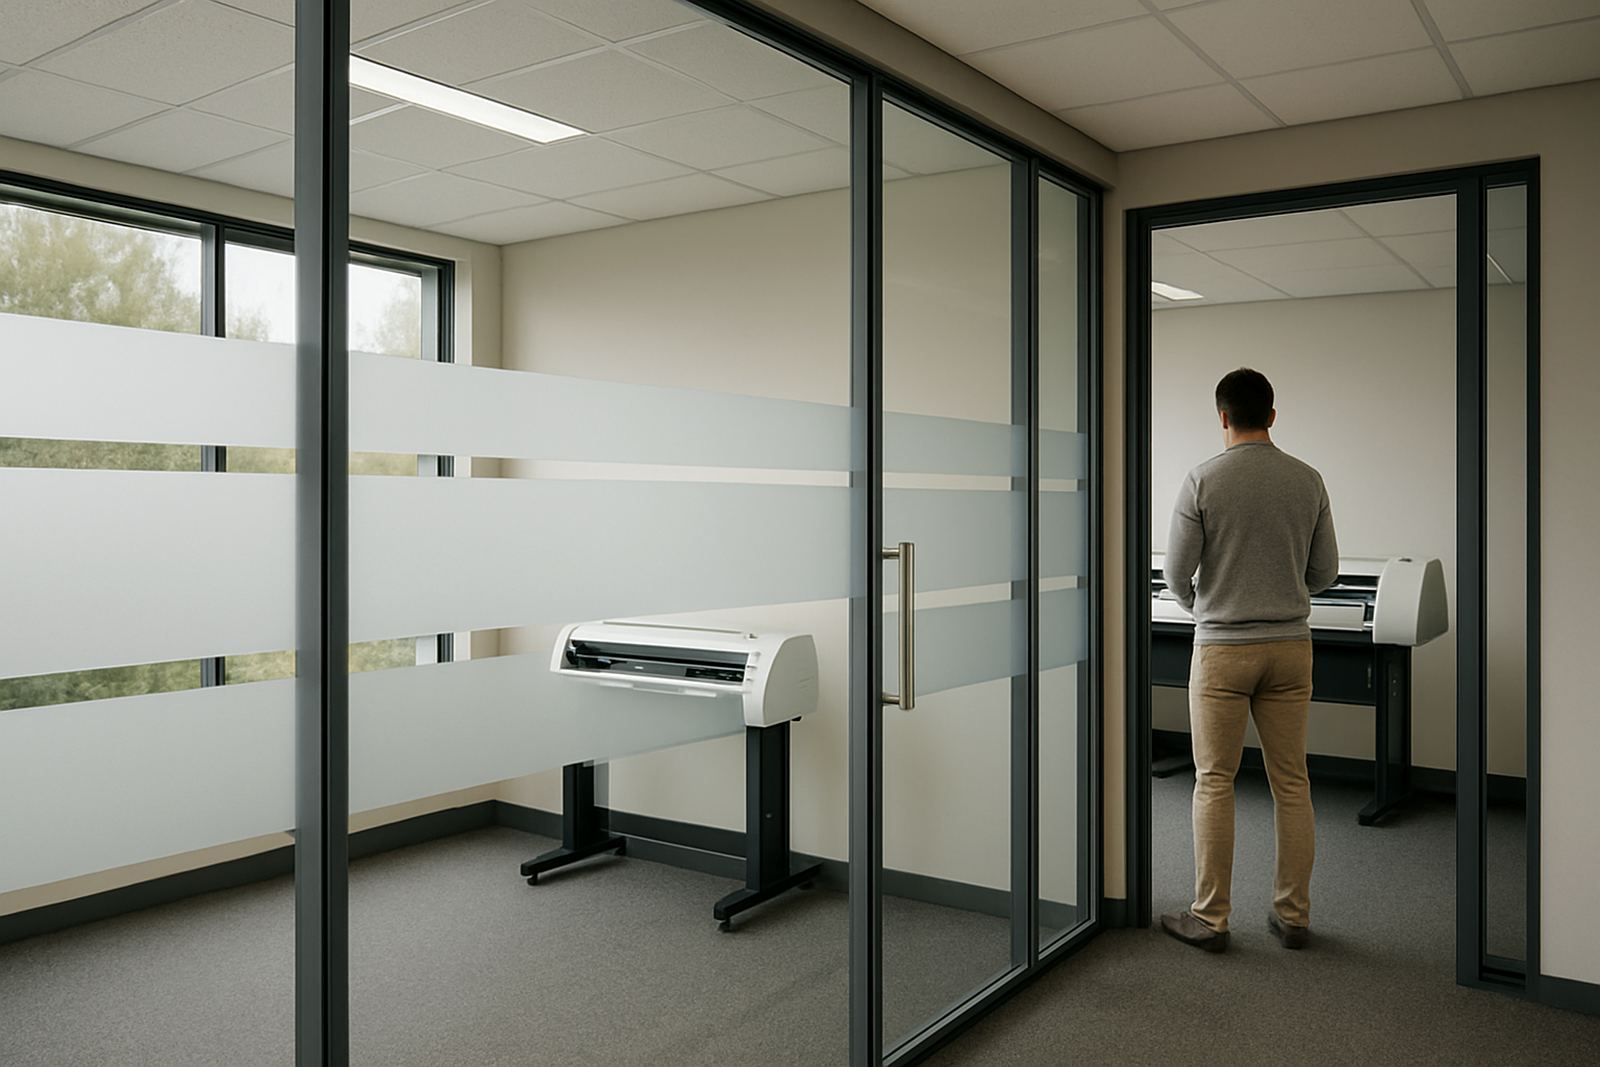
The main requirement was privacy without turning the glass into a solid wall. That meant using a mix of cut film strips and shaped logo elements, arranged to let daylight through while still softening views into the rooms. The client wanted the branding to be present but not shouty, which suits a corporate office better than large blocks of coverage.
We also had to consider the glass sizes and the way the sun moved through the building. On one side there was stronger afternoon light, so the spacing of the strips needed to avoid visual clutter and glare. Because this was office glazing, the client asked for a result that would stay looking tidy with regular cleaning, and not lift at the edges.
- Privacy level: partial screen, not full blackout
- Branding style: cut elements with clear negative space
- Visual aim: light, professional and easy to read
- Durability target: daily office traffic and regular cleaning
Measuring, artwork and cut line prep
Before any material was cut, we confirmed the glazing sizes on site and checked the exact panel layout. This step matters because office glass is rarely identical from bay to bay, especially where frames, mullions and seal lines vary by a few millimetres. We marked the panel edges, measured the visible area, and allowed for a safe margin so the finished result would sit square.
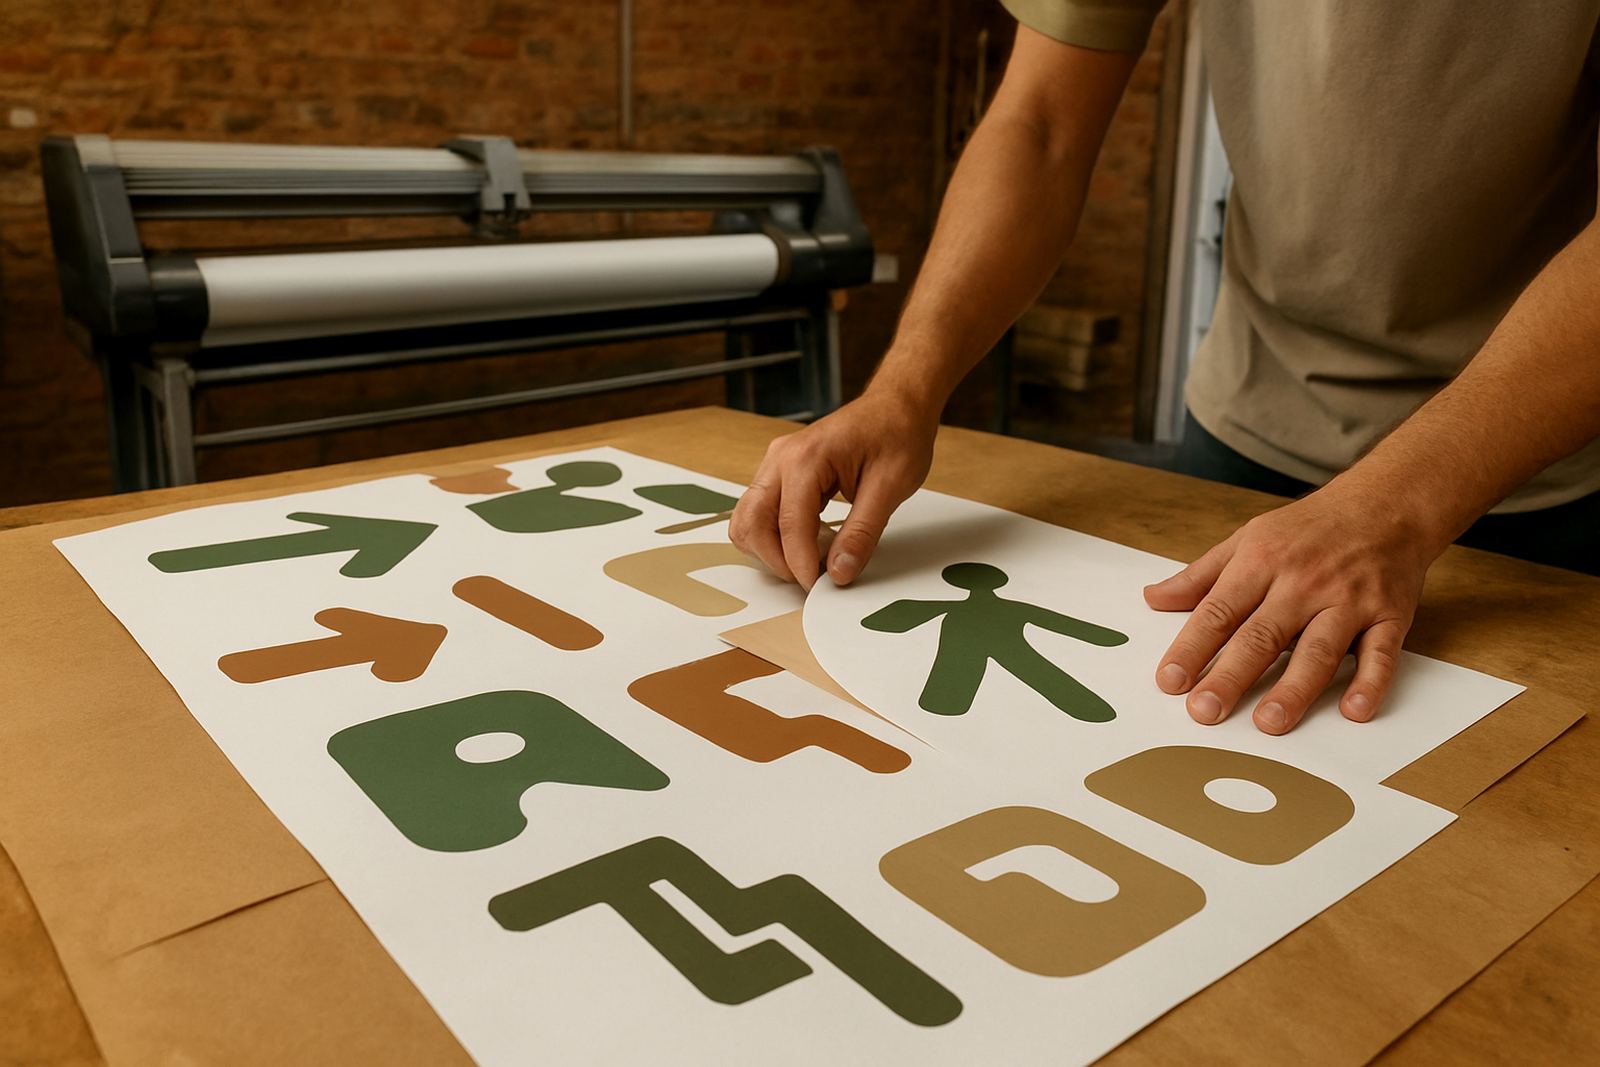
We then prepared the artwork for cutting with proper registration marks and cut lines. The logo elements were simplified to suit the available space and the privacy strip pattern was set to keep the rhythm consistent across the frontage. That stage was handled by our production team in Isando, with blade pressure setup and registration calibration confirmed before output. It saves time later and avoids waste, which is always worth doing.
The job took just under two weeks from site measure to final fitment, with the actual install completed in one day. A small recheck visit followed after the first cleaning cycle, mainly to confirm edge adhesion and alignment at eye level.
Material choice and cutting detail
For a glass graphics job like this, the material has to cut cleanly and weed without lifting tiny corners. We used a premium self adhesive film suitable for interior glass applications, with enough body to hold fine edges but not so thick that it looks bulky on the pane. The cut profile needed sharp corners in some areas and smooth curves in others, especially around the branding elements.
Blade pressure and media loading were set carefully because office graphics can fail if the cut is too deep or too light. Too deep and the backing scores badly, too light and small letters lift during weeding. We also checked the room temperature and the glass surface condition before application, since polished glass and cold mornings can affect initial grab, and yes it shows quickly if you rush it.
- Film type: premium interior self adhesive glass film
- Cut style: privacy strip pattern with branded cut-outs
- Application: dry fitted on clean glass panels
- Key control points: blade pressure, registration and panel alignment
Install day in Rosebank
Fitment was carried out on site with the office still operating, so the install had to be tidy and efficient. We cleaned each panel, checked for dust and handled the graphics in sections to avoid creases or trapped air. Where the glass sat close to painted trims and aluminium framing, we trimmed carefully so the edges followed the lines of the building rather than looking pasted on.
For a project in central Johannesburg, timing matters as much as the finish. We scheduled the work to reduce disruption for staff and visitors, and we kept the work area clear once each panel was completed. The result was a clean run of privacy strips with branded elements positioned where they could be seen from inside and from the client reception side. The client wanted the first impression to feel organised, and that is exactly what the finished glass delivered.
- Install time: one working day on site
- Working method: section-by-section fitment
- Housekeeping: clean panels, trimmed edges, no loose offcuts
- Access: planned around office movement and reception use
Result, handover and what we would repeat
The finished glazing gave the client the privacy they wanted while keeping the office bright and open. The branding sat neatly on the glass, and the overall look felt more considered than plain frosting or a full coverage panel. Staff could still see light moving through the rooms, but the direct sightlines into meeting spaces were softened enough for everyday use.
What we would do again is the same measured approach: site check first, clean cut lines, a proper registration check and an install plan that respects office hours. For this kind of work, the details carry the job. If the measurements are right and the film is handled properly, the result lasts and keeps looking smart. That part does not need fancy talk, it just needs care.
This project is a good example of how we handle signage and glazing work for businesses in Johannesburg and beyond. Whether the requirement is privacy, branding or a mix of both, the process stays practical, accurate and suited to the site.
Key facts
| Client type | Professional office tenant in Rosebank |
|---|---|
| Location | Rosebank, Johannesburg |
| Scope | Privacy strips and branding elements for office glazing |
| Timeline | Just under 2 weeks from measure to final fitment |
| Install duration | 1 working day on site |
| Material | Premium self adhesive film for interior glass |
| Support | Artwork cut lines, registration calibration and fitment |