1. Start with the right source file
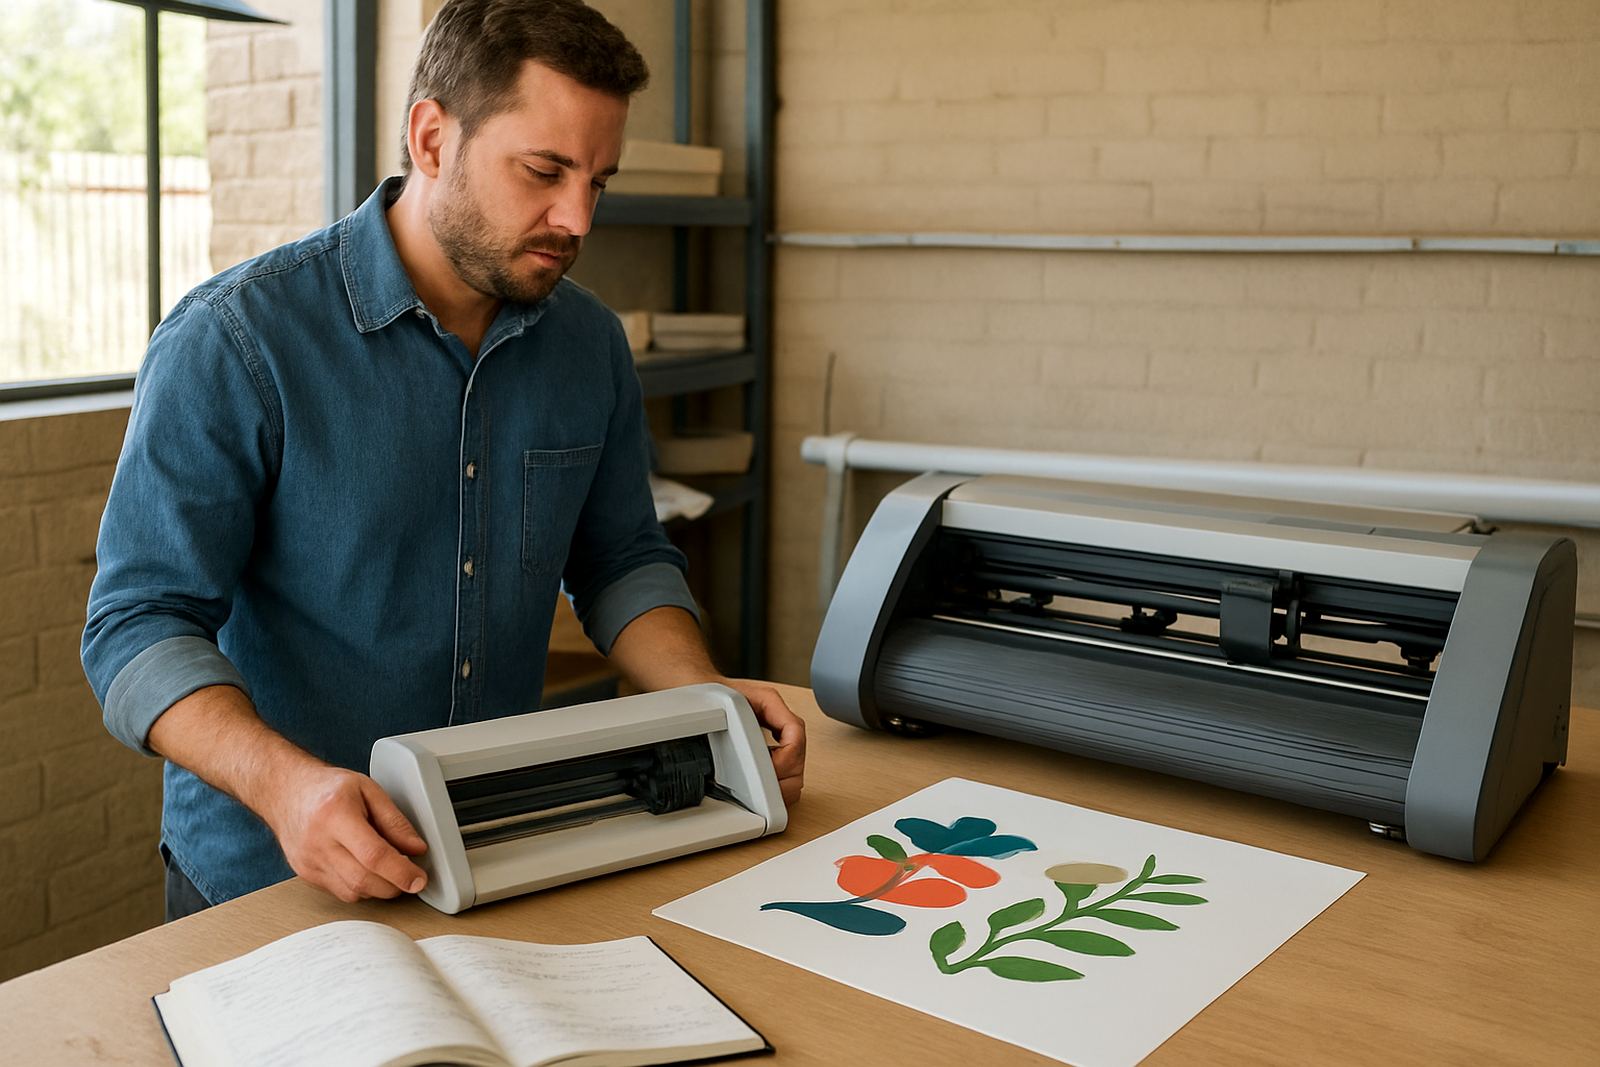
Always begin with the strongest file you have, preferably a vector artwork or a high resolution print file that has been neatly separated from the cut path. If the artwork is fuzzy, flattened badly, or built with random layers, the cutter has to work harder and small details can wander off register.
For businesses in Johannesburg, Sandton or Midrand, this matters even more when jobs need to move quickly and materials are being handled by different people. Save the working file with clear version naming so your team knows which artwork is final and which one still needs approval, because a mixed-up file can waste a full roll.
- Use a clean master file with editable layers where possible
- Keep the print artwork and cut line separate
- Save a backup copy before making any changes
- Check that all text is converted or packaged properly for output
2. Build cut lines that the machine can follow
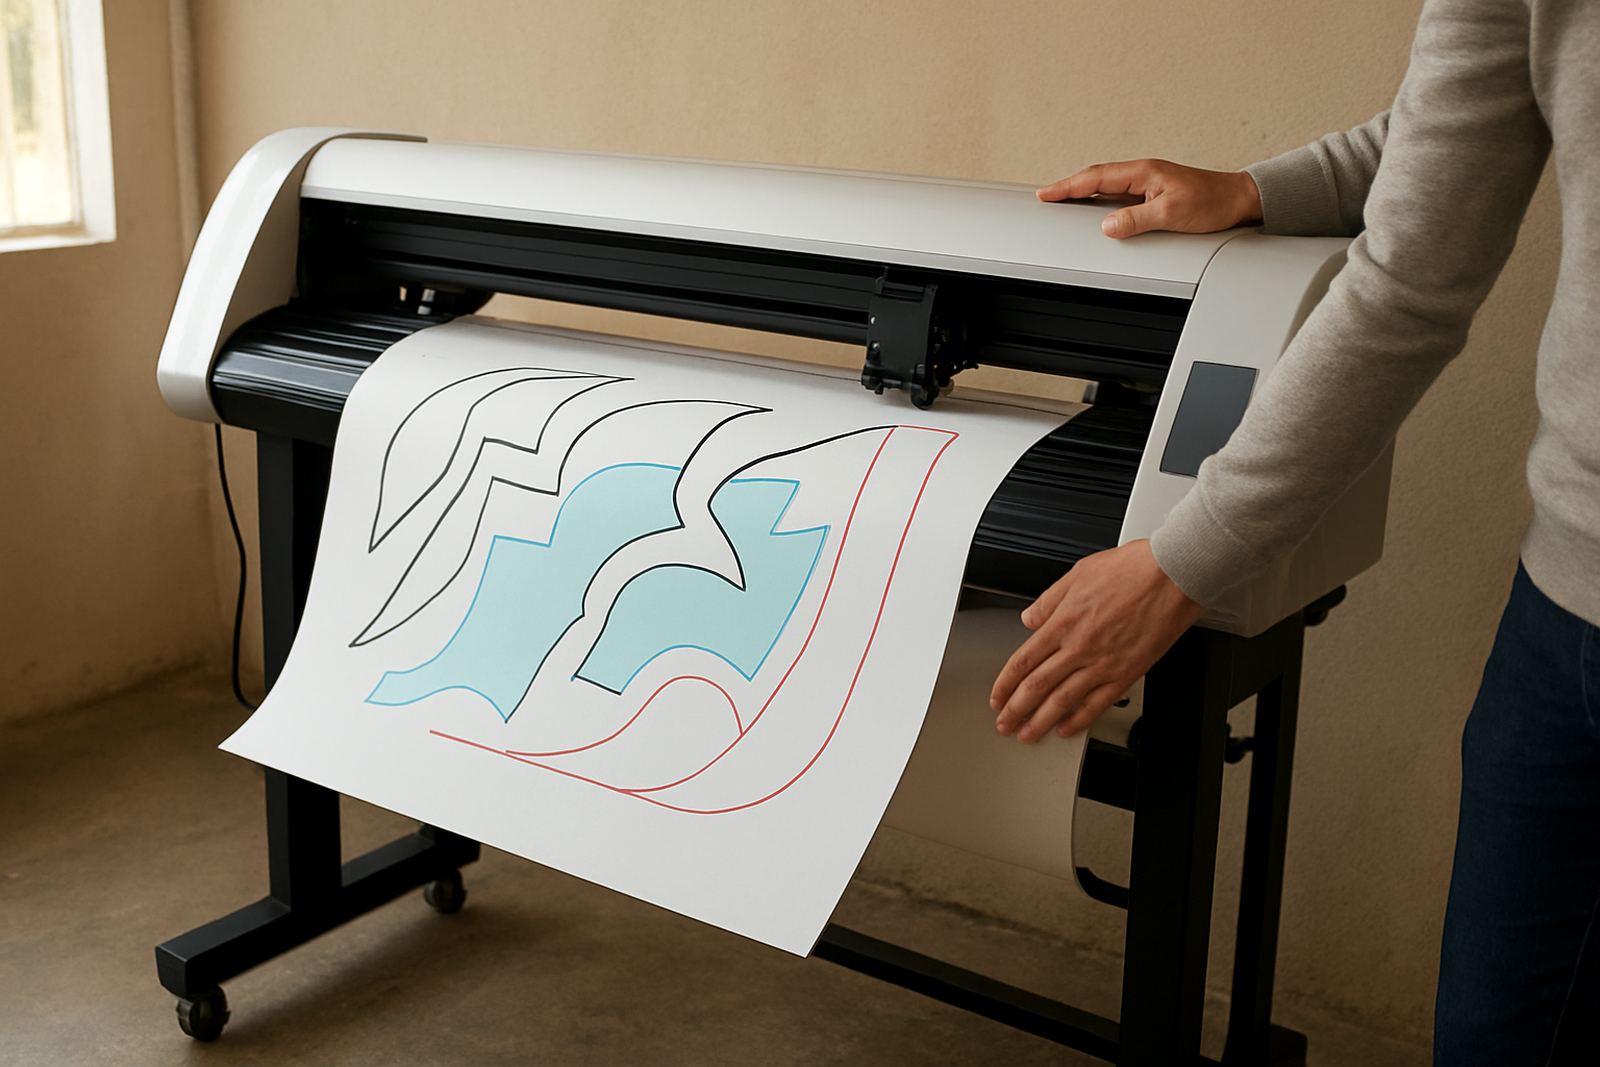
The cut line is the path the plotter follows, so it must be simple, clear and set to the correct spot in the file. Avoid duplicated outlines, hidden objects and extra nodes on curves. Too many points can slow down the job and make small shapes look jagged on the final piece.
Good cut line setup also helps when you are running repeated batches for promotions, labels or window decals. If you are producing on a tight deadline in Isando or Germiston, take a few extra minutes to check line weight and colour naming before the file leaves artowrk prep. A mistake here is expensive later.
- Use one cut line per shape unless the job calls for otherwise
- Remove stray points, overlaps and hidden layers
- Set the cut line to a spot colour that is easy to identify
- Keep corners and curves smooth, not overbuilt
3. Prepare registration marks and print margins
Registration marks tell the machine where the print begins and where the cut should land. If they are too close to the artwork, too faint, or placed badly on the sheet, the cutter may struggle to read them. That leads to offset cuts, wasted media and rework that no one wants on a Friday afternoon when power is unstable.
With load-shedding still affecting many production rooms, it is sensible to check that your file has enough safe margin around the marks and enough bleed around the artwork. When the lights go off and the job is paused, you want a file that can be restarted without guesswork. Keep the marks clear of dark backgrounds if possible, and leave space for trimming and handling.
- Leave enough white or quiet space around registration marks
- Build bleed beyond the final trim line
- Do not place marks over critical artwork detail
- Check the file size matches the media size before printing
4. Match the artwork to the media and finish
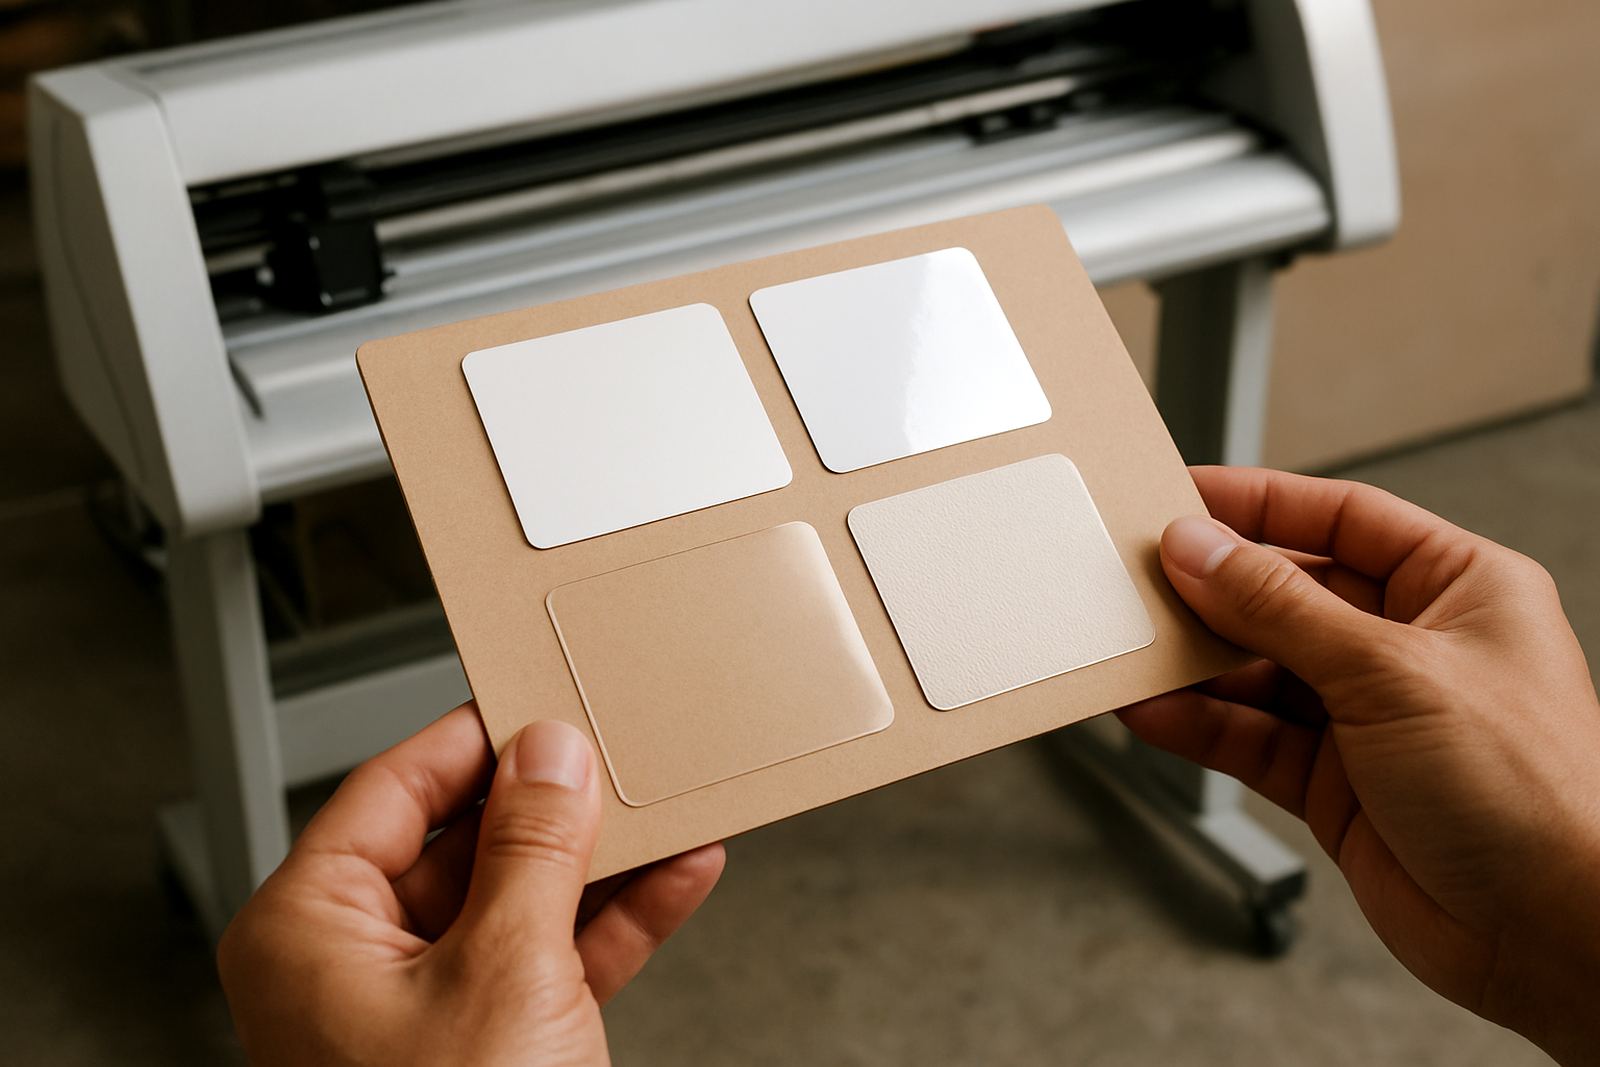
Different materials behave differently. A glossy vinyl decal, a laminated label and a thicker sign graphic will not cut the same way, even if the artwork is identical. The file should be prepared with the final finish in mind so the cutter is not fighting against heavy laminate, soft adhesive or a textured face stock.
In coastal areas where humidity is higher, materials can move slightly after printing and before cutting. In that case, let the print settle before you run the contour process and check whether the media has curled at the edges. A simple material check can save a lot of frustration, especially on outdoor graphics that need a clean finish.
- Confirm the media type before setting blade pressure
- Allow printed sheets or rolls to settle before cutting
- Watch for curling, stretching or surface moisture
- Use the right finish settings for gloss, matte or laminated work
5. Run a pre-cut checklist before production
A quick checklist catches most problems before they become production losses. This is especially useful when more than one person handles the job, from artwork prep to printing to cutting. Keep the file notes clear so the operator knows whether the job needs a kiss cut, full cut, or a special finish for weeding and application.
At Contour Cutting, we see that the cleanest jobs usually come from the simplest habits. The file was checked, the media was loaded correctly, and the registration calibration was confirmed before the full run started. That process is not exciting, but it works.
- Confirm artwork scale and final dimensions
- Check cut lines, registration marks and bleed
- Verify media orientation and loading direction
- Test one sample before starting the full batch
- Make sure the operator knows the finish required
6. Hand over a file the production team can use
Once the artwork is ready, send it in a format that the production team can open and understand without chasing extra details. Include notes on size, quantity, substrate, finishing and any special instructions for trimming or packing. If a job needs installation nationwide, mention whether the graphics must be weeded, boxed flat or kept in labelled sets.
Clear handover saves time for production supervisors, installers and support staff alike. It also helps with training sessions, supervisor coaching and troubleshooting later on because the file history is easier to follow. If a job comes back for a repeat order, you want the artwork to be ready with no surprises.
- Send the final approved file only
- Include quantity, size and material details
- Note any special cutting or packing instructions
- Keep a copy of the output settings for repeat work