1. Before the machine leaves Isando
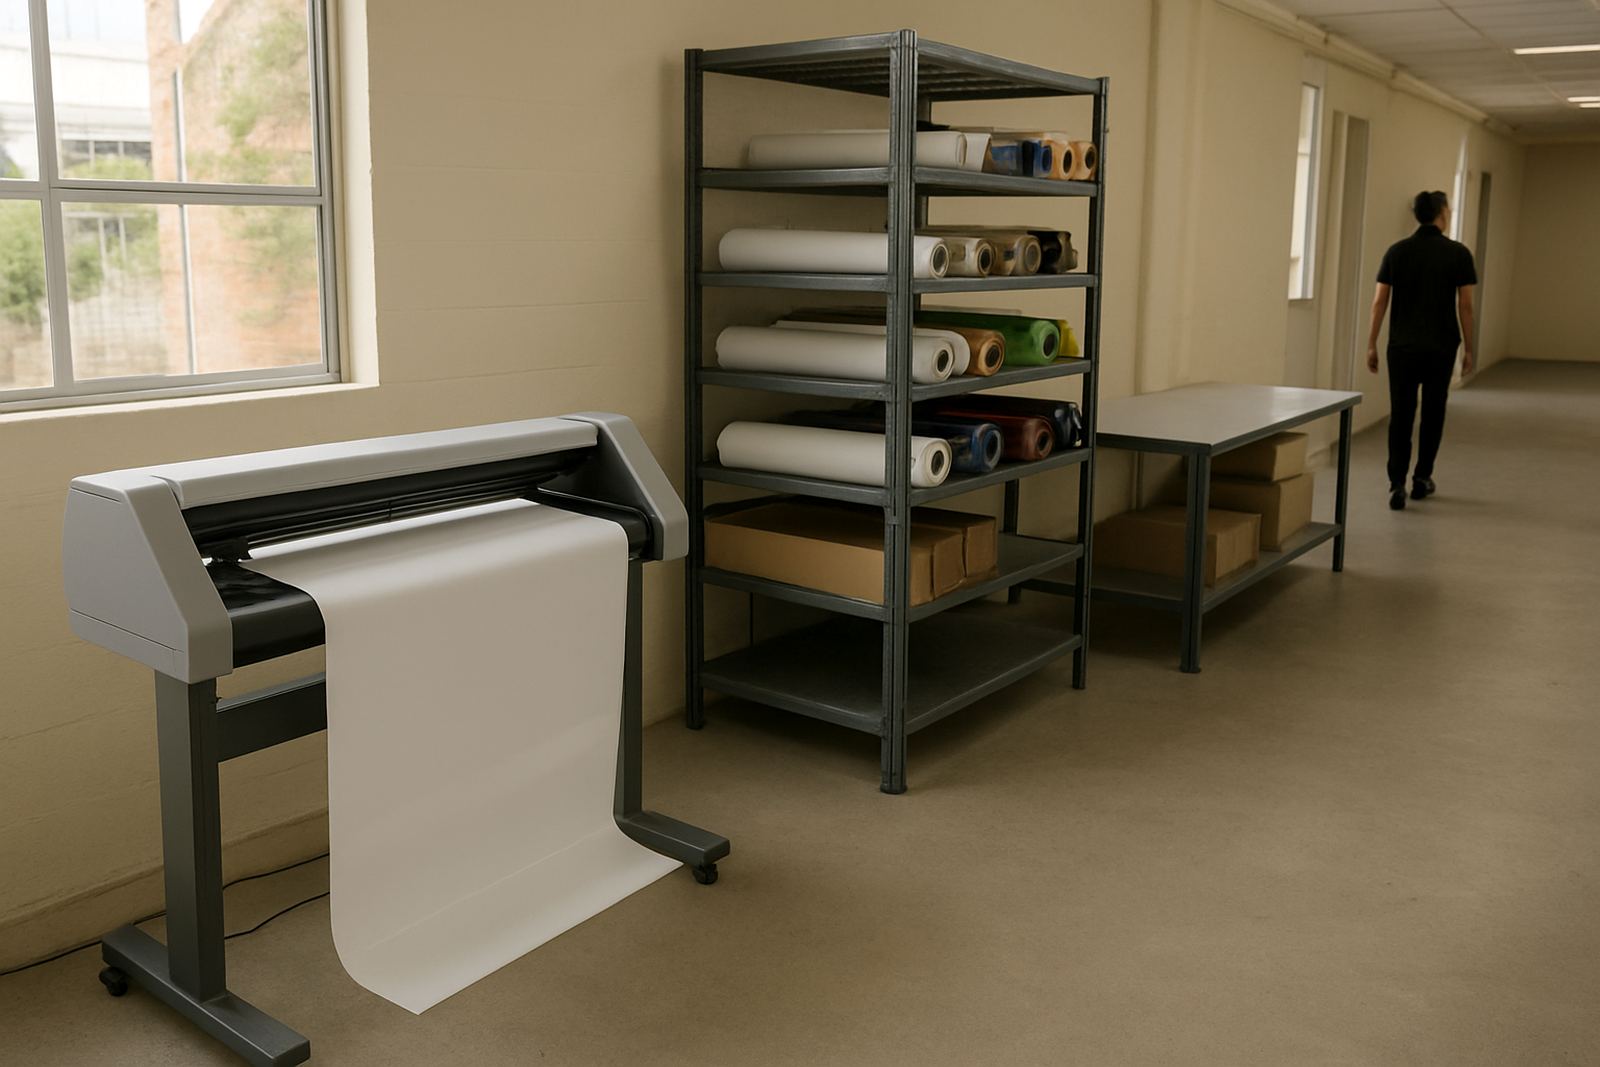
We start with a quick site check so the installation team knows what they are walking into. That includes your floor space, door widths, power points, internet access if remote support is needed, and whether the machine will sit in a clean print room or a busier workshop. For coastal sites we also ask about humidity and salt air because both can affect media handling, storage and blade performance over time.
Before dispatch, the cutter is checked for transit safety, cable packing, blade holders, tooling and any accessories linked to your workflow. If you are running sticker work, print-and-cut jobs or custom graphics, we will also confirm the media sizes you use most often so setup can be matched to your daily output rather than a generic demo.
- Confirm final machine position and access routes
- Check mains power and backup power for load-shedding
- Prepare a clean unpacking area with enough bench space
- Keep the operator who will use the cutter on site for handover
2. Delivery and offload on installation day
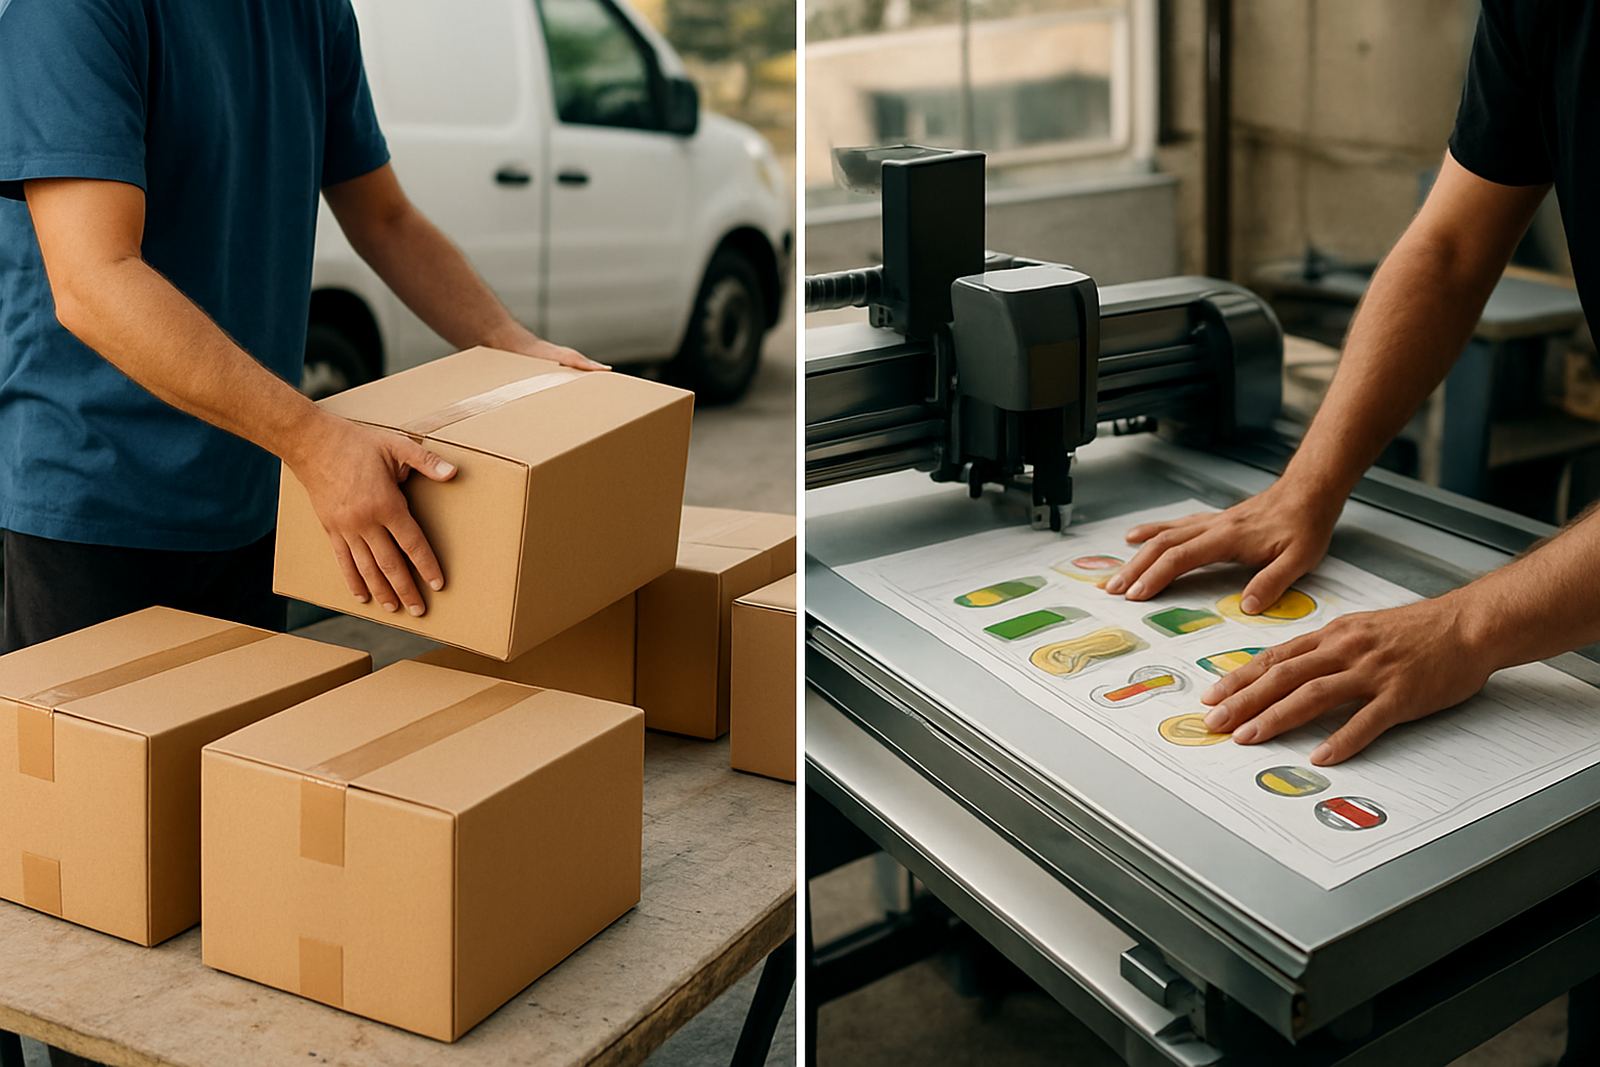
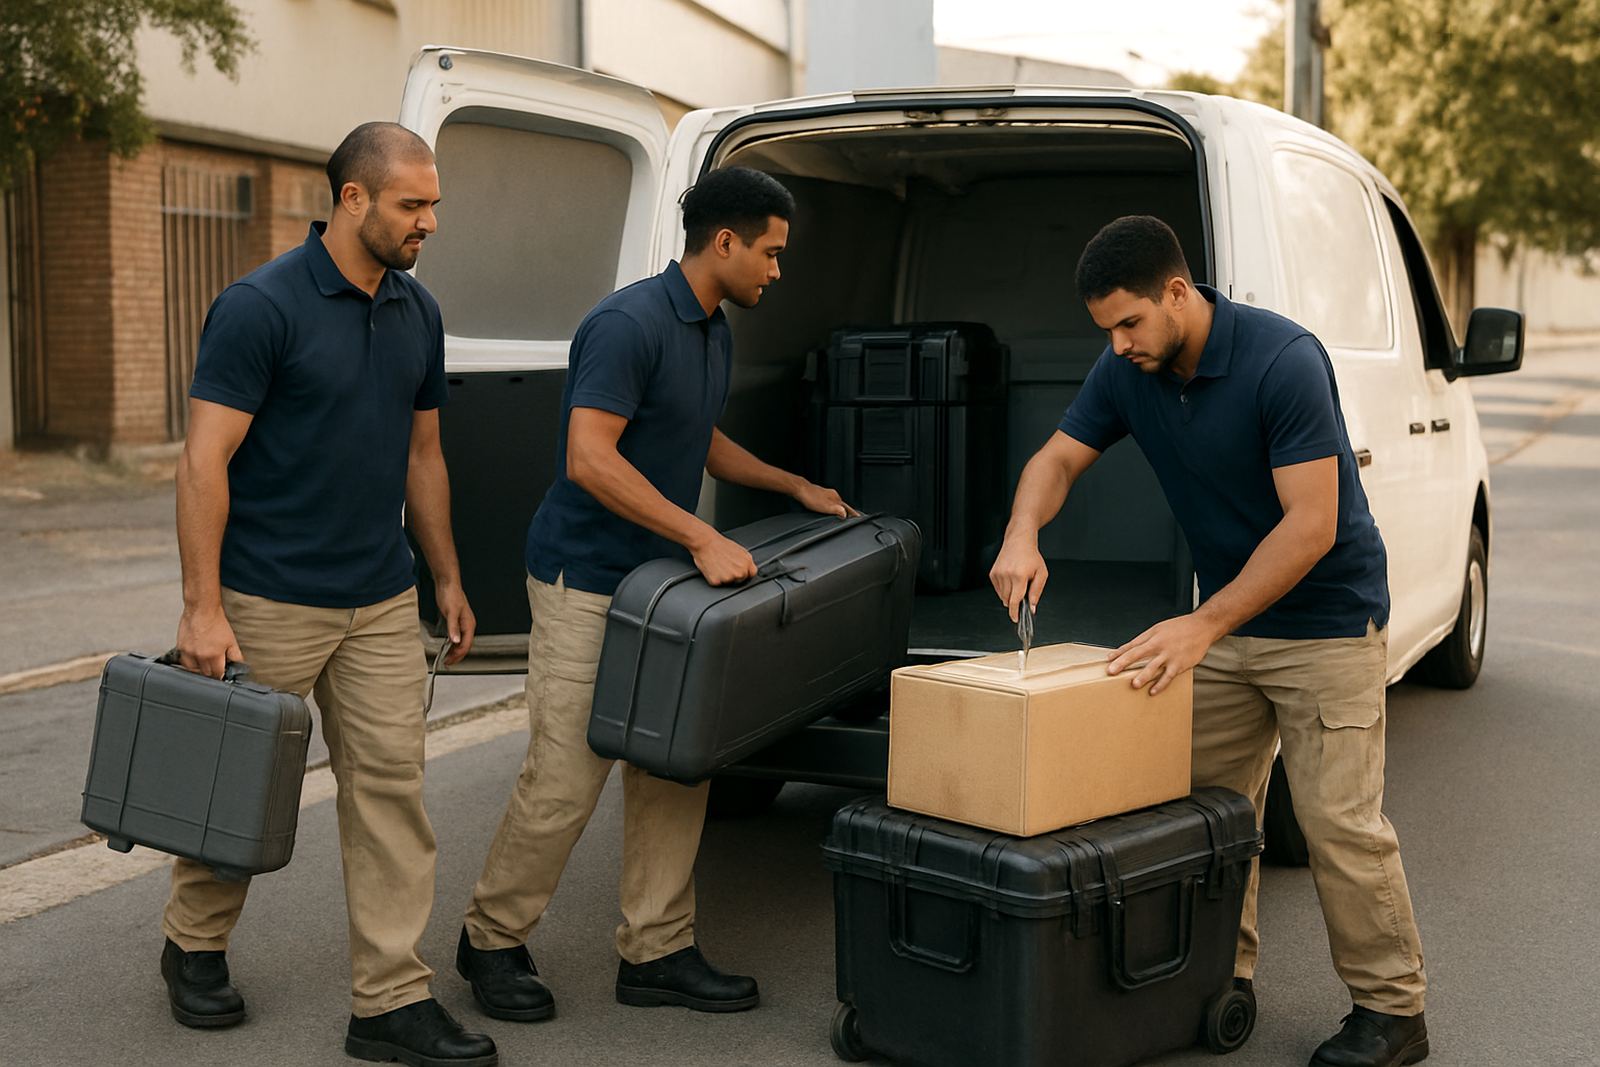
Most remote installs begin with crate offload, inspection and placement in the agreed position. If the site is on an upper floor, in a factory park or in a narrow unit, we need to know that in advance so the right lifting help can be planned. In places like Durban industrial areas, Bloemfontein business parks or small coastal units, access can be the difference between a same-day setup and a delayed one, so measurements matter.
Once the machine is inside, the installer checks for transit damage, aligns the base or stand and confirms that all moving parts are free. If your business shares space with print, packaging or signage work, we will also look at dust, temperature and traffic flow around the machine. A cutter works best where reels and offcuts are not constantly in the way, which sounds simple but saves a lot of stoppages later.
- Keep loading bays and roller doors open where possible
- Have a clean path from delivery point to final position
- Assign one contact person to sign off the setup
- Have scissors, tape, a ruler and a notepad ready for checks
3. Power, environment and municipal practicalities
South African sites vary a lot, so we check the basics carefully. A cutter needs stable power, proper earthing and enough room to breathe. If you are on a backup inverter or generator during load-shedding, tell us beforehand so we can test on the same supply you use in production. That avoids surprises like voltage dips, tripped breakers or ghost faults that are really just power issues.
In some municipal areas you may also need to think about working hours, noise limits and building rules. A cutter is not loud like a compressor, but it still helps to know whether you can run setup late or only during business hours. For coastal towns, avoid placing the machine in a spot where damp sea air reaches open media or electrical parts. For inland sites, dust from cutting rooms and nearby workshops is often the bigger issue.
- Stable mains power with proper surge protection
- Backup plan for load-shedding test runs
- Dry, dust-controlled area away from open doors
- Enough bench space for media loading and finished output
4. Calibration, blade setup and first test cuts
After placement, the installer moves into setup and calibration. This includes blade pressure setup, registration calibration for print-and-cut work, and confirming that the cutter reads artwork cut lines correctly. A good install is not just about making the machine move, it is about making it cut cleanly on your actual media, with the actual jobs your team will run.
We normally begin with simple shapes, then move to small text, contour marks and a full production sample. If the machine is being used for decals, labels, signage panels or promotional stickers, we will check corners, inside cut points and long runs for drift. A tiny setting change can make a big difference, so this stage is taken seriously and not rushed.
- Blade depth set for your media thickness
- Pressure matched to vinyl, laminate or other stock
- Registration marks tested on a sample print
- Waste weeded and inspected for clean edges
5. Operator induction and workflow handover
Remote installs work best when the operator is ready to run the job, not just watch it. Our induction covers media loading, job setup, production workflows, maintenance basics and troubleshooting so your team can keep moving after we leave. We also cover practical habits like checking roll tension, keeping spare blades close by and storing media away from heat, moisture and direct sun.
For teams with more than one operator, we can include supervisor coaching so the person in charge knows how to spot setup errors early. That is especially useful in busy print rooms where different staff handle artwork, loading and finishing. A short mistake at the beginning can waste metres of material, so the goal is to build repeatable habits from day one.
- Load media correctly and square the roll
- Check cut lines before every production batch
- Keep a simple maintenance log
- Know when to stop and call for support
6. Aftercare, remote support and spare parts planning
Once the install is complete, you are not left on your own. Remote customers can book a refresher session, troubleshooting support or a follow-up review if the first production week brings questions. That is common after a machine starts earning its keep, because real jobs often reveal small workflow changes that were not obvious during setup.
It also helps to keep a small parts and consumables list on hand. Blades, cutting strips, cleaning cloths and common media should be ordered before they run low, especially if your site is outside a major metro. Delivery times can vary from Polokwane to George, and nobody wants a full production stop because one small item ran out. If a problem does appear, clear photos, sample output and a short description usually get you to a solution faster than a long phone call.
Our support team in Isando and the regional support areas can assist with follow-up planning, but the best results always come from a clean install, a well briefed operator and a sensible maintenance routine.