Office refresh brief in Sandton
The client was a professional services office in Sandton that wanted to tidy up a busy interior without closing the space off. Their team needed privacy on meeting room glass, clearer wayfinding in the reception zone, and a few branded touches that would feel considered rather than loud.
The brief came through with a tight practical note: the graphics had to work around existing glass sizes, live foot traffic, and a staged refresh schedule so staff could keep operating. There were also mixed surfaces in the office, so we had to match the finish and cut style across clear glass, frosted panels, and printed sections. No one wanted a patchwork look, just neat lines and a clean finish.
What we measured and why it mattered
We started with an on-site measure at the Sandton office to confirm panel sizes, view lines and the positions of handles, trims, and door hardware. In office spaces like this, a 5 mm error can throw off the whole appearance, especially where graphics need to meet cleanly across multiple panes. We also checked the lighting and the direction of natural glare so the printed sections would still read well during the day.
The job had a few constraints that needed proper planning:
- Glass partitions with different widths and heights across the same corridor
- Occupied workspace, so installation had to happen in short after-hours windows
- Privacy needed at seated eye level, but the space still had to feel open
- Humidity from the aircon cycle and summer weather, which can affect application if rushed
Because the office is in Sandton, we also planned for access and parking timing. Getting materials in and out without disturbing the client made the schedule smoother for everyone.
Graphic specification and cut method
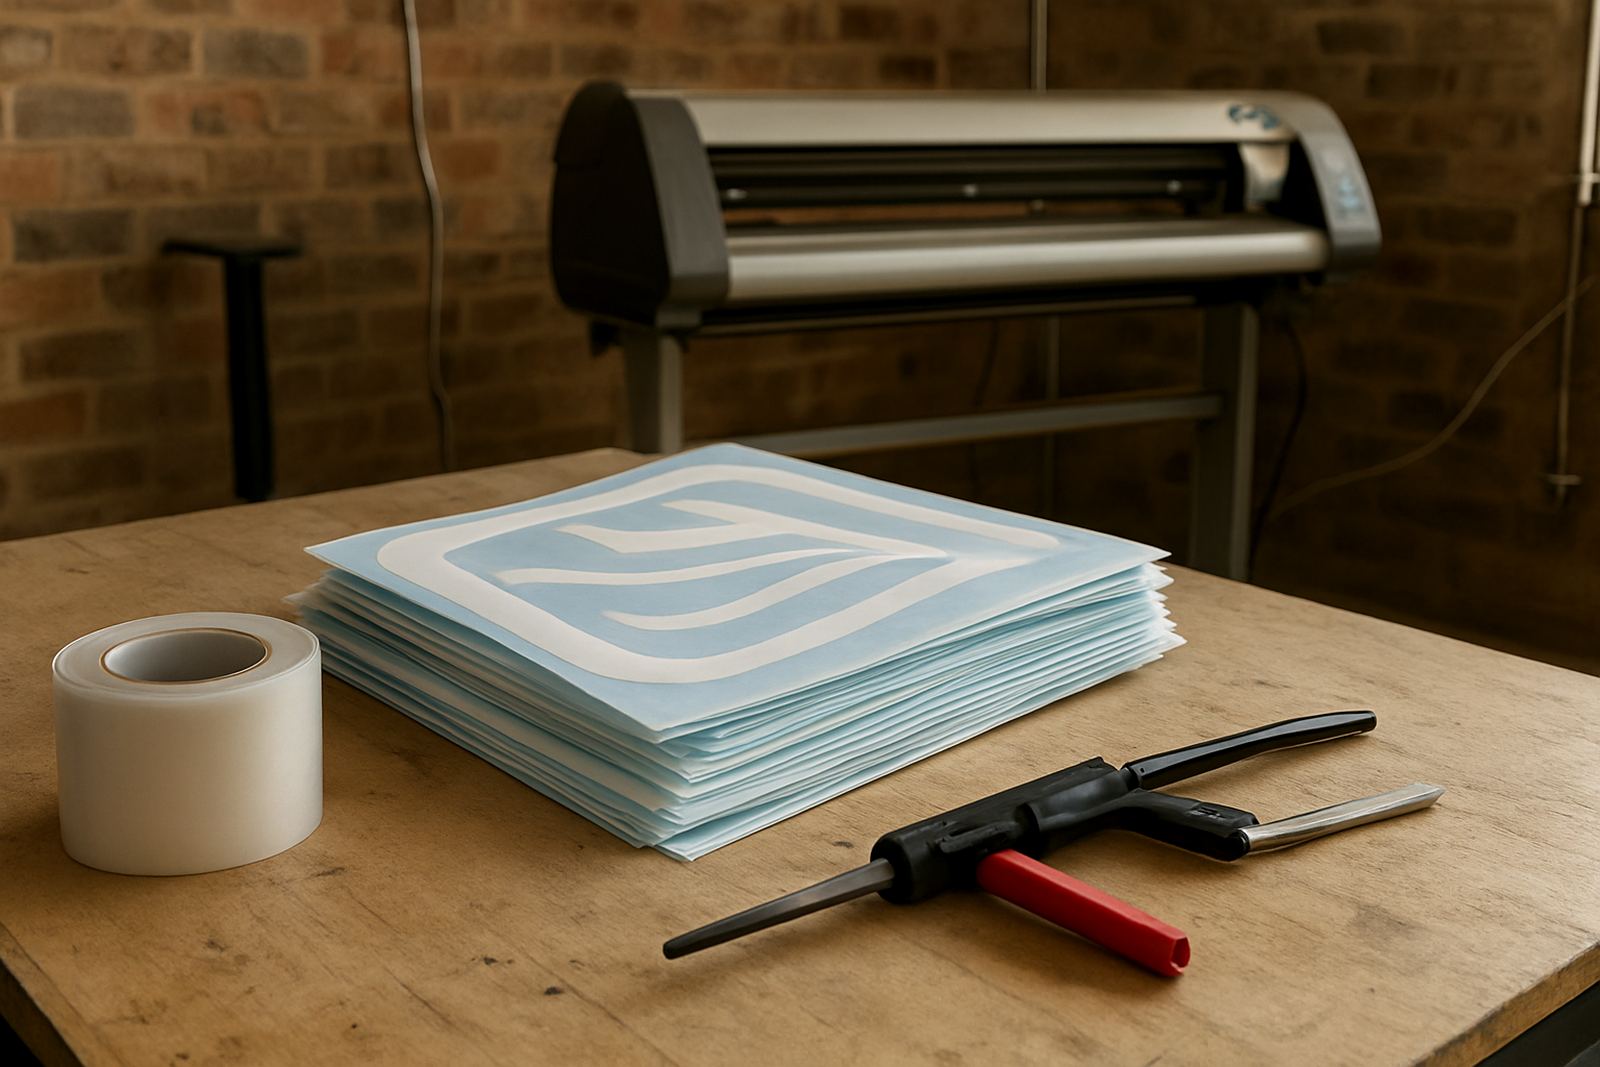
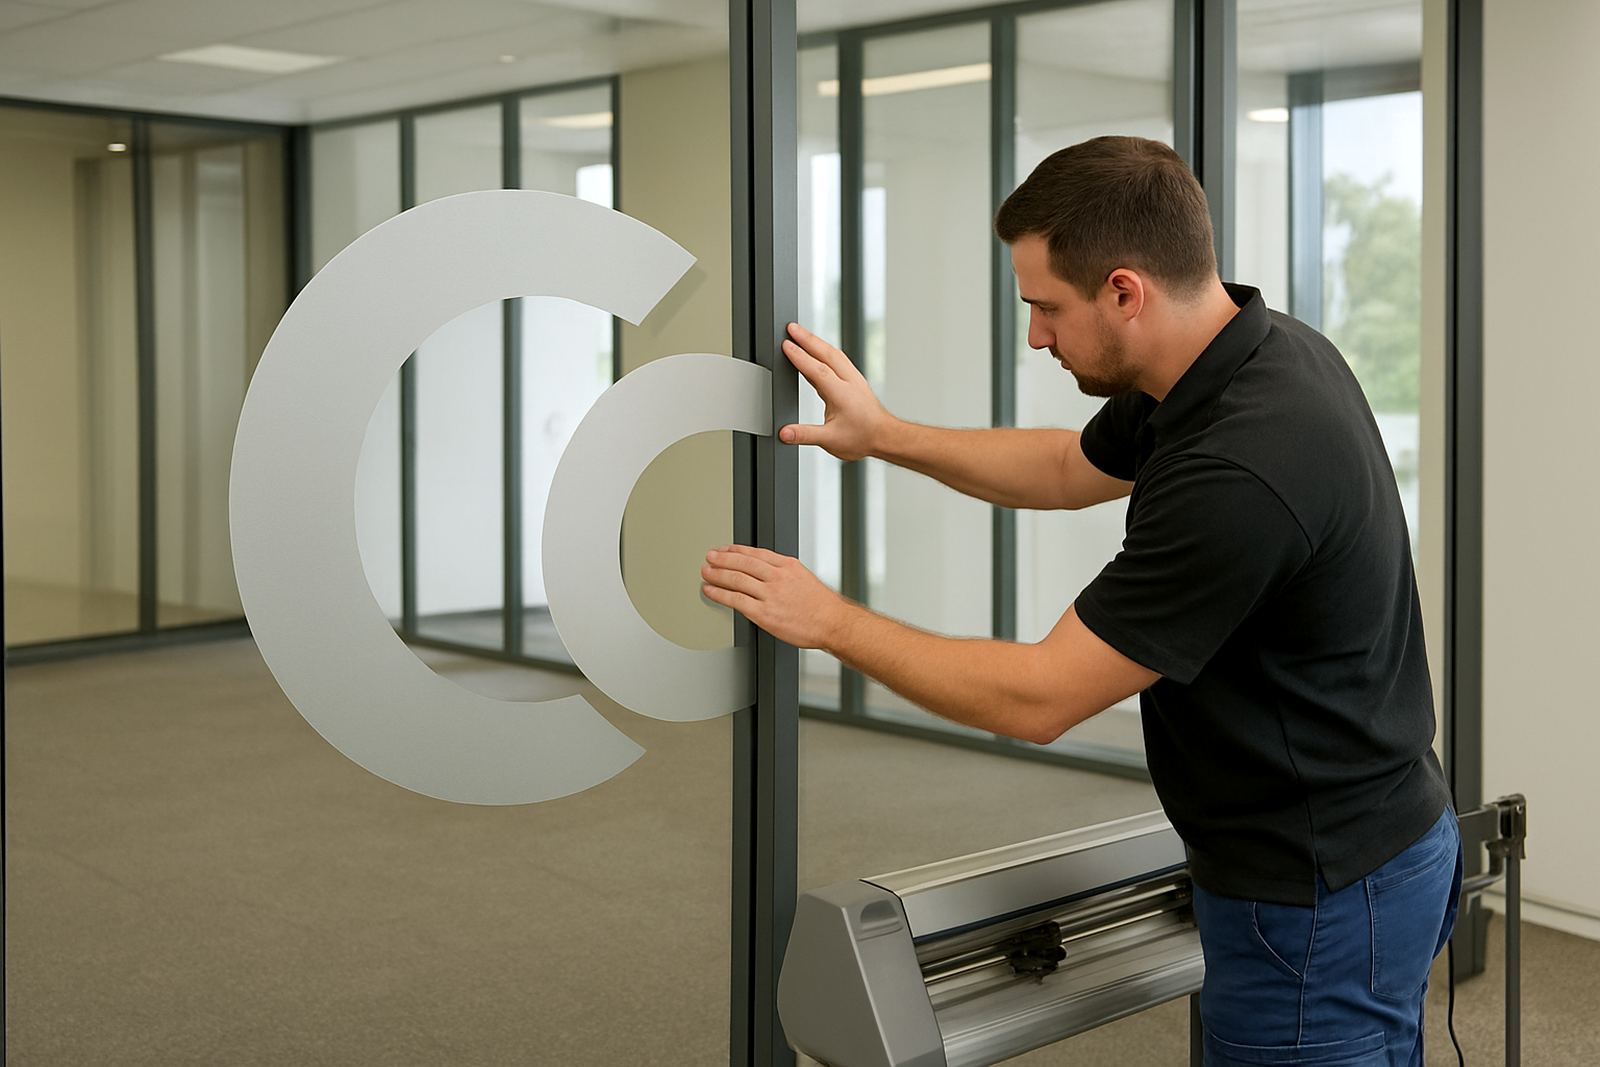
We supplied a combination of frosted film and printed contour-cut decals. The frosted sections were used for the main privacy bands, while printed elements carried the office identity and directional marks. All shapes were cut to match the artwork exactly, including curved edges, smaller lettering and panel-specific layouts.
Key specifications included:
- Frosted privacy bands at seated eye level for meeting rooms and circulation areas
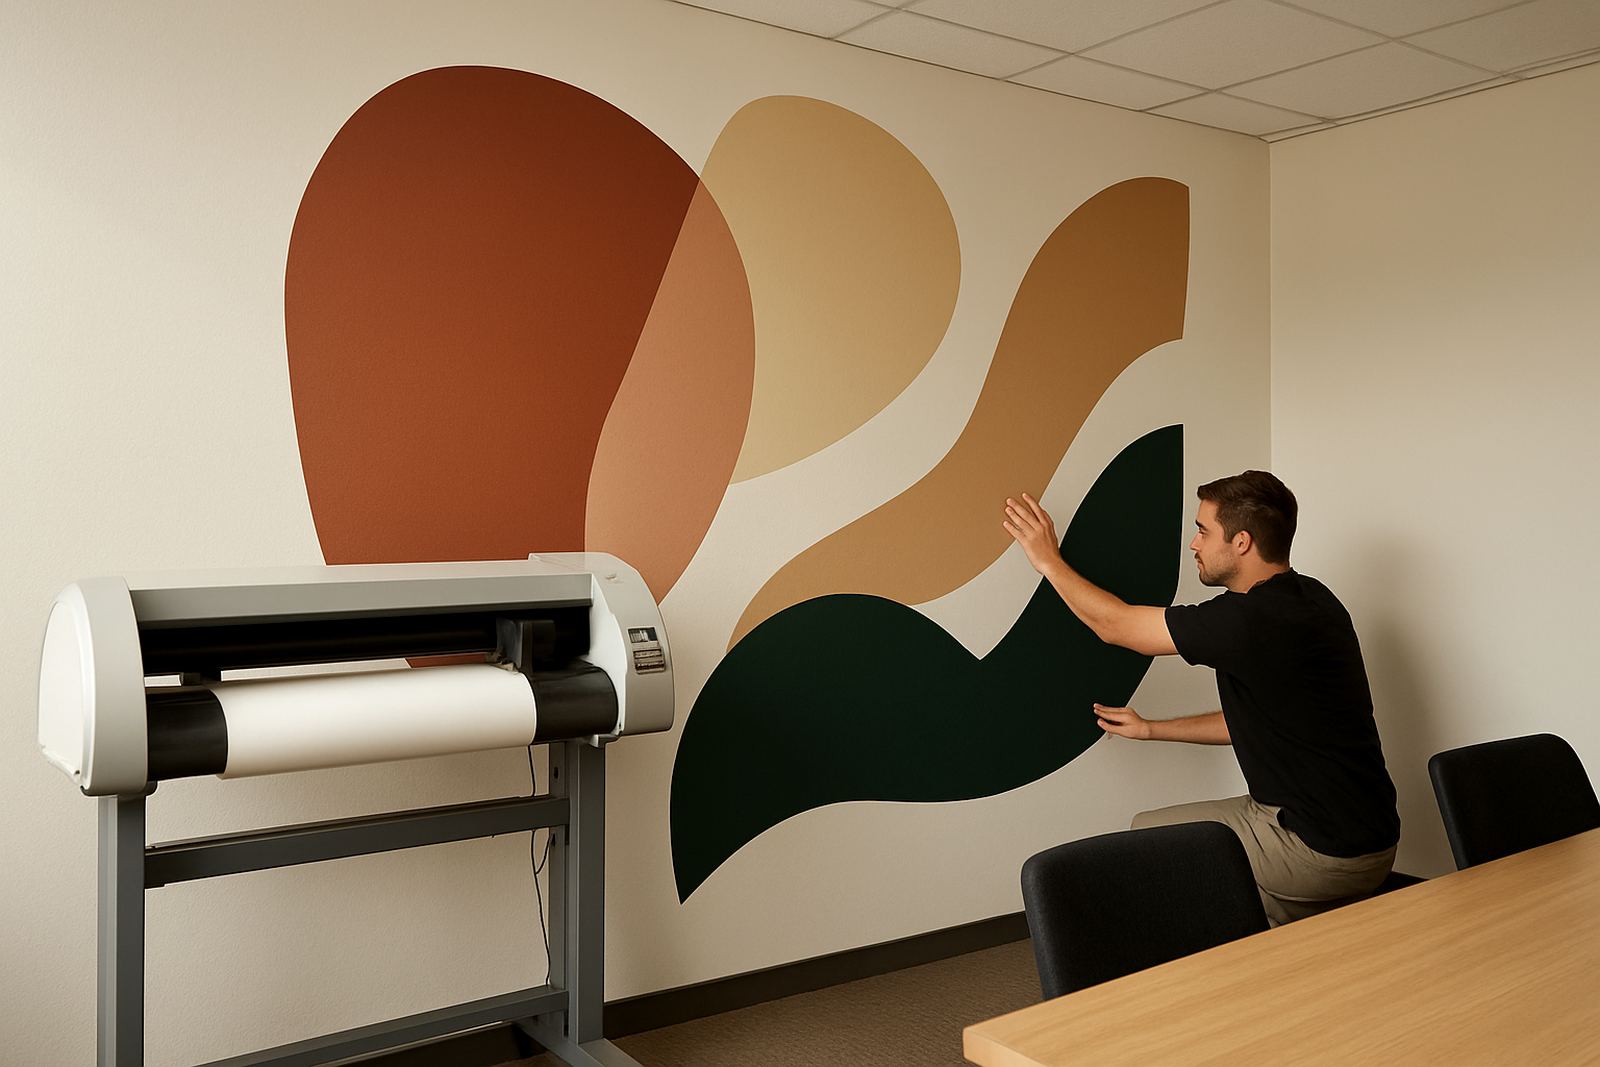
- Printed contour-cut logo and directional graphics for reception and internal wayfinding
- Safe edge clearance around handles, hinges and door sight-lines
- Panel-specific sizing so every piece aligned to its own glass section
- Colour consistency across the full set of graphics, checked before install
We prepared the artwork with proper cut lines and registration marks so the printed pieces could be trimmed accurately. That matters on jobs like this because even a slight misread on the cut path shows immediately once the film is on glass. The result had to look like one system, not a set of separate stickers.
Production and installation over two weeks
The project ran over two weeks from final measure to sign-off. Week one covered site confirmation, artwork setup, material preparation and test cuts. Week two covered installation in stages so the office could keep running. That included early evening work on the main partition run and a shorter return visit for final small panels and inspection.
Installation was handled carefully to keep the glass clean and the edges tight. We used a dry set-out first, then applied each section with the right pressure and alignment checks. The bigger panes needed calm handling because the office was active and the ambient light changed through the afternoon, which can make the eye catch tiny shifts if the film is not straight.
Our team on this project included Johan van Wyk on installation, Ayanda Dlamini on production checks, and Thabo Molefe on technical support for the cut registration. The work was coordinated from Isando with client updates issued as each stage was signed off.
The result in daily use
Once in place, the graphics did exactly what the client wanted. The meeting rooms gained privacy without becoming heavy or enclosed, and the reception area looked more ordered from the entrance. Staff could still see through where they needed to, but the visual noise from plain glass and empty panels was reduced a lot.
The printed contour-cut pieces added just enough identity to make the office feel finished. The client also liked that the graphics were practical, not only decorative. They helped with first impressions for visitors and made the office easier to navigate for people arriving for meetings.
Most importantly, the installation stayed neat after the first few weeks of normal use. Doors were opening and closing all day, cleaners were working around the space, and the film held its line without lifting. That is usually the real test in a live office.
What we would repeat on a similar Sandton project
If we were doing this type of office refresh again in Sandton or Midrand, we would follow the same approach: measure early, confirm sight-lines before artwork is final, and stage the install around staff movement. That keeps the job tidy and avoids last-minute changes once production has started.
We would also keep the same focus on cut accuracy and panel mapping. For offices with glass in several sizes, one generic layout rarely works. Every pane has its own little differences, and the best result comes from treating each one properly rather than forcing a one-size-fits-all fit.
- Site measure before artwork approval
- Panel-by-panel cut mapping
- After-hours install where possible
- Final walk-through with the client’s operations contact
For this project, that approach gave a clean finish and a better day-to-day experience for the people using the space.
Key facts
| Project type | Sandton office interior refresh |
|---|---|
| Location | Sandton, Johannesburg |
| Graphics supplied | Frosted film and printed contour-cut graphics |
| Use areas | Meeting rooms, reception and internal glass partitions |
| Timeline | 2 weeks from measure to final sign-off |
| Installation coverage | Johannesburg with nationwide cutter installs available |