

Home / Cut Jobs / Randburg Helmet Decals

Cut Jobs

Randburg Helmet Decals

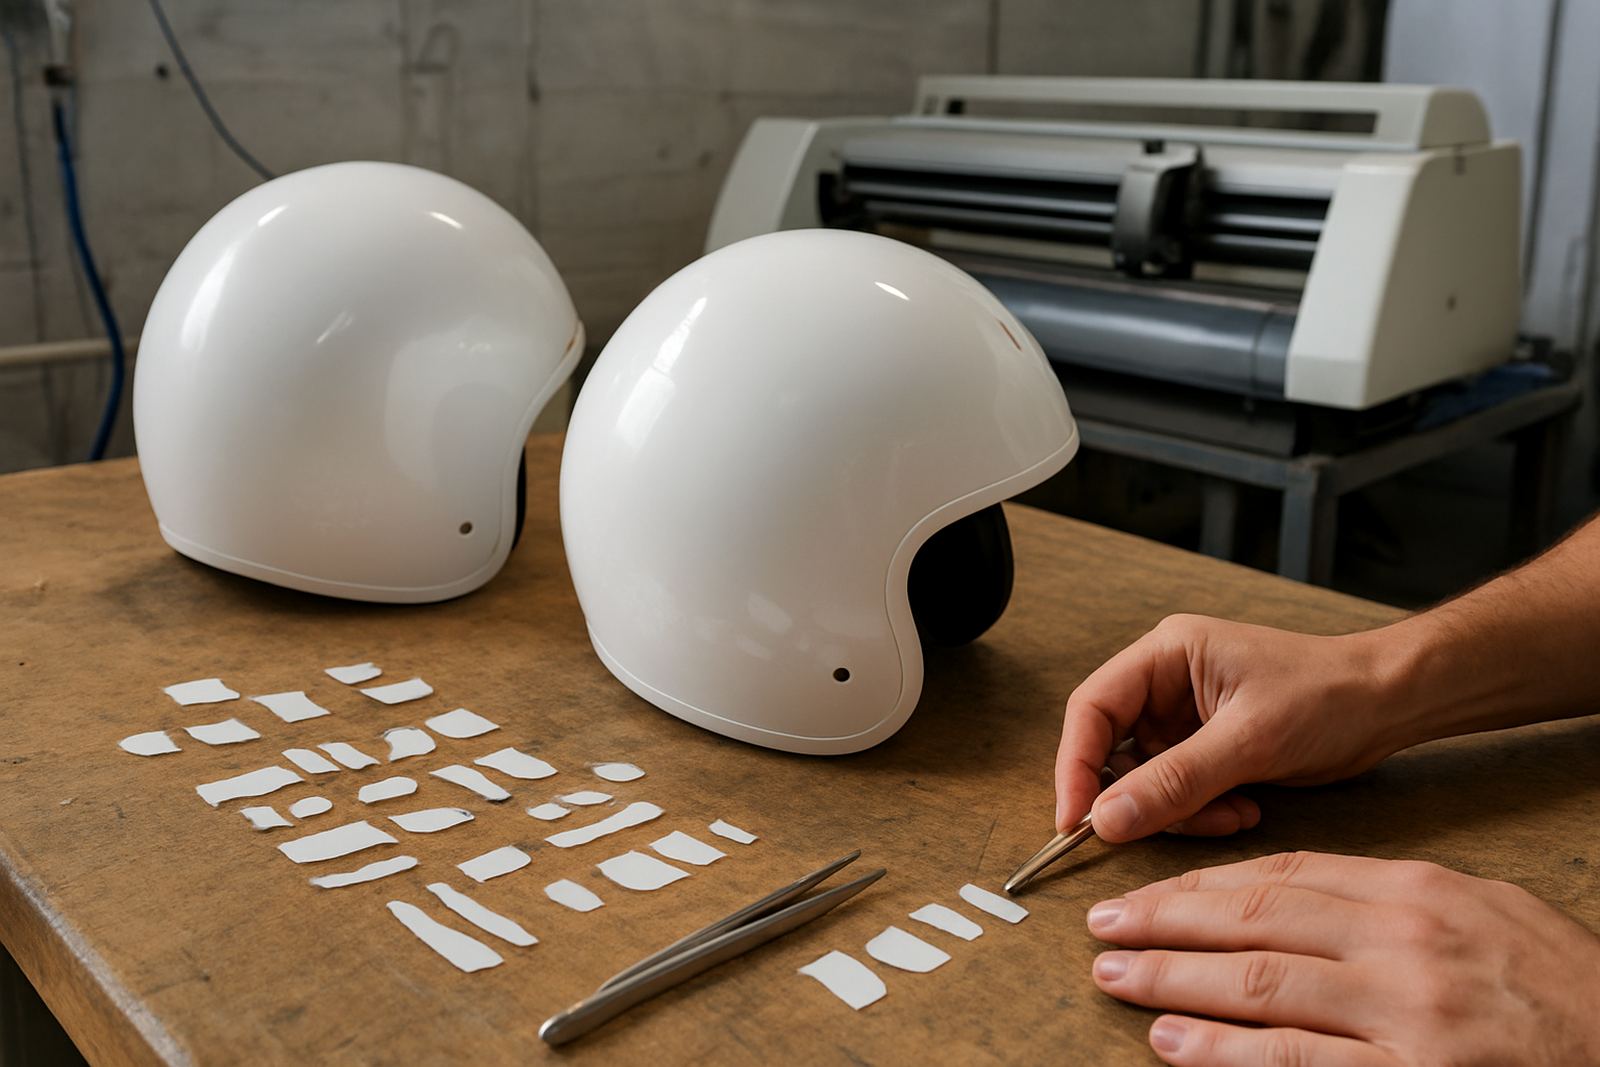
We produced detailed contour-cut helmet decals for a Randburg client needing clean, durable graphics for personalised helmets and accessories. The job called for tight registration, neat edges, and a finish that would hold up in daily use across Gauteng conditions.

Randburg Helmet Decals

Randburg brief for personalised helmet graphics

The client, a small Randburg business working with custom sports and safety gear, needed helmet decals that looked sharp from close range and still read well once fitted to curved shells. The brief was to create a set of contour-cut graphics for helmets and matching accessories, with each piece supplied ready to apply and easy to position on-site.

They wanted a premium look without overcomplicating the application. The decals had to suit a mix of helmet shapes, including rounded crowns, narrow side panels and small accessory surfaces. Because the items would be handled often and exposed to sun, dust, and the odd wipe-down with cleaning fluid, the finish needed proper adhesion and clean edge stability.

  • Project location: Randburg, Johannesburg
  • Application type: personalised helmets and accessories
  • Finish required: neat contour-cut edges with accurate print alignment
  • Use case: branding, identification and custom presentation

What made the job tricky on curved shells

Helmet work always needs careful set-up because the surface is never as forgiving as a flat sign panel. The challenge here was keeping the printed detail aligned with the cut line while allowing for the curves and small recesses found on each item. Some helmets had vents and raised sections, so the artwork could not run too close to edges that might lift later.

We also had to factor in Randburg site conditions. The client wanted decals that would still apply neatly after transport and storage in warm rooms, and that would handle Gauteng dust without edge fray. A few items were going to be fitted in-house by staff with mixed experience, so the decals needed sensible weed space and clear cut paths. Small application marks were included to make positioning easier, because once a decal lands crooked it is a faff to recover.

  • Curved and vented helmet surfaces required adjusted cut paths
  • Small accessory pieces needed fine detail without lifting
  • Application had to be simple for staff fitting the graphics
  • Colour and edge consistency were important across the full set

Contour-cut production and finishing

We supplied the sticker cutting service and production setup from our Isando base, using print-and-cut contour plotter work for accuracy on each shape. Artwork was prepared with cut lines matched to the printed design, then calibrated so the blade path stayed true through the full batch. Registration marks were checked before full production began, which saved time later and reduced waste.

The job ran through media loading, blade pressure setup, and a test cut stage before the main run. Once approved, we produced the decals in batches, trimmed the sheets where needed, and checked each set for clean outer edges and consistent detail. The finished pieces were supplied for easy transfer, with enough spacing around key elements to make the application process neater and faster.

  • Print-and-cut contour plotting for exact shape matching
  • Blade pressure calibrated for crisp edges and clean release
  • Registration calibration completed before the main run
  • Finished decals checked for lift points, corner integrity and fit

Timeline, handling and delivery to Randburg

The full project took two weeks from artwork confirmation to final supply. Week one covered cut-line preparation, proofing and setup tests. Week two covered production, finishing and dispatch. That timing suited the client because they were planning a phased fit-out and needed the decals to arrive before a busy weekend of installations.

We kept the process practical. The client received a clear outline of what was being supplied, how the pieces were grouped, and the best order for application. That mattered because mixed helmet batches can get muddled if decals are not sorted properly. We also explained a simple fitting sequence so the team could start with the largest areas first and then work into the smaller accessory pieces. It kept the pace steady and reduced rework.

  • Total turnaround: 2 weeks
  • Production included proofing, calibration and batch checking
  • Decals were grouped for quicker site application
  • Helpful for phased installations and repeat orders

Results on helmets and accessories

The finished decals gave the helmets a tidy, professional finish with clean contours and strong visual separation from the shell colour. On curved surfaces, that kind of precision makes a big difference. Instead of looking like generic stickers, the graphics followed the shape properly and sat flush enough to keep the edges neat after handling.

The client reported that the decals were easier to fit than expected and that the grouping helped their team move through the batch without confusion. The accessories matched the main helmet graphics, so the overall set looked planned rather than pieced together. For a business serving customers in Randburg and surrounding areas, that consistency matters because the gear gets judged quickly and often in poor light or at distance. The result was clear, presentable, and durable enough for normal day-to-day use.

What we would repeat on the next helmet run

If we were doing this job again, we would keep the same method: a proper artwork check, tight registration calibration, and grouping by helmet type before dispatch. That formula works well when the items are curved and the fitting team needs speed without losing accuracy. We would also suggest keeping a small spare set for future replacements, especially where helmets are used in busy environments.

For Randburg helmet decals, the main lesson is simple. Good results come from planning the cut lines properly, checking the surface shape, and allowing enough room for application. With the right preparation, the finished decals sit better, last longer and look the part from the first day of use. If the client comes back with another batch, we would repeat the same set-up and likely make a few small tweaks for any new shell types or accessory sizes.

  • Keep cut-line prep matched to each helmet shape
  • Group decals by item type for easier fitting
  • Retain spare pieces for future replacements
  • Use the same calibration settings for repeat batches where possible

Key facts

Client areaRandburg, Johannesburg
Project typeContour-cut helmet decals and accessory graphics
Service deliveredSticker cutting service with print-and-cut contour plotting
Turnaround2 weeks
Use casePersonalised helmets, identification, branding and accessories
Base handlingProduced from Isando, with support available nationwide

What clients say

Questions we get asked

Can contour-cut helmet decals be made for curved shells?

Yes. The cut line is set to follow the print closely, with enough allowance for vents, edges and the shape of the helmet so the fit stays neat.

Are the decals suitable for daily handling and outdoor use?

They are prepared for normal handling, cleaning and sun exposure. For helmets used outside in Gauteng conditions, clean application and proper surface prep are important.

Can you supply repeat batches later for the same artwork?

Yes. Once the artwork and cut settings are confirmed, repeat production is quicker and easier, which helps when extra helmets or replacement stickers are needed.

Planning something? Email the team.

cut@contourcutting.co.za